Nail Your Next Instagram Live: No Cringe, All Clout
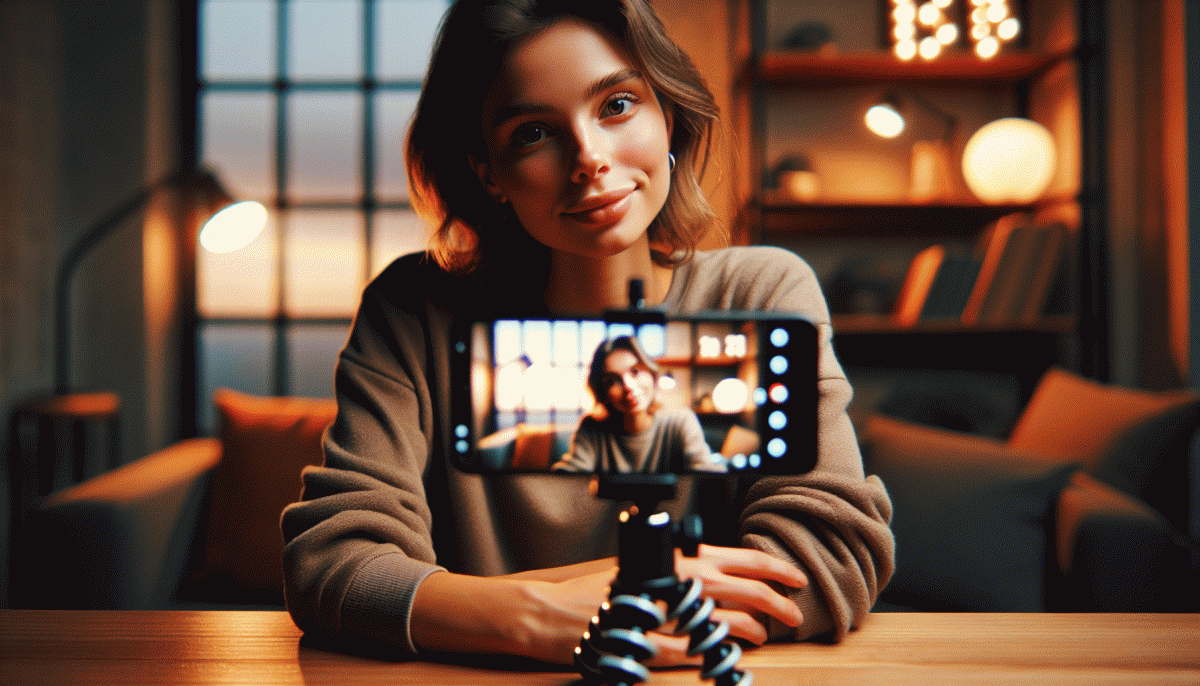
Set the stage: Lighting, angles, and a background that doesn't scream bedroom
Good lighting doesn't need to feel like a TV set — it needs to flatter you. Aim for soft, even front light at or just above eye level: a ring light, a window with a sheer curtain, or a DIY diffuser over a lamp. Watch color temperature; cooler bulbs can make skin look washed out, so choose warm or neutral and lock white balance if your camera lets you.
Angles are where credibility meets charisma. Mount the camera at or slightly above eye height, tilt gently down, and follow the rule of thirds so your eyes fall near the top third of the frame. Keep the phone about an arm's length away so faces read well on small screens, and resist constant zooming — move only with intent to avoid seasick viewers.
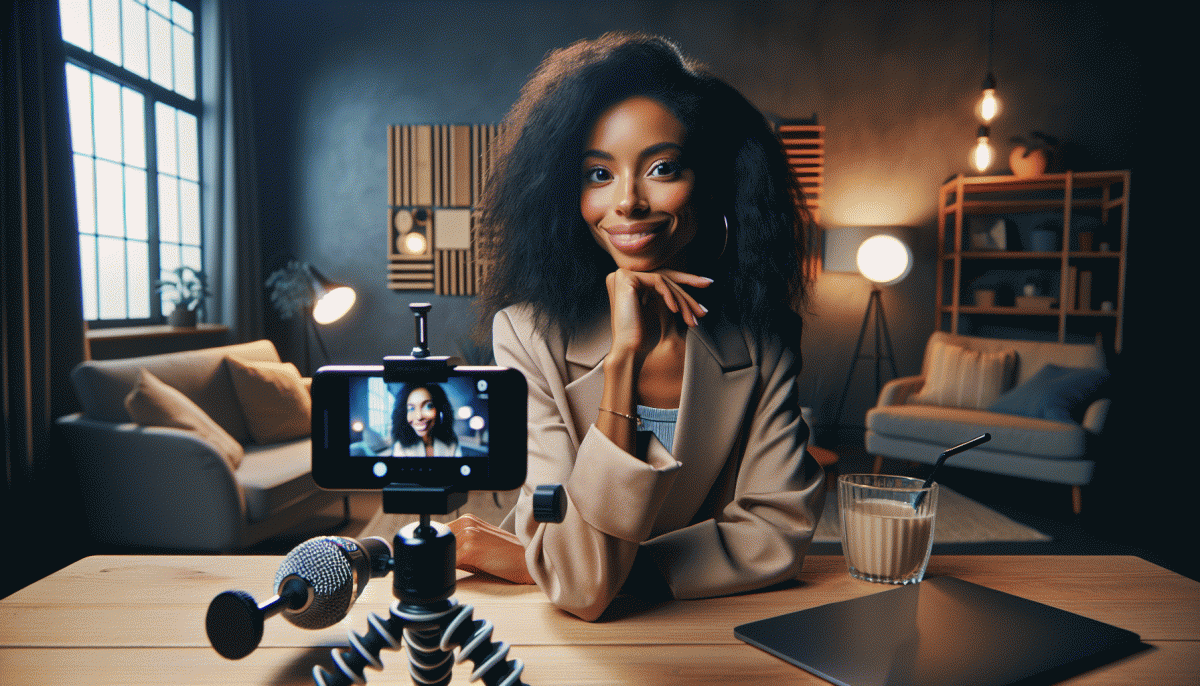
Backgrounds should say "prepared creator," not "rolled-out-of-bed." Pick a tidy, on-brand corner: a neat shelf, a plant, or an art print that sparks conversation. Use string lights or a colored pillow for a subtle accent, or blur the background with portrait mode to disguise imperfections. Whatever you choose, remove laundry, visible wires, and anything that sends a distraction Morse code.
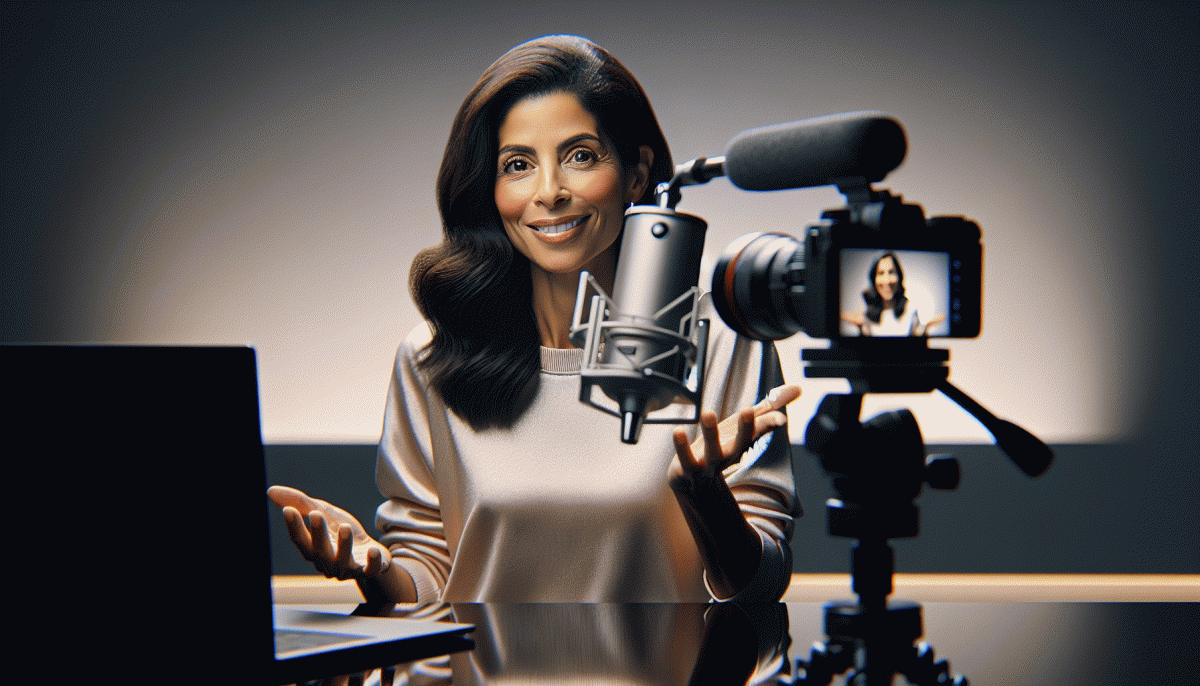
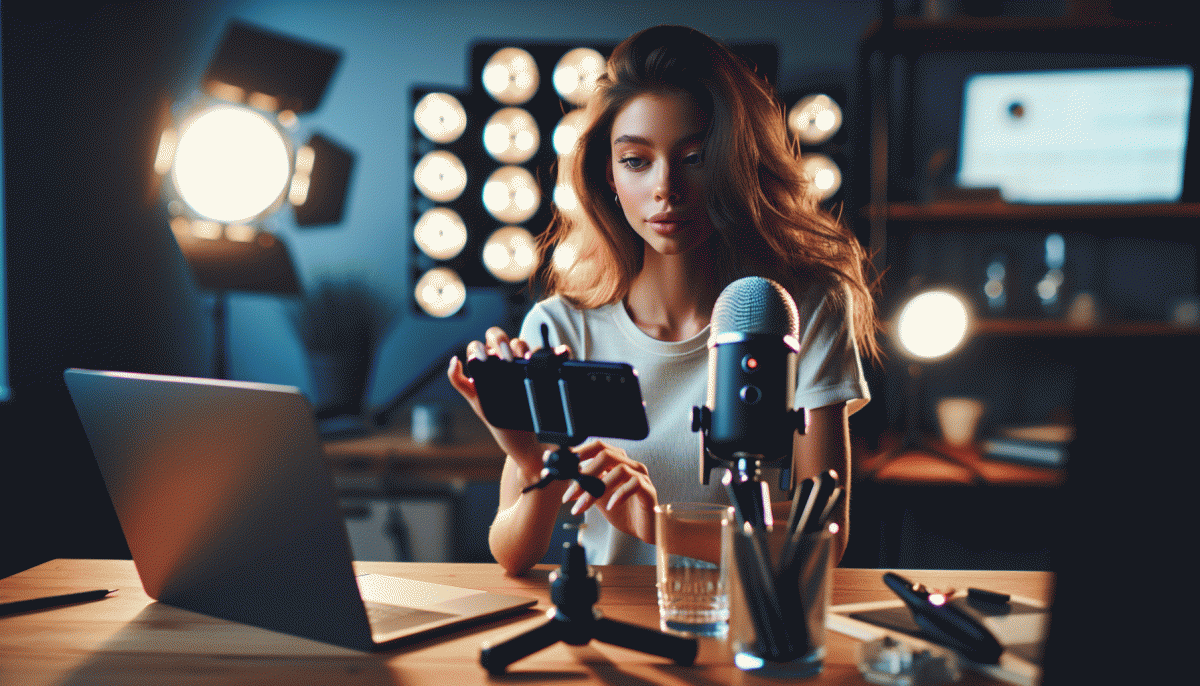
Little production upgrades punch above their price tag: clamp light or $25 LED, white foam board reflector, lav mic for clear speech, and a steady tripod. Lock exposure and enable grid lines on your phone to keep composition consistent. For extra reach and promotional tricks that pair nicely with better production, check YouTube boosting service — visibility is the wingman your setup deserves.
Quick checklist: test audio, run a 30-second camera check, tidy the frame, warm up your voice, and hit record with a smile. A clean light, a flattering angle, and a purposeful background give you the confidence to be magnetic — not cringe — on camera.
Open strong: Hooks that stop scrollers in three seconds
Think like a scroller: you have roughly three seconds to stop them. On Instagram Live that tiny window is the entire make or break moment. Deliver something that jolts attention — a visual pop, a bold one line promise, or a question that hooks curiosity.
Structure the opener like a tiny elevator pitch. Step 1, set the scene with a strong visual frame: close face shot, bright lighting, slight movement. Step 2, state the benefit they will get within minutes. Step 3, invite action with a simple prompt that gets thumbs, comments, or a saved moment. Energy matters more than perfection.
- Tease: Lead with a surprising stat or mystery that makes viewers lean in
- Value: Promise one clear takeaway they can use in the next five minutes
- Incentive: Offer a live exclusive like a free template or fast giveaway
Swap in short scripts to build muscle memory. Examples to try live: Quick test opener — Want to boost your engagement in one week with one tiny habit; Live value opener — Here is the 60 second trick that stops mindless scrolling; Offer opener — Stay till the end for a free swipe file I will drop for live viewers.
Film your first 10 seconds and watch it back. If eyes drift, tighten the promise or up the motion. A strong opener sets the tone for the whole session, and those tiny retention gains add up to real clout over time.
Chat like a pro: Manage comments without losing your train of thought
Livestream comment chaos can kill a good story arc, so treat comments like applause: acknowledge, then move on. Start with a one-sentence opener that sets expectations—how often you will answer questions and where to send DMs. Use a short verbal cue like "Quick shout" before pausing the main point so viewers feel heard without derailing the flow.
Assign a moderator or two a few minutes before you go live and teach them three basic moves: highlight great questions, hide trolls, and drop a one-liner reply. If you want to boost baseline engagement so the best comments surface faster, check fast Facebook boost site. Moderators let you keep the narrative while the chat keeps buzzing.
Prepare canned replies and sticky notes with 8–10 lines you can paste—thank you, link, timestamp, next steps. Use the pin comment feature for the question of the hour and call viewers to reply with a specific emoji so you can filter answers quickly. If possible, run a co-host who reads chat and whispers highlights into your ear.
- Shoutouts: Two-word acknowledgements keep momentum—name + one compliment.
- QuickReply: Short templates for logistics: links, times, signups.
- Queue: Ask viewers to drop Qs with a keyword so you can batch-answer.
Practice these moves and your Live will feel conversational, not chaotic.
Save the stream: Turn your Live into Reels, posts, and email gold
Think like a content archaeologist: mark the gems during the Live so they're easy to extract later. Ask a co‑host or a trusted viewer to drop chat timestamps when something shareable happens, or note minute:second marks yourself. Immediately save the original stream and download the archive so you have a master file to chop up into perfect bites without sacrificing quality.
Turn those bites into Reels by leading with a hook in the first three seconds, trimming to a punchy 15–30 seconds, and formatting for 9:16. Add readable captions, a bold text overlay, and a music bed that matches the mood. Export at high bitrate, then make two extra versions with different thumbnails and captions so one clip can live across multiple posting windows without feeling repetitive.
Longer takeaways become evergreen posts: split a 5–10 minute explanation into 3–5 carousel slides with a headline, a screenshot or quote card, and one action step per slide. Craft captions with a clear timestamp (e.g., Watch 12:34 for the demo), a keyword-rich hook, and a single question CTA to spark comments. These static posts keep the conversation going when the Live is long gone.
Email the audience who missed it using short subject templates like Missed it? Top 3 takeaways from today's Live or Replay: Quick wins from our session. Start the message with a one‑sentence TL;DR, embed a 30s clip or GIF, list three bold takeaways, and finish with one focused CTA (watch full replay, reply with a question, or book a consult). Follow up at 24 hours, 3 days, and one week with new angles to extend reach.
Panic-proof plan: What to do when tech (or you) freaks out
Treat your stream like a mission, not a miracle. Five minutes before go time run this checklist: battery at 100, headphones connected, Wi Fi on the correct network, do not disturb enabled, camera lens wiped and lighting checked, and a backup device within arm reach. Pin a simple BRB image with an estimated return time and start a local recording so you have a safety copy.
When tech melts down, do not improvise panic. Breathe, smile, and call out what is happening so viewers feel included. Try quick fixes in this order: switch to audio only, lower video quality, toggle camera, restart the app, or move to mobile data. If nothing works, trigger the BRB slide and promise a clear next step.
Keep the crowd with creative, low effort engagement. Ask viewers to drop answers in chat, run a live count, read comments aloud, or share a behind the scenes story while you troubleshoot. Pin one concise update so new arrivals know the situation. If you have a co host, hand off the show for a few minutes and come back refreshed.
After the mishap, turn repair into content. Save the recording, clip the funniest or most human moments, post a follow up explaining what happened, and offer a replay time. Update your checklist with the lessons learned and schedule a short practice stream next week. Panic was temporary, the performance and lessons are permanent.
Read also
Go Live on Instagram Without the Cringe: Steal These Pro Tricks to Wow Viewers

Instagram Live Without the Cringe: The Unfair Playbook They Don't Want You to Use
Go Live on Instagram Without Cringe: The Shockingly Simple Playbook
You’ve Been Doing Instagram Live Wrong—Do This Before You Hit ‘Start’

Are Instagram Ads Still Worth Your Money? The Surprising Truth No One Tells You