Stop Scrolling, Start Streaming: How to Go Live on Instagram Without the Cringe
The 10-Minute Prep Ritual That Makes You Look Effortless Live
The right ten minutes before you press Go will turn a jittery debut into a relaxed, watchable session. Treat this like a mini ritual: a predictable sequence you run through each time so the setup feels automatic and the performance feels real. Small repeats build huge confidence, and confidence reads as effortless on camera.
Start with the visual frame. Check lighting by facing a window or a soft lamp, position the camera at eye level, and pull the phone back until your head and shoulders sit comfortably in frame. Pick a simple background and move one distracting object out of view. Wear one outfit you know you like on camera and keep a backup shirt within arm reach.
Next, shape the message. Choose a 30 second hook that explains why viewers should stay. Outline three short talking points and write a single sentence call to action. Decide on one question to ask viewers early to prompt chat. Keep notes on the screen or a single index card so you can glance, not read.
Run a lightning tech check. Mute notifications, enable do not disturb, confirm microphone and camera permissions, test audio with a quick voice memo, and verify Wi Fi or mobile signal strength. Close unused apps and plug in power if possible. If time allows, record fifteen seconds and watch it back to confirm everything looks and sounds the way you want.
Finish with a mental warm up: two deep breaths, a smile, and say your opening line out loud once. Remind yourself that imperfect energy is more interesting than perfect polish. When the clock hits zero, start curious, not perfect, and let the ritual carry you into effortless live presence.
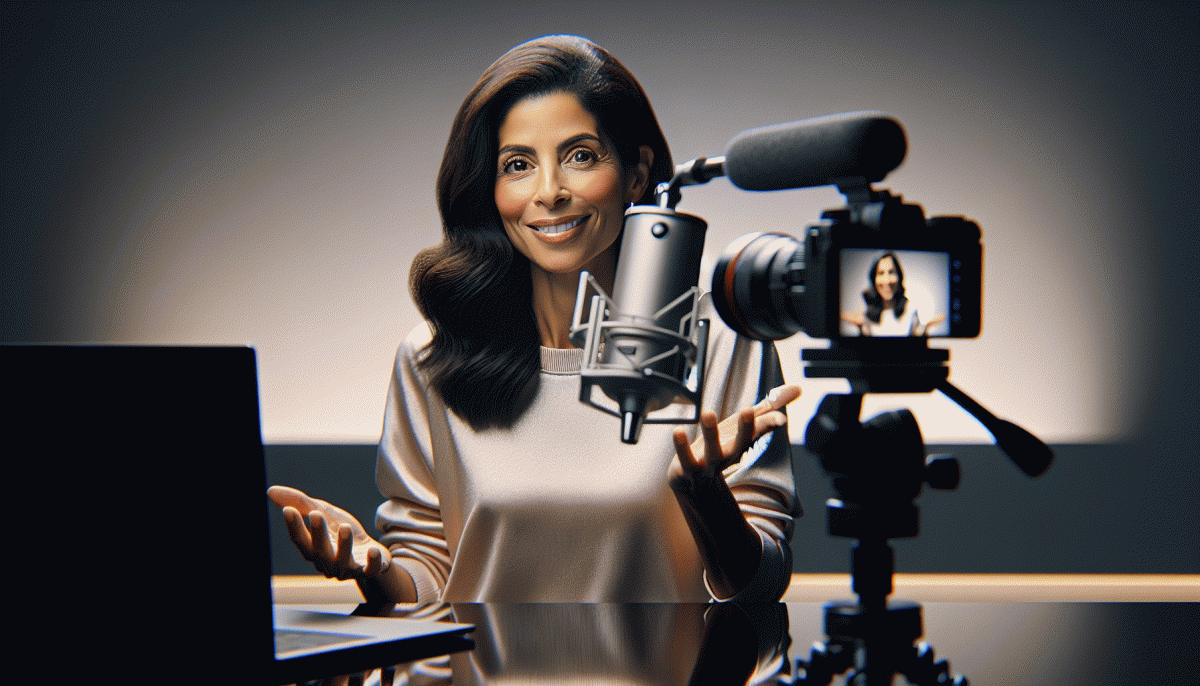
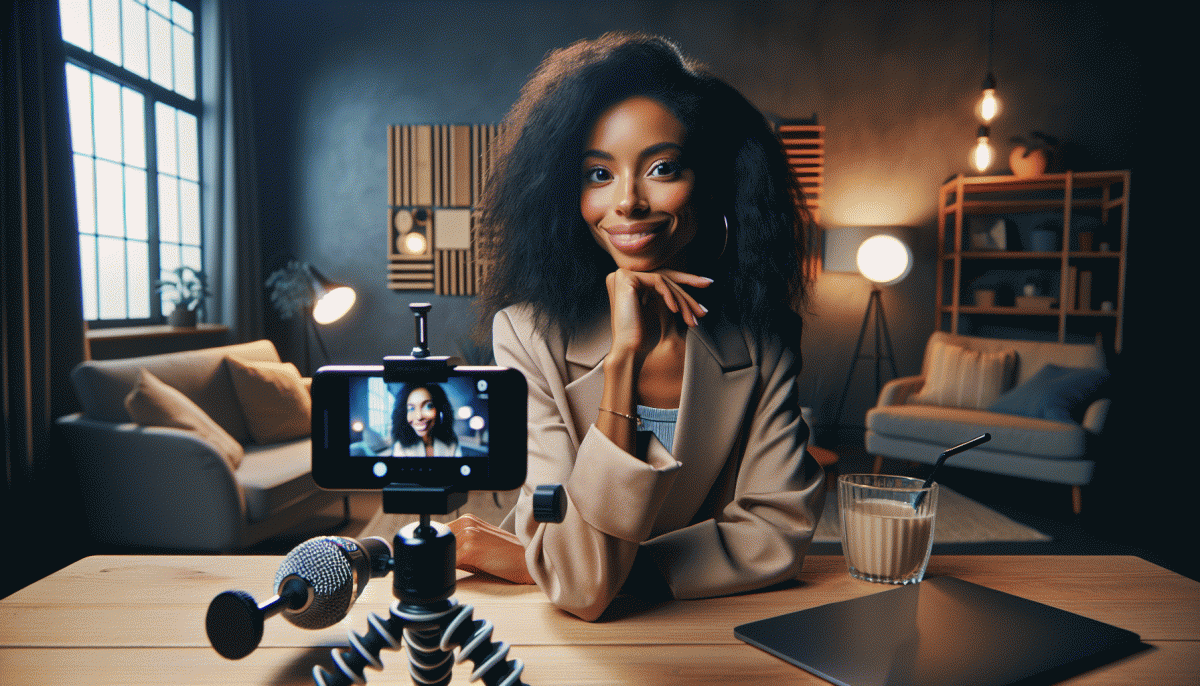
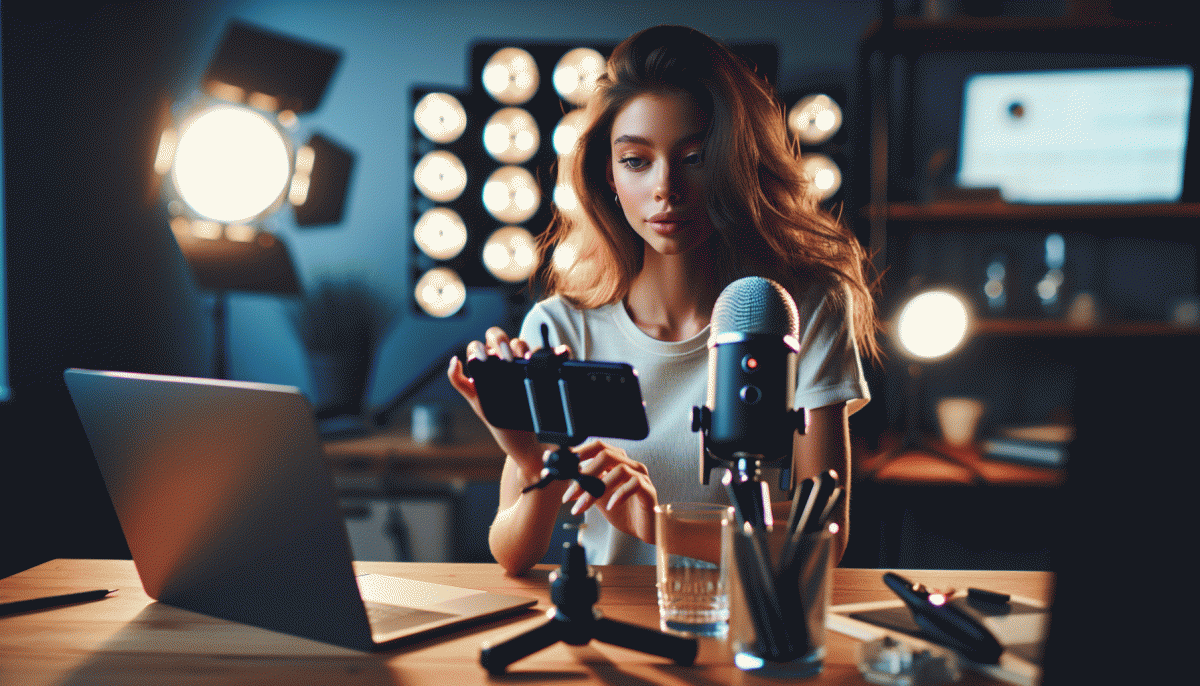
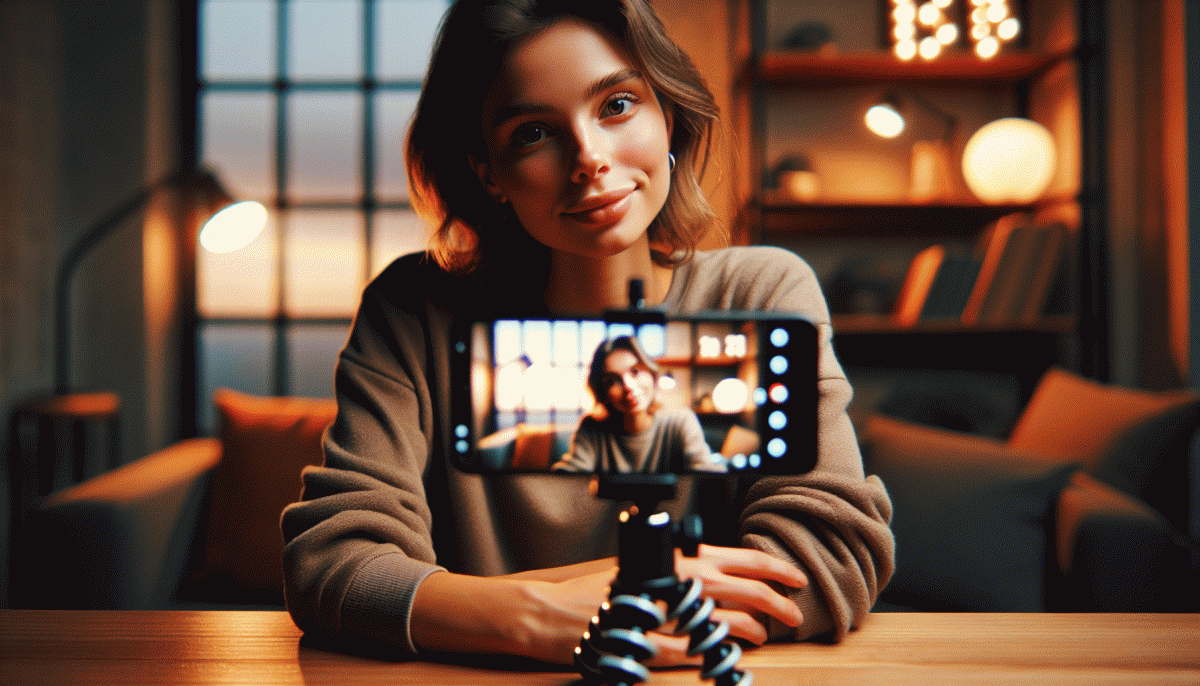
Camera, Lighting, Action: Simple Setups That Wow on a Phone Budget
Want a live feed that looks like you hired a crew but cost less than dinner out? Start with stability and framing: choose vertical orientation for Instagram, mount your phone at eye level (a stack of books + a cheap tripod clamp works wonders), and turn on the camera grid to follow the rule of thirds. Tap to set focus and then lock exposure so your face doesn't go from perfect to vampire when the sun moves.
Lighting is the cheat code. Use a window as your key light and soften it with a sheer curtain or a white bedsheet for that filmic glow. If a window isn't an option, a small ring light or LED panel is affordable and portable. Bounce light with a white poster board for fill, and add a rim/backlight by placing a lamp behind you to separate you from the background—no need for three full studio lights to look pro.
Sound sells more than fancy visuals—cheap, crisp audio makes viewers stay. Clip-on lav mics that plug into the headphone jack or a small USB mic are budget heroes; avoid Bluetooth mics if latency will make you look like a mime. Reduce echo with rugs and pillows, monitor with earbuds, and keep your phone plugged in and on Do Not Disturb so notifications don't hijack the moment.
Last step: rehearse like it's improv. Do a quick test live to check framing, lighting, and audio, and keep a small tidy backdrop or a branded item in frame to reinforce your personality. Small production choices—consistent lighting, steady framing, clear audio—turn nervous scrolling into confident streaming. Hit that Go Live button; practice beats perfect and authenticity beats polish every time.
Chat Like a Host, Sell Like a Pro: Engagement Scripts That Don't Sound Salesy
Live sessions land when the host sounds like a human, not a telemarketer. Use conversations that pull viewers in, not pitches that push them away. Below are ready to use lines you can drop into a script, then tweak for your voice. Practice these so the delivery feels effortless and spontaneous, even when you are following a plan.
Opening: Hello everyone, welcome to the stream. Tell them you are glad they showed up, mention what will happen in the next minutes. Example line: Hi all, I am trying something new today — quick demo and a few exclusive offers if you stick around. Ask where people are watching from to spark replies.
Engage: Ask for quick input that requires one word answers. Try: Which color do you like more, A or B? That brings immediate replies. For demonstrations, narrate and invite preferences: Should I show the slow version or the turbo version next? Use pauses to let comments arrive and call names when people reply.
Close: Wrap with value first, then a simple offer. Example: If this helped you, I put a link to grab a limited bundle in my bio for the next 48 hours. If you want a one on one walkthrough, drop a heart and I will follow up. No pressure, just options.
Two final tips: rehearse lines until they feel natural, not memorized; vary your tone; and map where you will ask for action so it does not interrupt momentum. Keep scripts short and conversational, then improvise. Practice this rhythm and streaming will feel less like selling and more like hosting friends.
Badges, Collabs, and Pin Comments: Instagram Features That Boost Real-Time Cred
Think of in-stream features as trust hacks: badges are the neon signs that say this person backs the host, collabs are social proof amplified, and a well-placed pinned comment steers the crowd. Turn badges from a passive icon into a moment — welcome new badge-holders by name, credit them early, and make it obvious that supporting you unlocks status and influence during the broadcast.
Collabs aren't just more faces; they lend authority. Invite a guest with a complementary audience, rehearse one or two hot takes so the conversation lands, and promote the collab ahead of time so followers arrive already primed. During the stream, tag co-hosts by name, cue transitions, and lean into the credibility transfer: their reputation warms you up in real time.
Pin comments like a director placing cue cards. Use Pin the opener: a quick, friendly summary and rules for questions; and Pin the CTA: what you want viewers to do next. Swap pins mid-stream to surface winning audience queries, highlight paid supporters, or amplify a sponsor message — the pinned comment keeps attention focused where you want it.
Before you hit Go, run this mini checklist: enable badges and know the tiers, confirm your collab guest + run a 5-minute tech check, draft two pinned comments (intro + CTA), and plan a 30‑second badge shoutout. These small moves turn live video from awkward improv into a polished, trust-boosting experience — less cringe, more cred (and more fans).
Replay Gold: Turn One Live into a Week of Posts, Clips, and Leads
Stop treating a live like a one night stand. If you record it, you have a content mine. Immediately after you finish, save the file, make a quick notes list of four to six highlights and timestamp them. Those markers are your editorial roadmap. A little prep after the stream saves hours of editing later.
Turn those timestamps into three snackable clips: a 15s hook, a 30s how to, and a 60s deeper take. Add a bold branded thumbnail, clean subtitles, and a clear CTA in the last three seconds. Want an extra push? boost your Instagram account for free to reach the first wave of viewers and seed traction.
Next, convert a key insight into a five card carousel with each card as a micro lesson, then recycle the caption into a newsletter blurb or lead magnet teaser. Post the carousel plus two clips on day one and drip the rest over days two to six. Use Stories as behind the scenes and add a poll sticker to build conversation and capture quick feedback.
Measure what matters: saves, shares, new DMs started from your pinned comment, and which clips drive follows. If a clip spikes, amplify it as a Reel and drop the full replay to IGTV or a pinned highlight. The goal is steady visibility, not viral pressure. One live, many entry points, more followers and far less cringe.
Read also
Go Live on Instagram Without the Cringe: Steal These Pro Tricks to Wow Viewers

Instagram Live Without the Cringe: The Unfair Playbook They Don't Want You to Use
Go Live on Instagram Without Cringe: The Shockingly Simple Playbook
You’ve Been Doing Instagram Live Wrong—Do This Before You Hit ‘Start’
Live on Instagram Without Embarrassment: Pro Secrets That Actually Work