Steal This Zero-Cringe YouTube Live Playbook Before Your Next Stream
Switch These YouTube Live Settings and Instantly Look Legit
Small switches in your YouTube Live settings are the difference between messy chaos and a broadcast that reads like a show. Start by writing a clear, searchable title and picking the correct category and tags. Upload a custom thumbnail, add a short description with key timestamps or topics, and schedule the stream so the countdown and preview attract early viewers.
Encoder settings matter more than people admit. Aim for 1080p at 4500–6000 kbps or 720p at 2500–4000 kbps, use H.264 and a 2 second keyframe interval, and pick 30 or 60 fps based on motion. Set audio to 128 kbps AAC, match bitrate to your upload speed with 20 percent headroom, and test locally to avoid dropped frames and buffering surprises.
On YouTube itself toggle DVR so viewers can rewind, choose Latency based on your goal (Low for live interaction, Normal for stability), and enable automatic archiving so the stream becomes a VOD. Turn on automatic captions if available, and configure chat moderation defaults like slow mode, link filtering, and at least one trusted moderator to keep the room clean and friendly.
Before going public run a private test stream, inspect Stream Health for dropped frames or bitrate problems, pin a welcome comment and schedule, and rehearse scene and audio switching. These intentional, pro level moves make your stream look polished instead of experimental and instantly boost perceived legitimacy.
The 10-Minute Preflight Checklist That Saves Your Stream
Ten minutes is all you get—treat it like the red carpet for your stream. Start a timer and run these quick wins: confirm your mic is unmuted, check gain so you are loud but not crunchy, and make sure your camera framing isn't secretly cutting off your head. Glance at CPU usage and close any rogue apps that like to steal bandwidth.
Open your broadcast software, verify the right scene collection and that overlays are visible. Hit a 10-second recording to confirm game capture and windowed sources behave, then check your bitrate and keyframe interval — nothing kills quality faster than a misconfigured encoder. Test desktop audio, game audio, and voice balance with headphones, and toggle noise suppression only if it actually helps.
Engagement tools matter: update the stream title and tags, arm your chat bots, queue any on-screen alerts, and confirm moderators are online and briefed. Preview your countdown and interstitial screens so you don't look like you opened a blank page. Have a backup scene: webcam-only or a holding screen you can switch to if something explodes.
Final 60 seconds: do a 30-second audible check, ping a mod to post a test message, and hit record locally if you like highlights. If anything fails, execute the fallback (restart OBS, switch to webcam, or roll a five-minute music loop) and still start on time — viewers forgive a little chaos if you keep the energy. Breathe, smile, hit go, and watch the cringe-free stream happen.
Chat Is Your Co-Host: Prompts and Hooks to Ignite Engagement
Think of chat as a live, breathing co-host: it interrupts, jokes, and decides whether your bit lands. Your job is to give chat things to do. Prepare short, repeatable hooks that are easy to answer, visually rewarding, and fast to scan so viewers can jump right in without missing the action.
Geo Check: "Drop your city + one emoji." Hot Take: "Tell me one shocking opinion about today's topic." Quick Vote: "Vote A or B with an emoji." One-Minute Task: "Solve this riddle in 60 seconds!" Rotate these every 10 minutes to reset momentum.
Operationally, pin the current prompt, name a friendly mod to highlight great replies, and use slow-mode windows for rapid-fire segments. When someone nails a reply, read it, add a short line of praise, and assign a tiny ritual like a custom emoji reply that signals VIP recognition for the night.
Use tight call-and-response scripts so chat acts together: "On three, drop ? if you're here for the main topic." Try a countdown: "3…2…1…post a clap emoji!" Or a binary rally: "Type 1 if you want more tutorials, 2 for more behind-the-scenes." These low-friction actions build synchronous energy fast.
Before you go live, pre-write five pinned prompts, map when you'll use each, and practice two call-and-response moments. During the stream, shout out names, repeat top answers, and close segments by summarizing chat consensus. Do this and chat won't just watch—you'll have a co-host that makes every minute feel live.
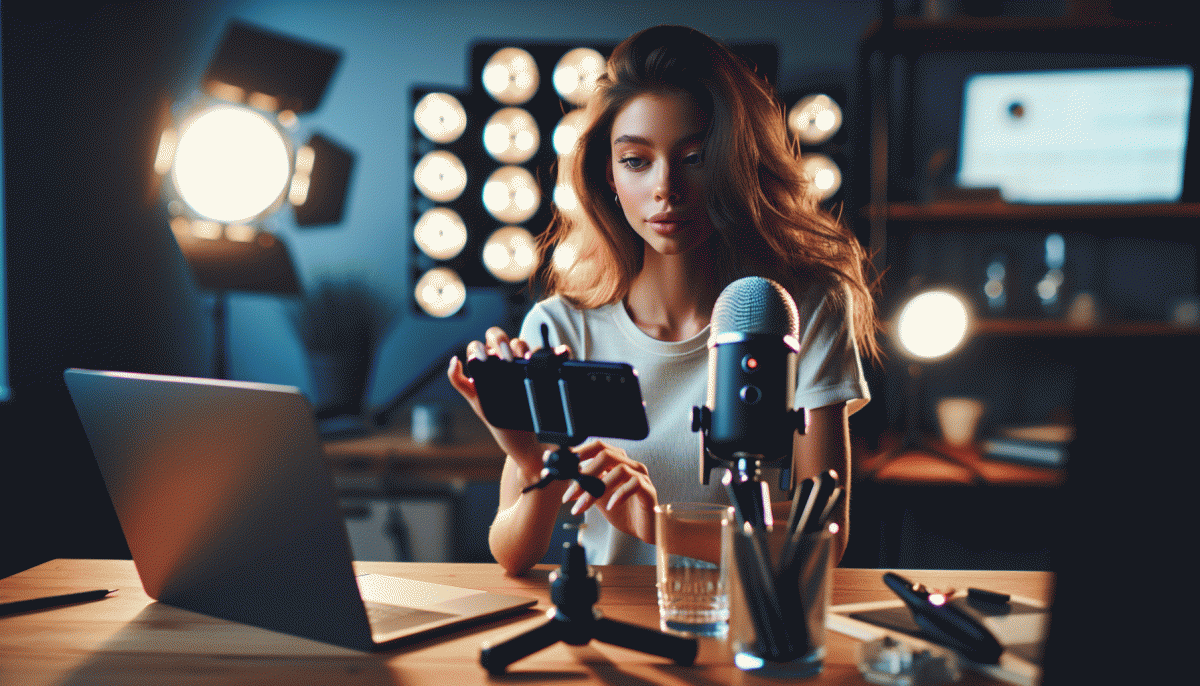
Lighting, Angles, and Audio: Look Pro Without a Studio
Look sharp on camera without turning your spare room into a film set. Good visuals and clear sound are the fastest way to make viewers stick around — and they are mostly about intention, not budget. Positioning, soft light, and a simple mic trick will upgrade your stream more than an expensive chair ever will.
Start with lighting: aim for soft, even illumination on your face. Use a large window as a key light when possible, and diffuse it with a sheer curtain or baking paper. If you need fill, bounce a desk lamp off white poster board. Avoid harsh overhead bulbs that cast unflattering shadows; a small LED panel with adjustable temp can be a game changer for under $50.
Frame and angle matter more than megapixels. Put the camera at eye level, leave a little headroom, and turn your shoulders slightly to add dimension. Keep the background tidy and add one personality item so it feels lived in, not staged. Quick checklist:
- Lighting: Soft key, gentle fill, no hot spots.
- Framing: Eye level, rule of thirds, minimal clutter.
- Audio: Close mic, pop protection, room dampening.
For sound, close-mic any microphone you can get: USB condensers work, but a dynamic or lavalier placed close to the mouth will reduce room noise. Use a foam pop filter, set gain so peaks do not clip, and enable basic noise suppression in your streaming software. Treat the room with blankets or rugs if it echoes. Do those things and your next live will look and sound like it was made by a pro, without the studio price tag.
Replay Gold: Turn One Stream Into a Week of Content
Stop treating a live stream like a one-and-done event. With a few deliberate moves during and after the broadcast, one hour of streaming can seed an entire week of snackable content that attracts viewers who missed the live moment. Think of your stream as the mothership: the longform recording stays onboard, while clips, highlight reels, and micro-posts are the probes that scout and bring back new audiences.
Start by mining for moments with clear standalone value: funny reactions, tips, audience questions, and surprise reveals. Then turn those moments into three immediate assets you can deploy across channels:
- Clips: Short, captioned 15–60s cuts optimized for social feeds.
- Recap: A 2–4 minute highlight reel summarizing the best beats.
- Teaser: 10–20s hero shots to pin to the top of profiles and stories.
Operationalize it with a simple pipeline: timestamp the raw stream as you go, mark strong moments in the chat, export clips immediately, add captions and a bold thumbnail, and then schedule the posts across platforms. If you want an easy shortcut to expand reach, check tools that help you boost your YouTube account for free and syndicate clips faster. Do not forget to reuse the recap as a pinned video on YouTube and to pull one standout clip into a short-form vertical for other networks.
Repeat this every stream and you will quickly have a predictable content calendar with minimal extra effort. One stream, many touchpoints, multiplied attention—now go harvest the replay gold.
Read also

Steal This $5/Day Ad Playbook: Grow Fast Without Torching Your Budget
Go Live on Instagram Without the Cringe: Steal These Pro Tricks to Wow Viewers
You’ve Been Doing Instagram Live Wrong—Do This Before You Hit ‘Start’

Instagram Live Without the Cringe: The Unfair Playbook They Don't Want You to Use
Steal This 2026 Social Media Power Stack: The Cheat Codes Your Competitors Don't Want You To Use