
Steal This No-Cringe Instagram Live Playbook (Look Pro, Not Panicked)
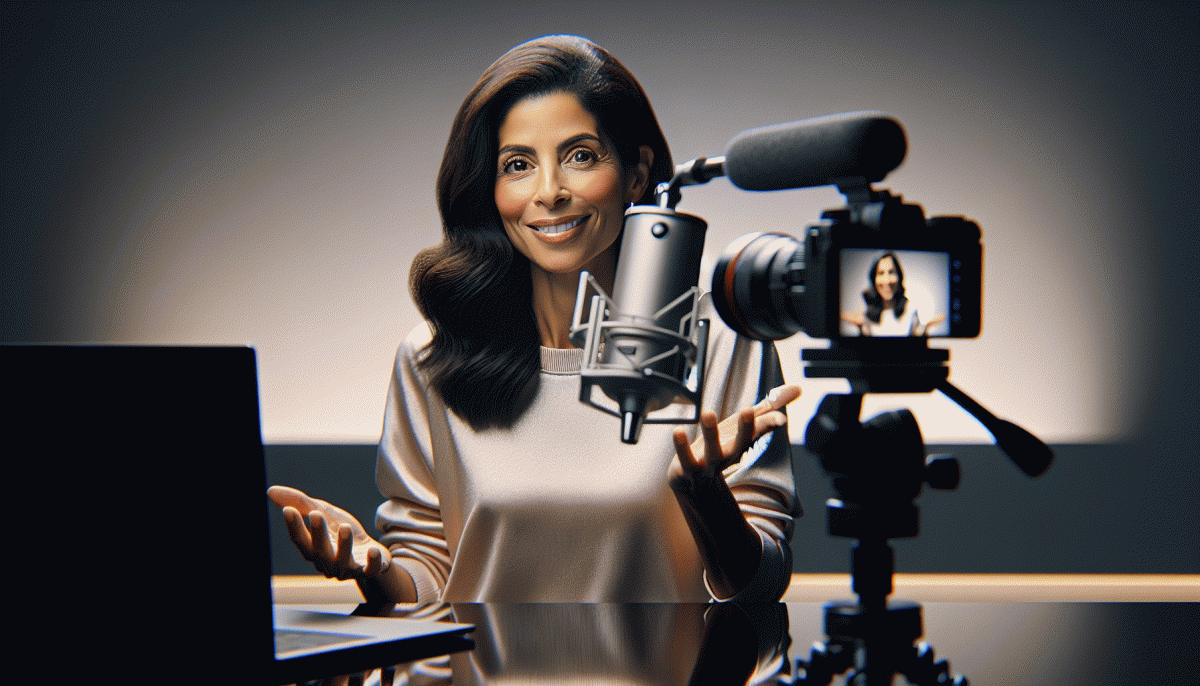
Prep in 10: Lighting, angles, and a backup plan that saves the day
Ten-minute tradecraft: Treat the next 10 minutes like a dress rehearsal — quick, focused, and mercilessly practical. Clear clutter from the frame, choose a simple backdrop (plants or a tidy shelf, not a laundry pile), silence notifications, plug in power, and pick a primary light source. Small, deliberate choices in setup make you look calm instead of frazzled.
Lighting hack: Face a window or mount a soft ring/LED at eye level as your key light; diffuse harsh bulbs with a white cloth or translucent shower curtain. Use a white card or reflector for fill to soften shadows. Avoid overhead lighting and strong backlight. If your phone supports it, lock exposure/white balance so the image doesn't keep hunting during the Live.
Angle rule: Place the camera slightly above eye level and tilt it down just enough to keep your chin natural. Set the lens about an arm's length away; too close distorts, too far disconnects. Use a tripod or stacked books and a clamp for stability, keep vertical framing centered on the eyes, and leave consistent headroom for a flattering, professional composition.
Backup plan: Have a charged power bank, a second device logged into the account, and a mobile hotspot ready. Pre-write a 60-second fallback script and a handoff line for a co-host in case you need to swap devices. If bandwidth tanks, switch to audio-only or continue the conversation off-camera while you troubleshoot — rehearsing these pivots makes them seamless.
Final 60-second checklist: Clean the lens, enable Do Not Disturb, lock focus/exposure, plug in power, test a 30-second recording to check lighting and audio, and run one quick intro line. Breathe, smile, and remember: ten minutes of ritual beats ten minutes of panic every time.
Openers That Hook: First 20 seconds to stop the scroll cold
Think of the opening twenty seconds as your headline in motion. Start with a micro story snapshot, an impossible promise, or a tiny visual trick that forces a double take. Try a quick contrast like problem then solution in one breath, or show the final result first and then reverse engineer. Keep energy calibrated, use a single prop, and commit to the line you choose so you look confident not frantic.
Here are plug and play scripts that actually land: "Two secrets my clients used to double live attendance"; "Stop scrolling — I will show you one low tech tweak that upgrades your camera look"; "In one minute I will fix your lighting, watch this test". Say each line with a beat, a micro pause for reaction, then deliver one compact win. Avoid long setups and sleepy intros.
Small stagecraft choices multiply impact: get close enough to the lens to read emotion, add a quick sound cue or snap to reset attention, and use a 3 2 1 countdown to build tension. If you want a short term reach boost while you refine these moves, grab genuine YouTube engagement to seed early momentum. Use that momentum to prove your promise in the next 40 seconds.
Practice drills to make this automatic: rehearse the opener five times and record the best take, trim to 15 seconds, and test on a friend. Pin a simple call to action and an on screen caption that repeats your hook. Track retention at 10 and 30 seconds and the first minute comment rate, iterate the line that keeps viewers, and repeat until the scroll stops.
Run the Room: Scripts, pacing, and CTAs that keep chat buzzing
Think of hosting like DJing: you control the tempo, read the room, and drop hooks that make people move. Start with three short scripts you can memorize: a 10-second welcome ("Hey! I'm [Name], quick mic check — drop a ? if you can hear me"), a 20-second credibility line that explains why this matters now, and a 5-second invitation to participate ("Tell me your city and one word about your mood"). Use names, repeat answers, and thank contributors aloud — nothing keeps chat warmer than recognition.
Pacing is your secret weapon. Break the hour into bite-sized beats: 0–5 minutes for onboarding and the promise of value; 5–30 for the main content delivered in 7–10 minute chunks with micro-CTAs every 3–5 minutes; 30–45 for a live demo or Q&A where you switch to cold-calling chat comments; 45–60 to wrap, repeat the offer, and drop the final CTA. When you hit a lull, use a two-line recovery script: "Quick poll — thumbs up if you want more of this" and then immediately call out answers to restart momentum.
Keep a cheat-sheet of interaction engines you can pull on demand:
- Hook: One-sentence promise that solves a pain in 10 seconds and invites a reaction.
- Engage: 90-second demo or story followed by "Type 1 if you want a quick tutorial."
- Close: Clear CTA + urgency: repeat what to do next and where (pin the next step in bio).
Finish like a pro: repeat the CTA three times, thank commenters by name, and give a tidy next-step ("Clip will be up — save this live, DM me your question, and I'll answer the top 3 tomorrow"). Repurpose the best 30–60 second moments as reels to build anticipation for the next show. Small scripts, tight pacing, and relentless recognition keep chat buzzing without the cringe.
When Tech Fumbles: Fast fixes and graceful saves on the fly
When a mic glitches or the stream freezes, your vibe matters more than the tech. Keep calm, smile, and remember: viewers forgive hiccups when you're human, decisive, and a little witty. Open with a short, friendly line that resets tone — something like "Quick tech nap, back in 90 seconds!" — then move into troubleshooting.
First, triage fast: mute and unmute the mic, toggle the camera, switch from Wi‑Fi to cellular, or ask a co‑host to take the wheel. Have a second phone signed into the same account ready; if it connects, move the live to that device and close the problem tab. If video remains laggy, lower resolution in your app or drop to a still image while you fix audio.
Quick triage cheatsheet:
- Restart: Close and reopen the app or toggle the camera — often the fastest fix.
- Bandwidth: Switch to cellular, turn off other devices, or lower stream quality to stop buffering.
- Pivot: Move to audio-only, share a static image, or invite viewers to comment while you sort it out.
Say something that buys time and builds trust: acknowledge the slip, promise a clear return time, and invite engagement while you work — ask a question, run a quick poll, or spotlight a viewer comment. A tiny dose of self-deprecating humor works, but avoid blaming gear or people. If the fix will take longer, schedule a resumption and thank people for sticking around.
Prep these moves before you go live: a checklist of cables, batteries, backup device, and a 30‑second "panic script" saved in notes. Rehearse a two‑minute recovery so it feels natural. The more you practice these tiny rescues, the less cringe they look — and the more pro your live will feel, even when tech fumbles.
Squeeze the Replay: Turn one Live into a week of content
Think of your Instagram Live replay as cinematic raw footage, not a single file to bury. Open the recording, note 3-5 timestamped moments that land — a bold tip, a question that sparked debate, a tangible result. Export tight 15–60s cuts with a punchy first 3 seconds; those become Reels, Shorts, and Stories that pull viewers back to the full replay.
Map a simple week: Day 1: post the full replay to IGTV or feed with a pinned CTA.
Day 2: drop a 45s highlight as a Reel with subtitles.
Day 3: share a carousel of screenshots and a bold quote in the caption.
Day 4: run 3 Stories clips with a poll.
Day 5: post a behind the scenes microclip.
Day 6: reshare a Q and A moment.
Day 7: publish a roundup post that drives viewers to the next Live.
Production shortcuts win: auto generate captions then quickly clean them, export vertical 9:16 clips plus a 1:1 thumbnail crop, and save branded intro/outro templates so edits are fast. Make thumbnail text readable at thumb size, add a waveform or subtitles for thumbscroll stop power, and batch one key caption you can slightly tweak per platform.
Metrics matter but experimentation is the point. Test three formats this week — Reel, carousel, and Stories sequence — and compare plays, saves, and shares. Reusing one Live into seven distinct posts reduces pressure, grows reach, and makes you look composed instead of panicked. Try it once and you will not go back.
Read also
Go Live on Instagram Without the Cringe: Steal These Pro Tricks to Wow Viewers

Instagram Live Without the Cringe: The Unfair Playbook They Don't Want You to Use

Go Live on Instagram Without Cringe: The Shockingly Simple Playbook

You’ve Been Doing Instagram Live Wrong—Do This Before You Hit ‘Start’

This 3x3 Creative Testing Framework Saved Us Thousands—Steal the Playbook