Live Content Done Right on Instagram (Without Embarrassment): Steal These Pro Moves
Hit Go Live with a plan: hooks, beats, and a tidy run-of-show
Think of your live as a tiny production: a magnetic 15–30s hook, predictable beats, and a tidy finish. Start with a one-line promise: 'Stay 90 seconds and you'll learn X' or a sharp question: 'Ever wish your captions wrote themselves?' That instant clarity prevents the awkward scroll-away and sets expectation for the whole stream.
Map the beats like a DJ queues tracks: 0:00–0:30 headline + hook; 0:30–3:00 fast value demo or story; 3:00–6:00 audience interaction — call names, read comments, answer two questions; 6:00–9:00 deeper demo or case study; final 60s for the CTA and a tidy sign-off. Timeboxing keeps you focused and gives viewers a reason to stay.
Use a one-page run-of-show you can scribble on a notecard. Example: Intro (0:00–0:30): hook + what viewers get.
Main Beat (0:30–6:00): teach/show/entertain in 90–120s chunks.
Engage (6:00–8:00): comments + quick wins.
Close (last 60s): repeat the promise, drop a clear CTA, tell them where to go next. This keeps your energy steady and makes editing highlights later trivial.
Before you tap Go Live, check camera framing, mic level, background, and battery; pin a comment with the episode title and CTA; set an alert or two so you acknowledge first viewers. Rehearse tiny transitions ('mention name, answer, move on') so you don't stall. Nail the hook, respect the beats, and your live will feel polished — without the embarrassment.
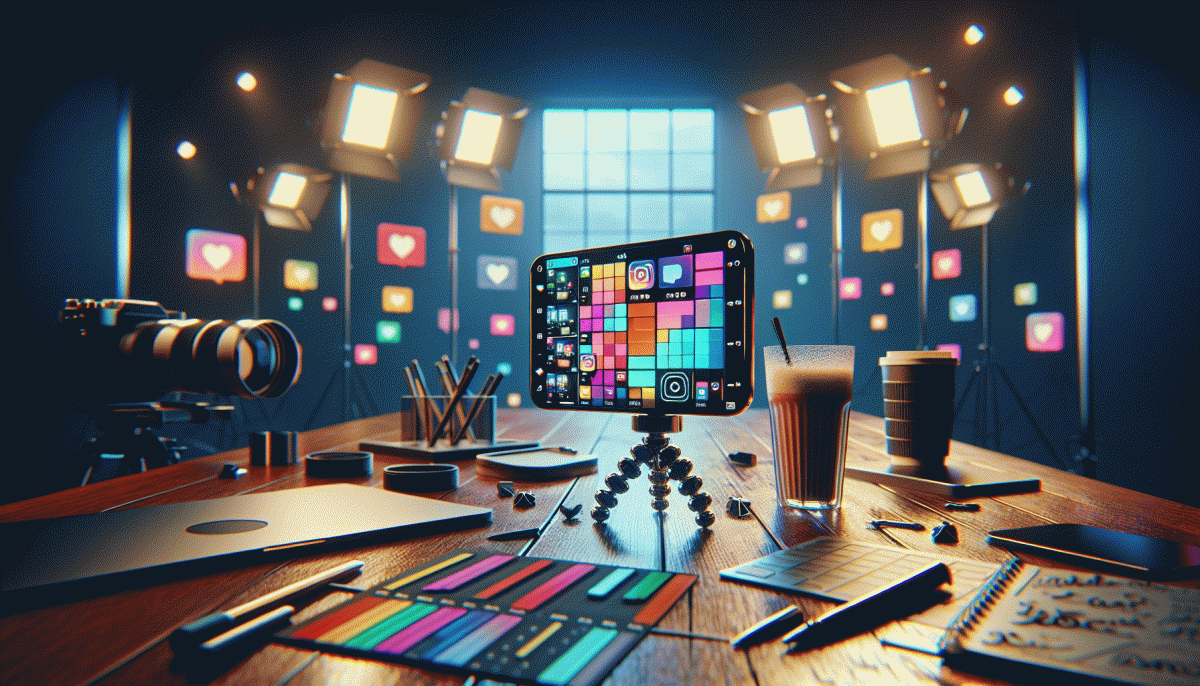
Look and sound sharp: the 90-second setup that fakes a studio
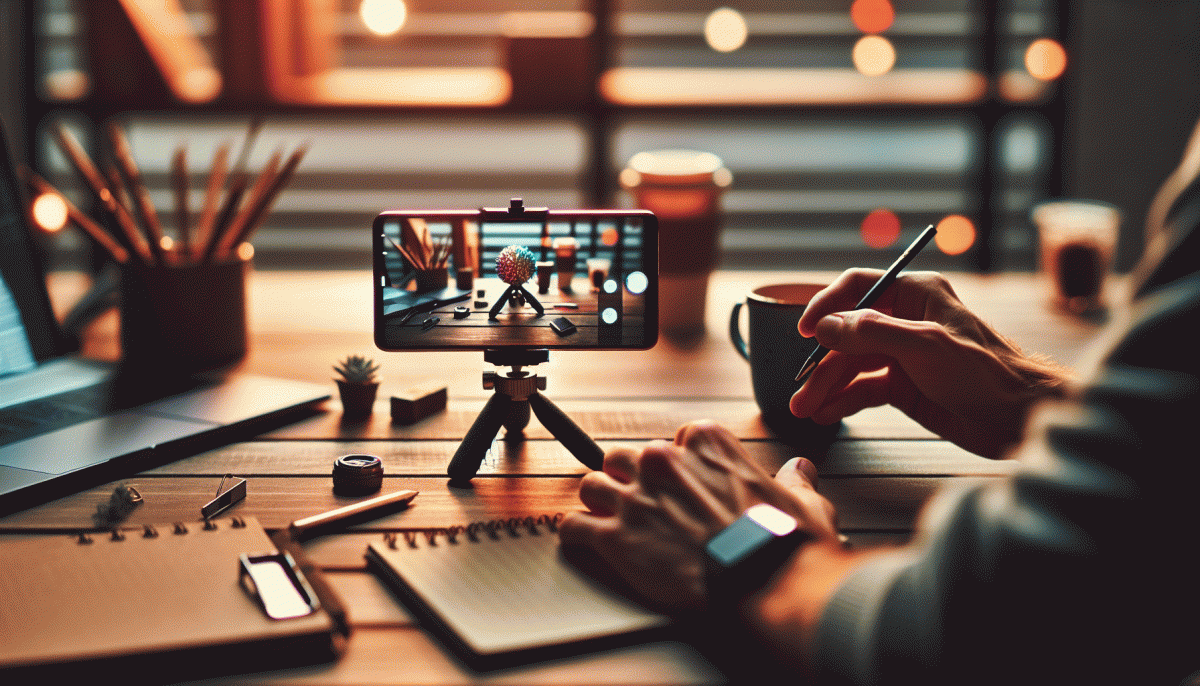
Start with 90 seconds to tune your look, sound and confidence. Set your phone upright on a tripod or a stack of books, frame at eye level, and use the grid to keep eyes on the top third. Keep the camera slightly above chin level for a flattering angle and breathe steady to avoid sudden movement.
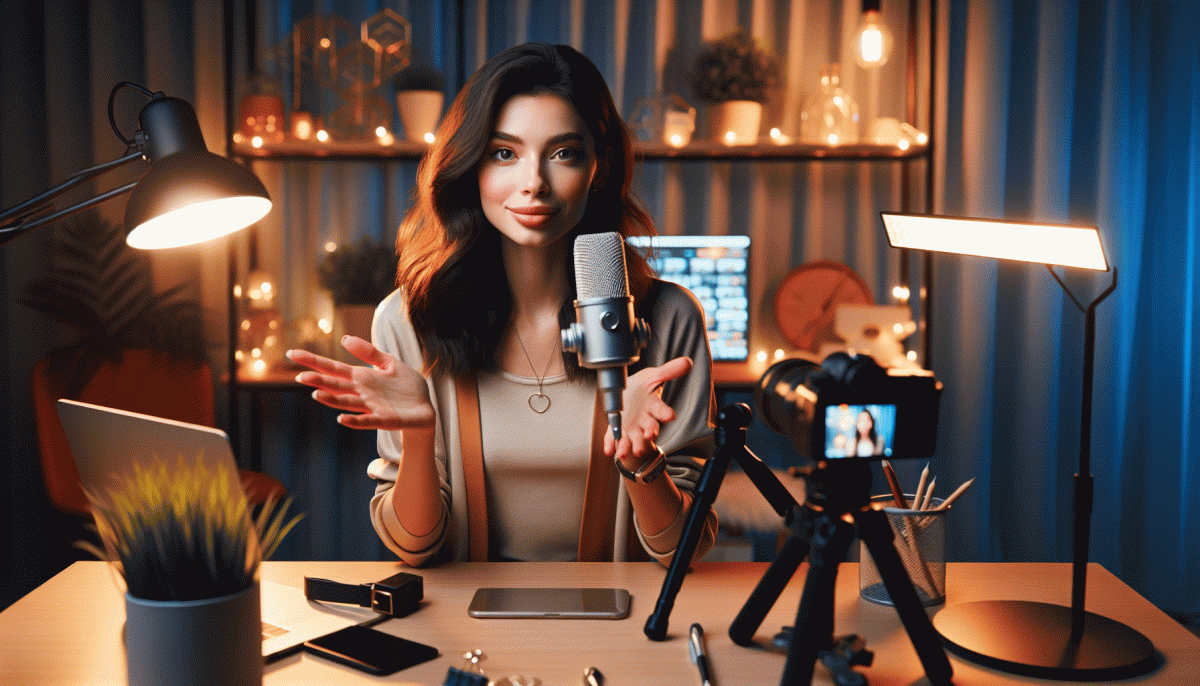
Fake a studio with three cheap tricks: Lighting — face a window or soften a lamp with tracing paper; Background — clear clutter, add a logo card or plant for depth; Tone — pick a solid backdrop color that complements your outfit. Avoid busy patterns that fight for attention on screen.
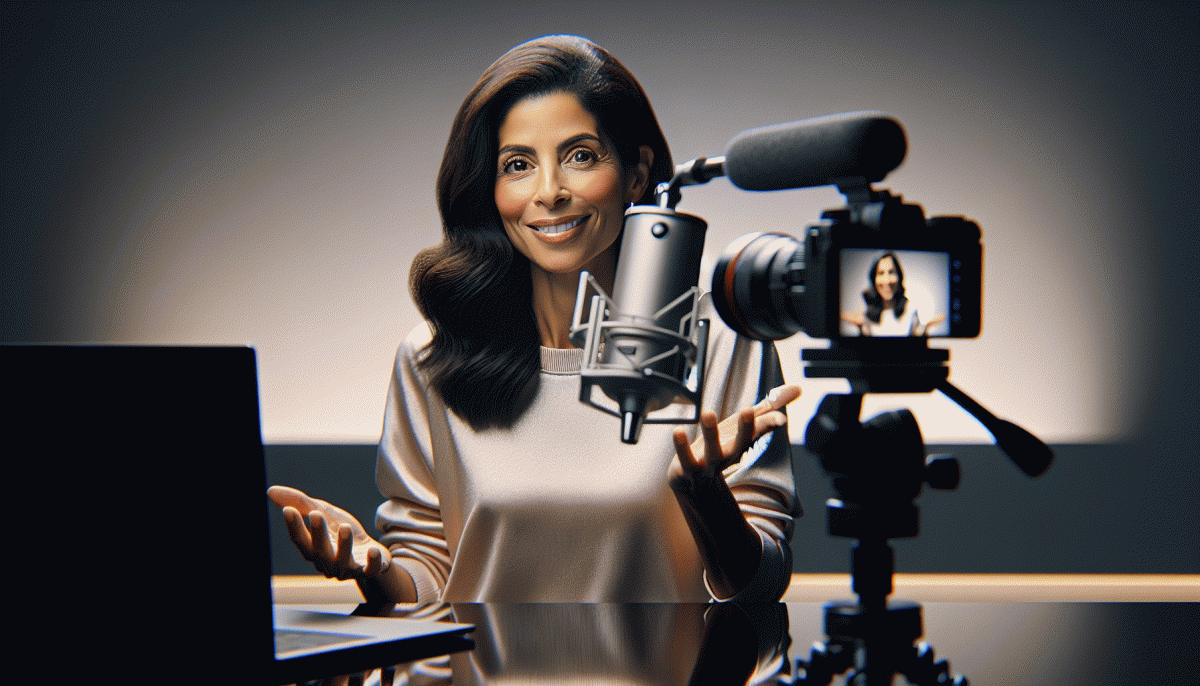
Audio matters more than perfect lighting. Clip a lavalier to the collar, tuck an earbud mic near the jawline, or use a USB mic if available. Reduce echo by closing curtains or adding a throw pillow behind you and do a quick 10 second mic check. For quick gear and simple upgrades that actually help, visit boost Instagram.
Lock focus and exposure to stop the camera hunting, wipe the lens, and avoid digital zoom. Stabilize with a small tripod, weighted mug, or stack of books and rehearse a single confident move if you will walk. Put the phone on Do Not Disturb to avoid surprise pings and keep energy steady.
Use a 90 second checklist: 0-30 seconds set light and background, 30-60 seconds check audio and framing, 60-90 seconds close apps, test internet, and rehearse your opener. Say the first line out loud, smile, breathe, and treat the countdown like a warm up that makes you read like a studio pro.
Keep viewers glued: chat tactics that boost watch time
Think of chat as your studio audience and the stage manager rolled into one. Give one short, playful instruction as people arrive so they know how to join the show: say hello, drop a city, or pick A or B. That tiny nudge turns lurkers into participants and dramatically reduces early dropoff by creating instant social proof.
Timing is everything. Plant reasons to stay every 3 to 7 minutes: a quick demo, a midstream shoutout, a mini giveaway, or a countdown to a reveal. When the stream is mapped into bite sized beats, viewers get rewarded for patience and watch time becomes something you earn, not beg for.
- Hook: Promise a valuable reveal five minutes in so newcomers have a concrete reason to stick around.
- Callout: Solicit very short responses such as emoji reactions or yes/no answers to spark an immediate cascade of chat activity.
- Tease: Drop a believable cliffhanger and remind the room before it happens so watchers do not bail.
Make it personal. Name check viewers, thank new followers, and highlight clever comments — that social currency keeps people engaged longer. Pin one clear instruction and update it when you shift gears so returning viewers notice the change. Moderate quickly but avoid over sanitizing; authenticity is sticky.
Finally, measure in minutes watched and dropoff points, then iterate. Try moving reveals earlier, shortening segments, or increasing micro-prompts to see what holds attention. Small experiments plus a chat-first structure create longer sessions, higher retention, and a feed that starts recommending your live more often.
Crisis button: what to do when trolls, tech, or brain freeze strikes
Live video can go sideways fast: a camera freeze, a rude commenter, or that moment when your brain returns empty. First response is always the same calm move. Pause, breathe, and show intent. Flash a BRB graphic or switch to a standby visual so viewers know you are still in charge rather than letting chaos run the stage.
Immediate practical moves win time. Mute or restrict the offender, close comments for a minute, or hand the stream to a trusted cohost if available. If the app needs a restart, run a three step reboot: reconnect, test mic for 10 seconds, and relaunch. Keep a one line pivot ready on a sticky note so you can recover with confidence and keep energy up.
For brain freeze, rely on fallback prompts: read a top comment, run a snap poll, or show a prepped image to spark talk. For trolls, do not engage; use moderation tools, block, and ban as needed. A quick humorous acknowledgment after the fact limits drama and shows you control the room while keeping community standards intact.
Aftercare matters. Clip the best bits, post a calm recap, and if needed schedule a redo within 24 hours. Update a short checklist for gear, connection, and talking points so the next live is smoother. Recovery practices make Instagram Live feel resilient, not terrifying.
One live, many wins: repurpose into Reels, posts, and emails
Turn a single live session into a week of magnetic content without sounding like a broken record. Start by harvesting the raw material: note the timestamps where the energy spikes, the aha moments, and the questions that lit up the chat. Those timecodes are gold for short clips, grab-ready quotes, and the subject lines that will make people open your emails.
For Reels, aim for punchy 15–45 second clips that hook in the first 3 seconds. Crop to vertical, add bold captions, and drop a 1-line context card at the top so each clip stands alone. Try a fast-cut version for feed and a slower, more thoughtful slice for stories — both use the same footage but feel different, so they hit different audiences.
Turn the long recording into a carousel post by pulling 5–7 teachable moments and turning each into a single-image tip. Use a strong pull quote for slide one, a one-sentence takeaway for slide two, then a micro-action on the last slide with a clear next step. That carousel becomes a mini-course that keeps the conversation going in the comments.
Email gets the behind-the-scenes treatment: a short recap, the top clip embedded or linked, and a single CTA to watch the full replay or join the next live. Ship three variants — teaser, recap, and value follow-up — spaced over a week to catch different segments of your list.
Measure and repeat: track clip views, saves, and replies, then double down on formats that drive action. Keep a simple repurpose checklist so every live session feeds Reels, posts, and emails without reinventing the wheel — consistent output, less panic, more wins.
Read also
Go Live on Instagram Without the Cringe: Steal These Pro Tricks to Wow Viewers
Still Crushing Instagram Without Ads? Steal These Organic Tactics
Live on Instagram Without Embarrassment: Pro Secrets That Actually Work

Campaign Burnout? Steal These No Rebuild Moves to Wake Your Metrics Up

Instagram Live Without the Cringe: The Unfair Playbook They Don't Want You to Use