Live Content Done Right on Instagram (Without Embarrassment): 7 Proven Moves to Look Effortless on Camera
The 10-Minute Pre-Live Checklist That Prevents 90% of Cringe
Ten minutes before you go live, treat this as a backstage sprint: a fast, focused ritual that stops the facepalm. Run through sound, sight, context, and control so you look calm instead of chaotic. This is a micro-rehearsal that fits between making coffee and muting notifications.
Run this tiny checklist and you will dodge most common slipups:
- ⚙️ Mic Check: Test audio at normal speaking volume and reduce background noise.
- Frame: Confirm headroom, camera angle, and remove distracting items from background.
- Hook & CTA: Start with a one-line hook, know your 30-second opener, and decide the single call to action.
Finish with the 3-2-1 rule: three deep breaths, two-sentence intro, one clear CTA. Plug in power, enable Do Not Disturb, close noisy apps, and glance at battery and data. Repeat this routine and the awkward pauses, audio hiss, and surprise interruptions will evaporate. Breathe, smile, press Live, and own the room.
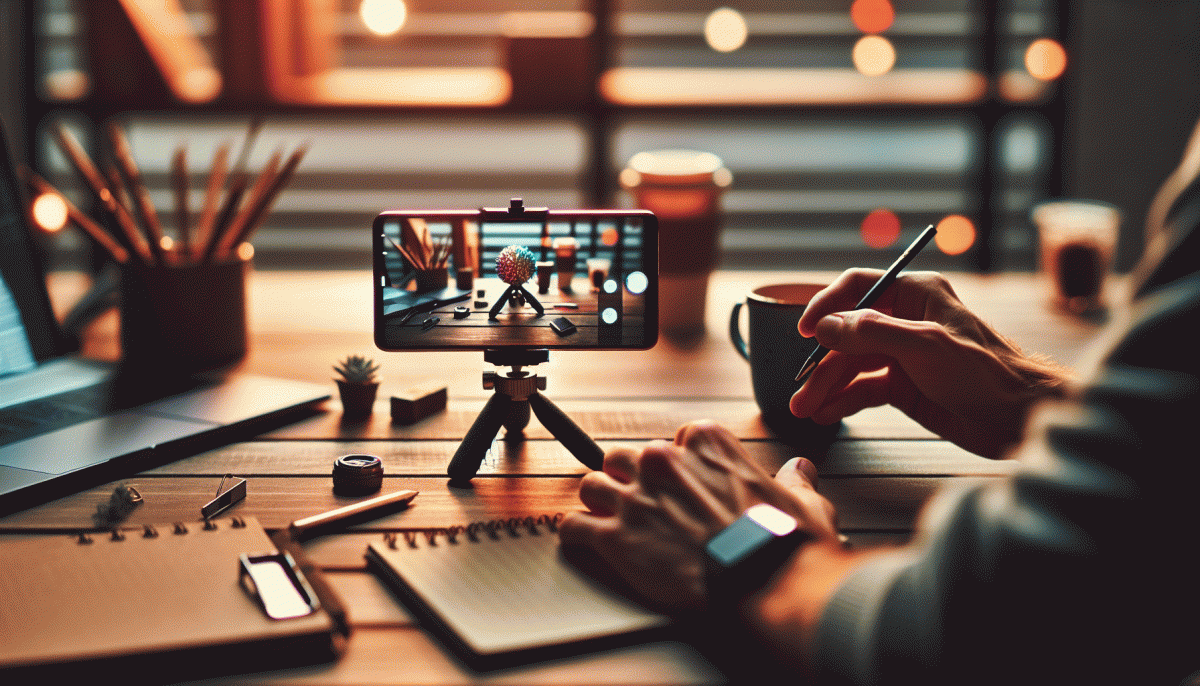
Lighting, Framing, Audio: The simple home setup that looks studio-grade
You can achieve a studio feel without a studio. Start with three things: light, frame, and sound. For lighting, use a soft key source at about 45 degrees — a ring light, a softbox, or a bright window with a thin curtain works. Add a gentle fill from the opposite side using a white foam board or a dim lamp to avoid heavy shadows, and place a small backlight or lamp behind you to separate your hair and shoulders from the background.
Framing is more about calm than perfection. Keep the camera at eye level or slightly above, leave a small amount of headroom, and position your eyes near the top third of the frame so viewers feel connected. For Instagram Live, shoot portrait, keep shoulders angled slightly, and avoid wide shots that make you look distant. If you need to move, plan a short, deliberate path and rehearse the motion so it reads as intentional.
Good audio makes viewers forgive a lot. A lavalier is cheap and invisible, a shotgun mic on a boom is more polished, and a phone with a clipped mic is fine in a pinch. Treat the room: soft surfaces like rugs, cushions, and curtains cut echo. Always run a quick mic test and monitor with headphones if possible; watch levels so you do not clip or sound too quiet on other devices.
Set a 10 minute routine: open curtains, place key and fill, check framing, plug and test mic, record a 30 second clip to confirm look and sound. Nail that sequence and the camera will forgive performance nerves. Learn how this setup ties into growth strategies at effective Instagram growth.
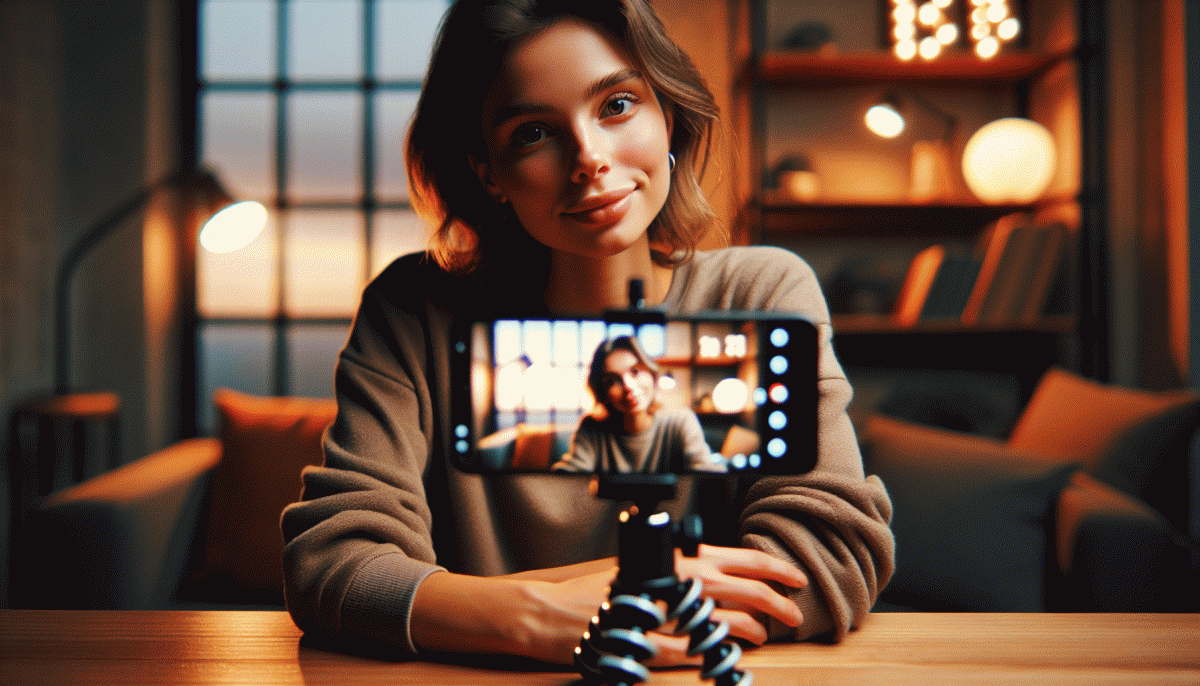
Open Strong: Icebreakers and hooks that stop the scroll
First 10 seconds are everything — treat them like the headline of a tabloid: bold, specific, slightly scandalous. Open with a micro-promise that tells viewers what they'll gain by staying: a handy hack, a dare, or a surprising stat. Smile, lean in, and use a tiny pause to let curiosity land.
Try a three-part opener: a one-line hook, a 10-second demo, and a cliffhanger. Prep two interchangeable openers so you can pivot if the vibe shifts. If you want shortcuts to better reach, check boost Instagram for tools that amplify live traction and save you a few awkward seconds.
Quick starter scripts you can steal right now:
- Curiosity: "What if I told you one tool could cut your editing time in half?"
- Dare: "I bet you won't watch this for 30 seconds without saying a word — try it!"
- Offer: "Stay to the end and I'll drop a free template you can copy."
Say no to long teases. Use a bright prop in second six, point at it, and explain its purpose in one sentence. Invite interaction with a single clear prompt — don't ask for three things at once — and repeat that prompt when the chat wakes up.
Rehearse once, riff forever: record a practice run, trim the awkward beats, and lock the opener under 15 seconds. Do that and you'll stop sweating the start and spend more time delivering the good stuff.
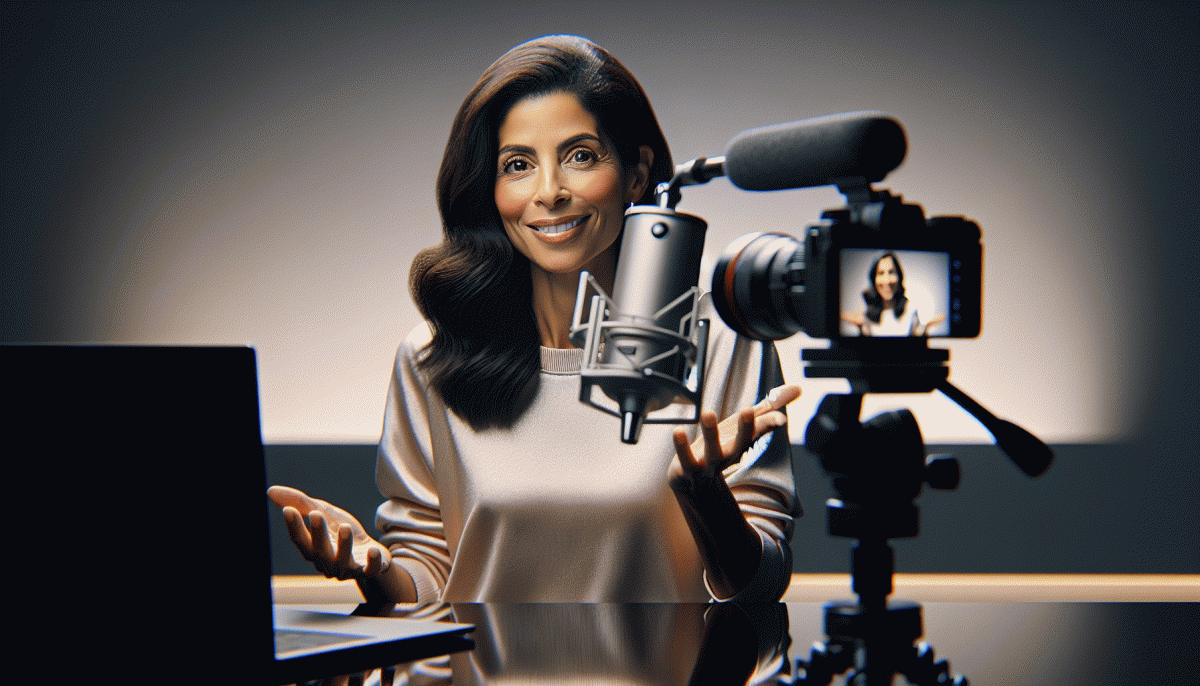
Engage in Real Time: Polls, prompts, and pacing that keep chat buzzing
Think of your Live as a conversation, not a broadcast. Start with a tiny, instant interaction to signal this is two-way: a quick Poll or a “thumbs up if you can hear me” prompt gets people typing and breaks the ice. Short, binary polls and emoji reactions remove the cognitive load for viewers—more taps, more momentum. Keep questions sharp and answerable in one word.
Design prompts that are plug-and-play: a “Type 1 for A, 2 for B” opener, a one-sentence challenge, or a fill-in-the-blank you can repeat between segments. Use prompts to steer the chat toward content you want to highlight—opinions, experiences, or quick wins—and to crowdsource examples you can riff on. Call people out by name when they respond; that personal shout-out is conversation glue.
Pacing is the secret ingredient. Chunk your Live into mini-sprints: warm-up (2–3 mins), deep demo or story (8–12 mins), engagement break with a poll, then a rapid Q&A. Use a visible timer or a discreet note so you maintain rhythm without sounding scripted. When activity dips, drop a lightning prompt—“emoji if you want more”—so the chat has something immediate to do.
Put it together like a simple recipe: open with a poll, deliver the meat, toss in a prompt to revive energy, finish with a recap and a final choice-driven CTA. Prep fallback prompts and a helper to moderate comments if you can. With a few practiced moves, your Live will feel effortless, spontaneous, and irresistibly clickable.
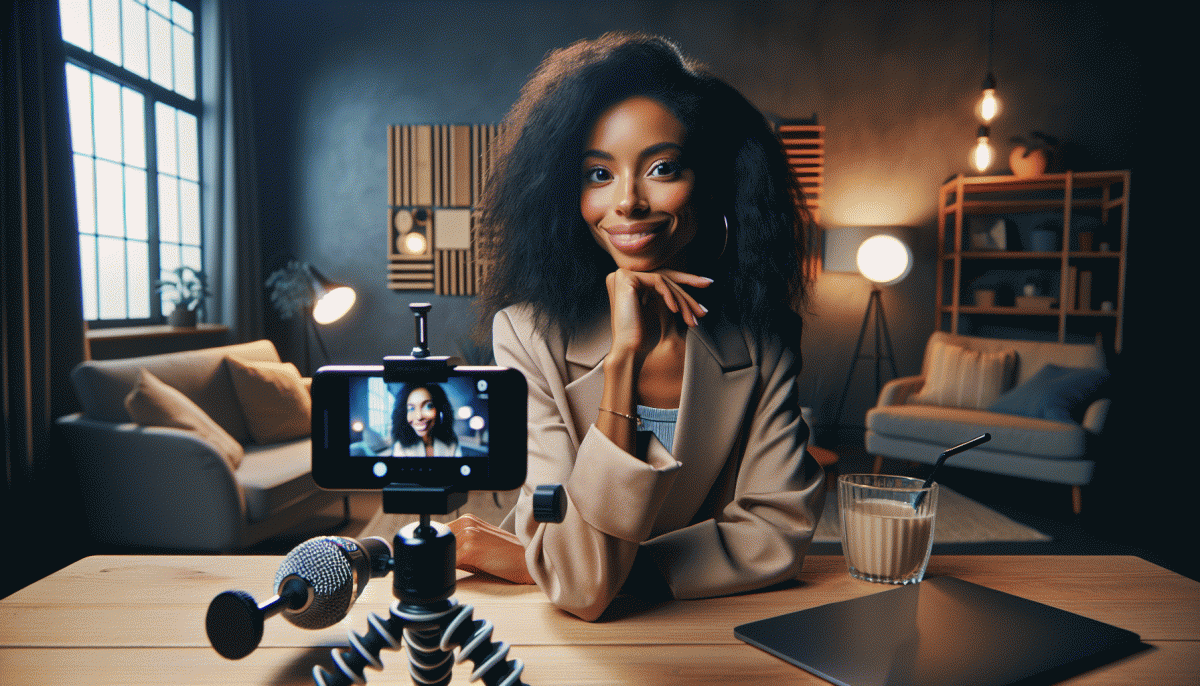
Oops-proofing: Smooth recoveries for freezes, trolls, and accidental hangs
Small disasters are part of live video — but they don't have to feel disastrous. Build a lightweight “Oops kit” you can reach for: three canned recoveries (a calm apology, a witty reset line, and a technical timeout), a one-sentence intro you can read if you lose your train of thought, and a visible sticky note with your main talking points. Record a couple of rehearsals and re-watch them to make the recovery lines sound like natural banter rather than panic.
When the feed freezes: don't panic. Have a pre-recorded 15–30 second “be right back” clip ready to drop, and tell your cohost or moderator to push it if you vanish. If you're still live, say something human like “Quick refresh—back in 10 seconds” and count slowly to three before returning; if you can, ask viewers to refresh the stream in chat. Always stream from a charged device on a reliable network and keep your phone hotspot as a failover so you can resume fast.
For trolls, the best weapon is redirecting energy. Pin a short comment stating your chat rules, appoint one moderator before you start, and use two tactical replies: one funny deflection and one enforced mute/ban when necessary. Scripted phrases such as “Thanks for your take—let's keep it constructive” let you stay in control without sounding robotic, and having a predetermined escalation path keeps you calm.
If you accidentally hang or end the stream, act fast with a recovery plan: rejoin within a minute, post a Story explaining what happened, and repurpose the restart into a second short clip for feed or Reels. Before every go-live, run a 60-second tech checklist (battery, app updates, mic, lighting) and decide who will handle tech hiccups. Small rituals like that turn emergency recovery into a seamless part of your show and actually make you look more professional — not less.
Read also
Live on Instagram Without Embarrassment: Pro Secrets That Actually Work
Go Live on Instagram Without the Cringe: Steal These Pro Tricks to Wow Viewers

Instagram Live Without the Cringe: The Unfair Playbook They Don't Want You to Use
Go Live on Instagram Without Cringe: The Shockingly Simple Playbook
You’ve Been Doing Instagram Live Wrong—Do This Before You Hit ‘Start’