Instagram Live, Minus the Cringe: Steal This Foolproof Game Plan
Press Play, Not Panic: A 5‑Minute Pre-Live Checklist
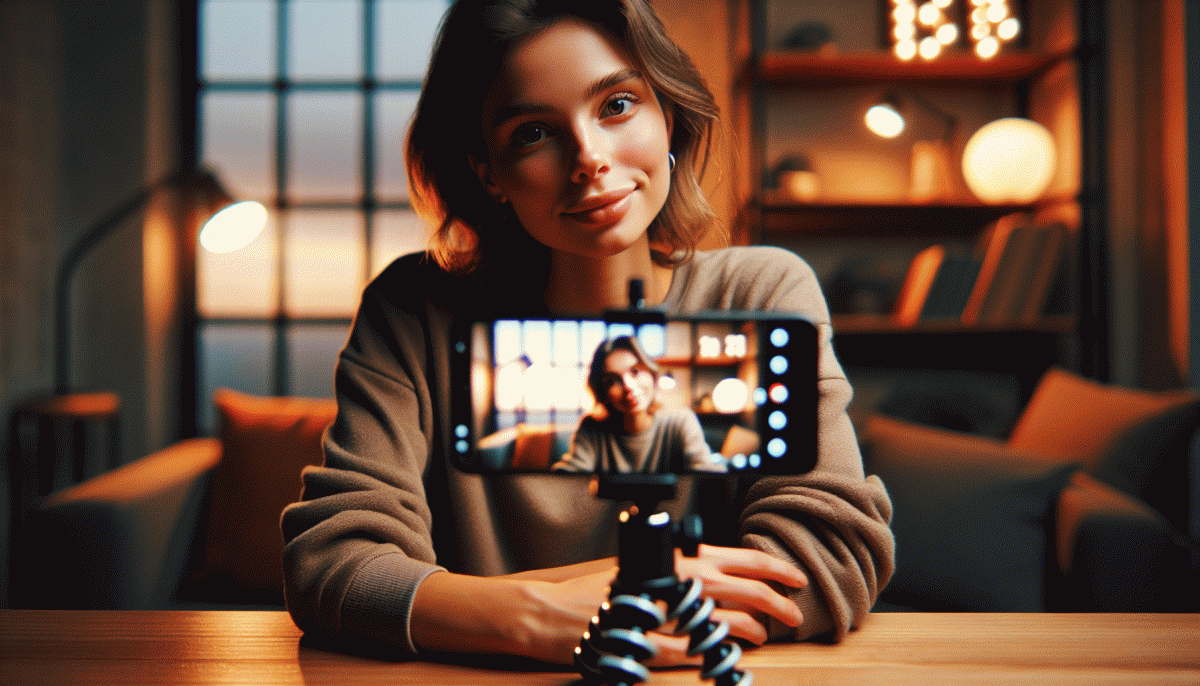
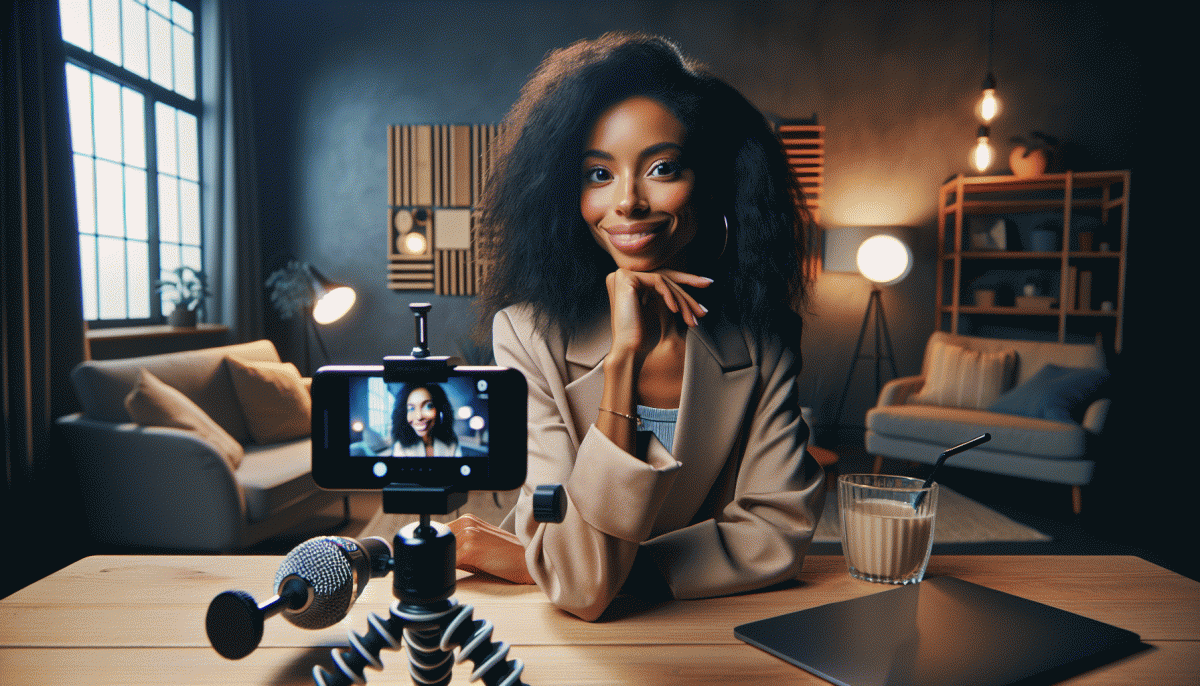
Five minutes before going live, treat yourself like a TV guest—fast, focused, glamorous. Do a quick room sweep: kill clutter, angle your light source toward your face, and check that the window light isn't about to turn you into a silhouette. Set your phone on a stable surface or tripod so you can forget about shaking hands.
Tech triage — don't let small gremlins wreck momentum. Turn on Do Not Disturb, close battery‑hogging apps, plug in your charger, test audio with a 10‑second recording, and wipe the front camera lens. Lock orientation and confirm your internet signal; a backup hotspot or low‑resolution stream setting is a sensible safety net.
Script the first 30 seconds: a one‑line hook, one promise, one CTA (follow, comment, tap). If you'd like a small promotional boost before you start, peek at safe Twitter boosting service — but don't rely on it to carry weak content; use it to amplify something already sharp.
Engagement cues matter more than perfect production. Plan two open questions, decide where you'll read names aloud, and keep a tiny note card with prompts (topic, two facts, mirror‑smile reminder). A friendly pause and a real name callout fills awkward gaps like a pro.
Last 60 seconds checklist: mic on, brightness set, background tidy, notes facing camera, water nearby. Take a deep breath, smile, and press play — live is human, not perfect. Aim for warmth and momentum, and the cringe will check out early.
Hook ’Em in 10 Seconds: Openers That Stop the Scroll
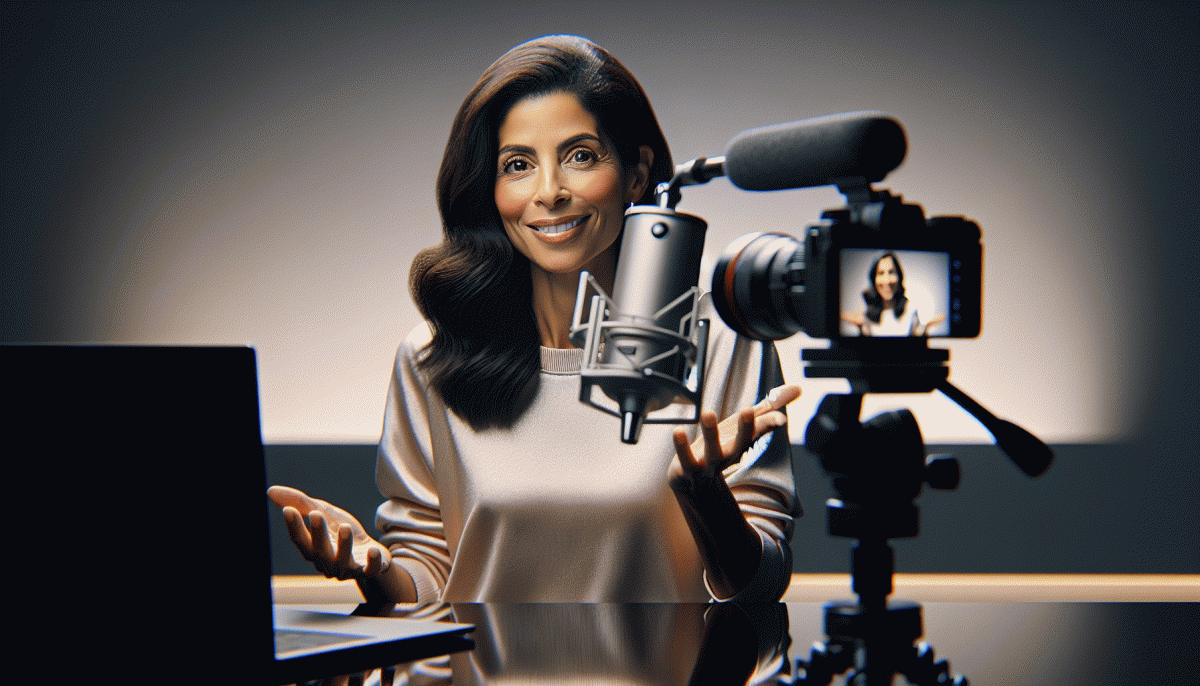
People decide in less than ten seconds whether to keep watching. Treat those first moments like a movie trailer: big energy, a crystal clear promise, and a visual that pulls the eye. Try a surprise stat, a prop, or a direct challenge. For example, Shock: "Most creators waste the first minute. Watch this 30 second trick." Prop: Hold up something odd and say, "This changed my caption game." Question: "Want real comments, not bots?"
Build a repeatable opener formula: one visual hook, one quick benefit, and one micro CTA. Visual hook could be a close face shot, a color pop, or a smashed prop. Benefit must map to the audience emotion, for example faster sales, less stress, more laughs. Micro CTA is not a long sell. It is a single line like "Stay two minutes and I will show you how." This creates curiosity and sets expectation.
Performance matters as much as words. Speak louder than your normal voice, move forward into frame, and add a snappy caption overlay so people who watch with sound off still get the promise. Set your thumbnail by framesaving the most expressive moment. Use a soft light, crisp audio, and remove clutter behind you. If you have a countdown sticker, run it; it signals urgency and raises clicks.
Before you go live run a 10 second rehearsal. Check camera angle, test sound, and deliver your opening line like you mean it. Keep a short checklist: Hook ready, Promise clear, First CTA simple. A sample 10 second script: "Stop scrolling. I will show one caption that doubles comments. Stay one minute and I will give it to you." Practice that and then make it yours.
Chat Like a Pro: Handling Comments, Trolls, and Dead Air
Think of the chat as a cohost that never draws a salary. Start by pinning a short housekeeping comment that states the topic, how to ask questions, and the time for a Q and A. Invite a wave of greetings early, and use a brief emoji signal for people who want to ask a question so you can scan the chat faster.
When a troll appears use a simple three step play: ignore to starve attention, mute or restrict to cut the noise, and if needed block or report. Appoint a moderator before the show so escalation is fast. Prepare neutral pivot lines like Thanks for the note or Let us focus on that later so the host can move the room forward without getting pulled into drama.
Dead air is not a felony, it is a fixable gap. Keep a 30 second toolbox handy: a two sentence story, a viewer shoutout, a quick demo, a camera angle change, or a one question poll that can be answered with an emoji. Practicing three go to segues will make transitions feel playful rather than panicked.
For comment triage use a tight format: name the user, repeat the question, then answer. Batch similar questions into a lightning round to create momentum. Use slow mode and keyword filters to tame spam, and put top comments on screen when possible so viewers feel seen and new participants know what is being discussed.
Before you go live run this checklist: pin a welcome comment, enable slow mode if needed, assign a moderator, prepare three segues, and stash ten canned replies for common queries like thank you, great question, more on that later. Practice until these moves are reflexive. Go in with a plan, smile, and treat chat like your best cohost.
Lights, Angles, Action: DIY Setup That Looks Studio-Grade
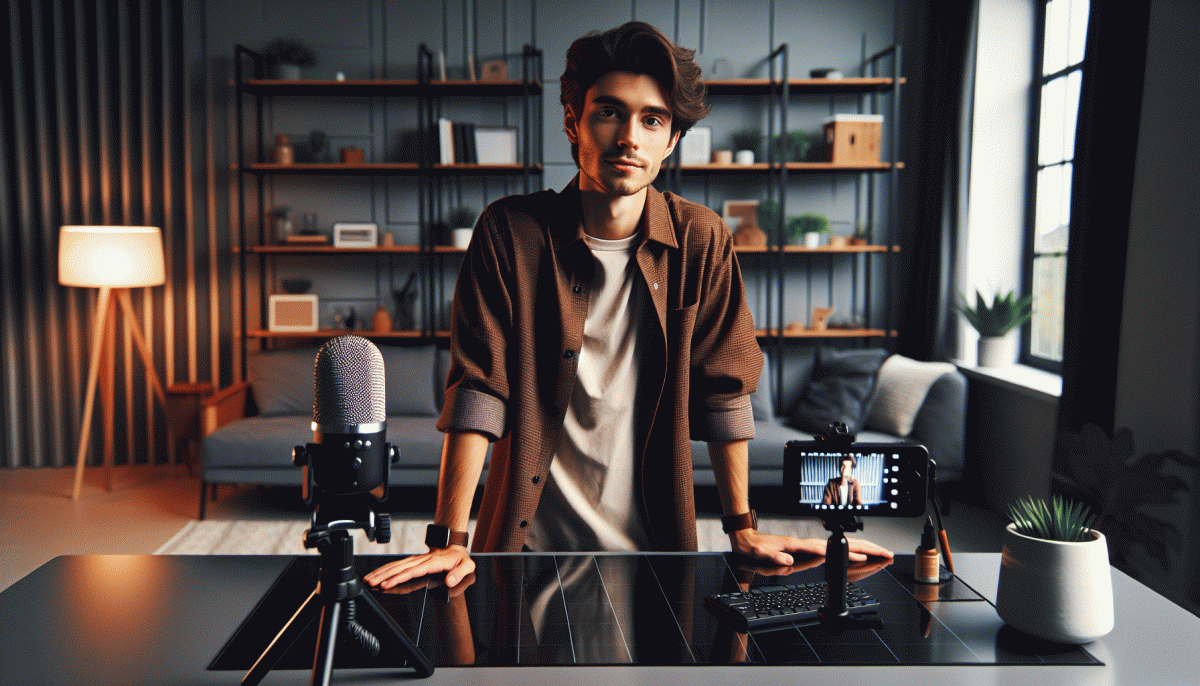
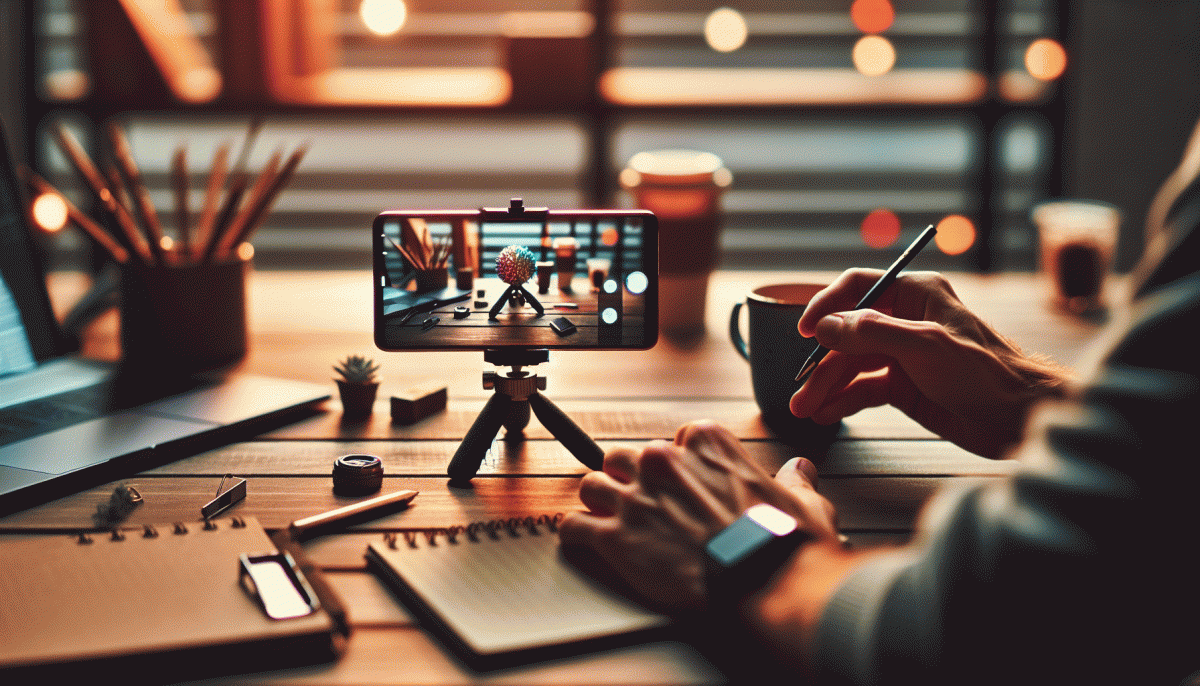
Getting a studio look for Instagram Live is less about expensive gear and more about smart choices. Start with light: position a window as your key light at a 45 degree angle to your face, add a cheap reflector made from white foam core on the opposite side to fill shadows, and place a small lamp behind you to create separation from the background. If the light is harsh, soften it with a white pillowcase or baking parchment taped over the lamp.
Angles make or break presence. Mount your phone at eye level or slightly above on a stack of books or an affordable tripod, then frame with the rule of thirds so eyes sit in the top third of the frame. Keep the lens at a moderate distance to avoid wide angle distortion on facial features. Lock exposure and focus if your camera app allows it so the picture does not hunt midstream.
Backgrounds that read as intentional look more studio than cluttered chaos. Pull a chair a few feet from the wall to add depth, layer a lamp or plant for interest, and hide wires. For sound, a lavalier or earbuds mic beats built in audio; if that is not possible, put a soft blanket around reflective surfaces and bring the phone closer to reduce echo.
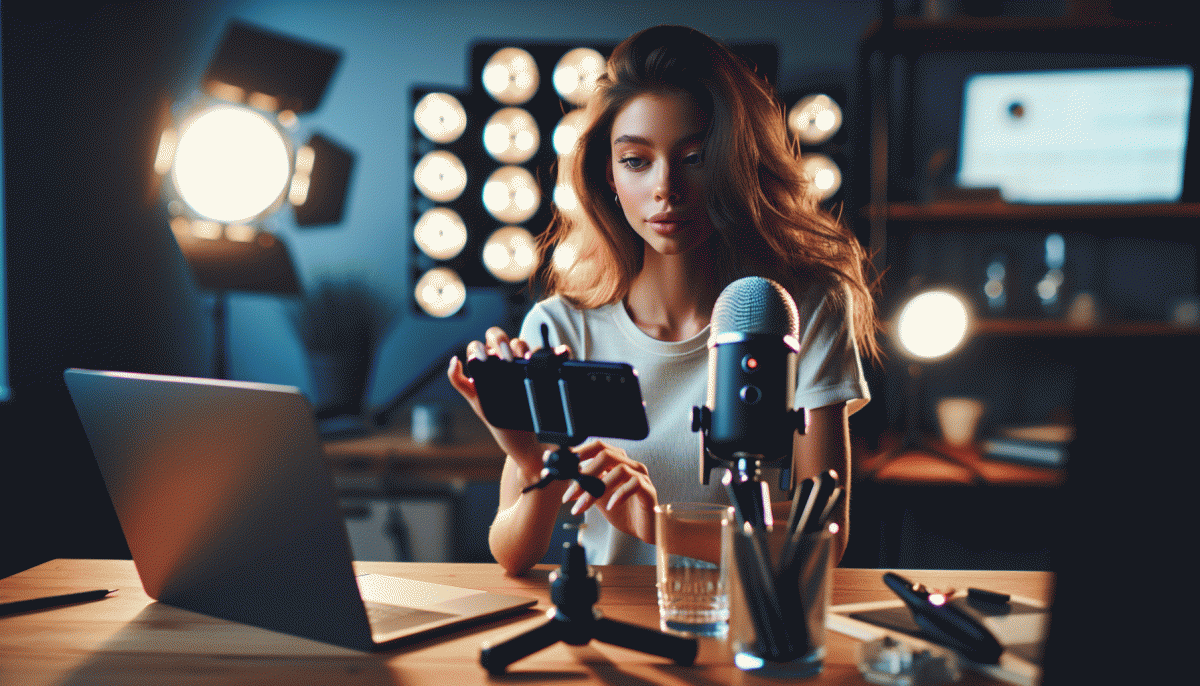
Before going live run a 60 second test recording to check light, angle, audio and battery. Quick checklist: Position: lights and camera; Frame: rule of thirds; Sound: mic check; Polish: tidy background and test recording. Follow these small steps and your live will read like a low budget studio production without feeling stiff.
Replay Gold: Turn One Live into a Week of Content
Think of your live as a film shoot, not a one-off performance. After the curtain falls, scan the replay for 5–7 natural beats: the intro hook, the aha moment, a tutorial snippet, a question-and-answer highlight, and a funny ad-lib. Export each as a short vertical clip, a 30–60 second reel, and a 15-second story tease so you have modular assets to drip out across the week.
Cut with purpose: use timestamps to mark each beat, add captions, and trim dead space to keep momentum. Create a thumbnail that previews the payoff and write a one-sentence hook for the caption that teases the lesson. If you want a traffic nudge, pair a few clips with a promotion — for example use the best social media boosting service to kickstart views on day one, then rely on organic momentum.
Schedule like a mini-series: Day 1 reel = the hook; Day 2 reel = the how-to; Day 3 carousel = step breakdown with pull quotes; Day 4 story Q&A = clips answering top questions; Day 5 full replay link + roundup. Each post should include a clear CTA — watch full replay, save for later, or answer in comments — and a pinned comment that guides viewers to the next installment.
Make repurposing low friction: batch edit once, reuse the same color-grade and caption template, and export subtitles automatically to boost retention. Reuse viewer soundbites as text overlays to create social proof clips. Track which slice wins and iterate next week, doubling down on formats that get saves and shares. Small edits and smart sequencing turn one live into a steady content cadence.
Read also
Go Live on Instagram Without the Cringe: Steal These Pro Tricks to Wow Viewers
You’ve Been Doing Instagram Live Wrong—Do This Before You Hit ‘Start’

Instagram Live Without the Cringe: The Unfair Playbook They Don't Want You to Use
Go Live on Instagram Without Cringe: The Shockingly Simple Playbook
Still Crushing Instagram Without Ads? Steal These Organic Tactics