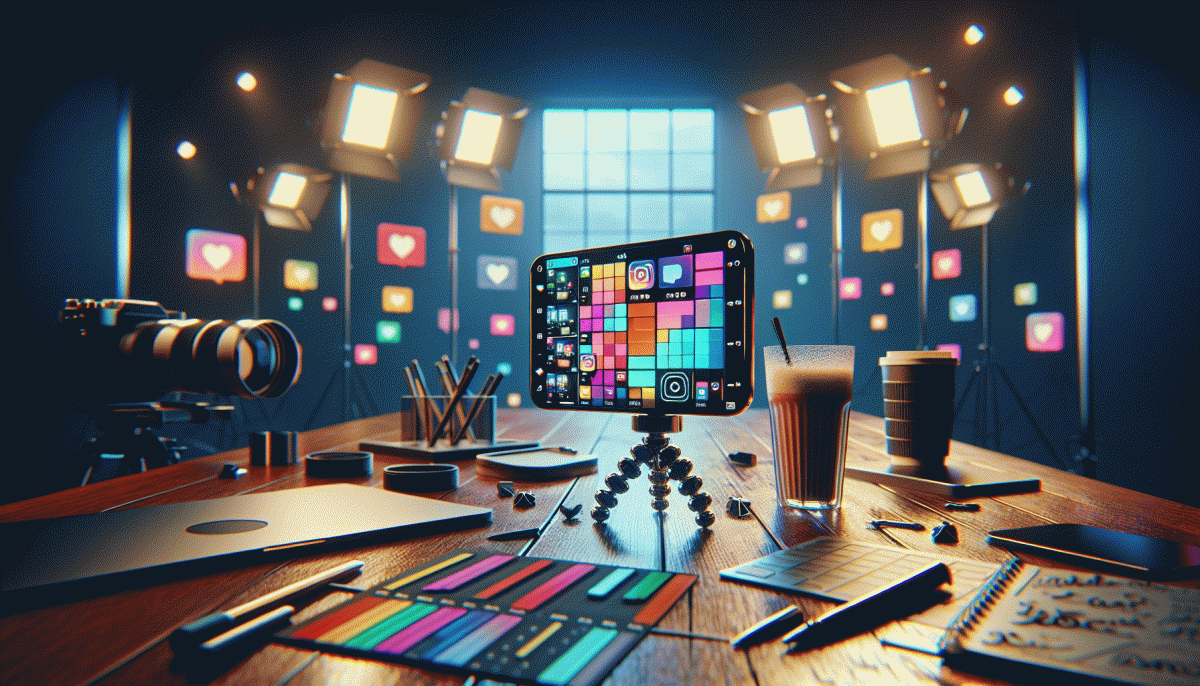
Go Live on Instagram Without Embarrassment: Steal These Pro Moves
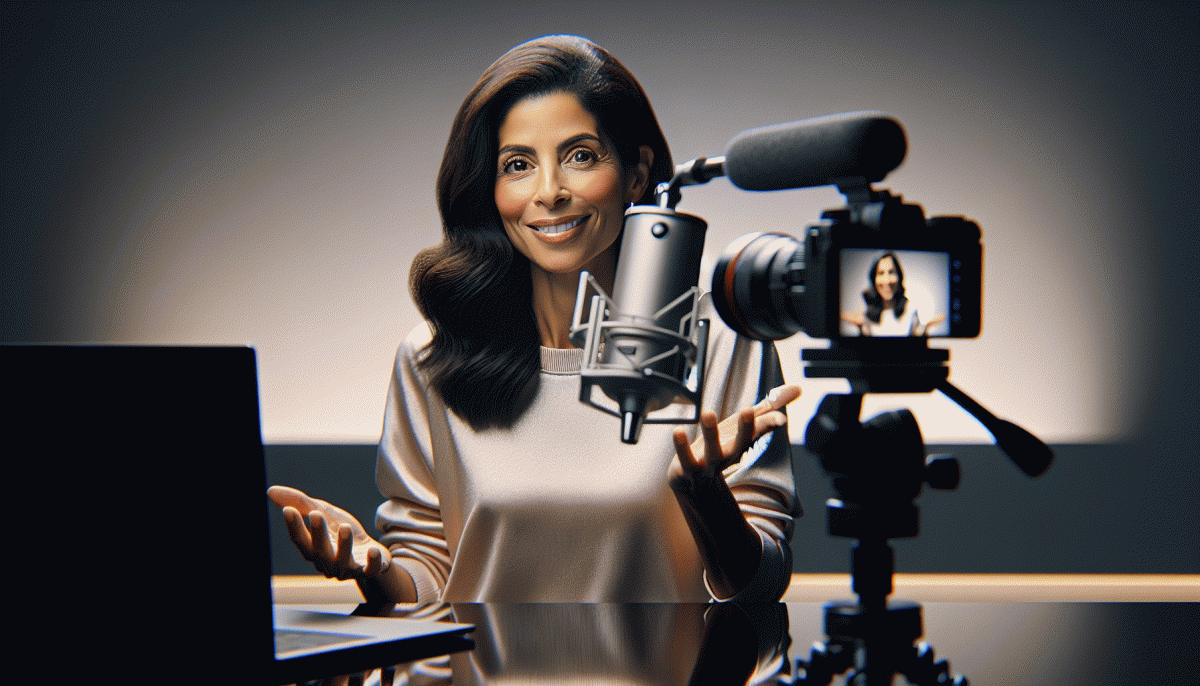
Set the Stage: Lighting, Audio, and Angles That Flatter (Not Fluster)
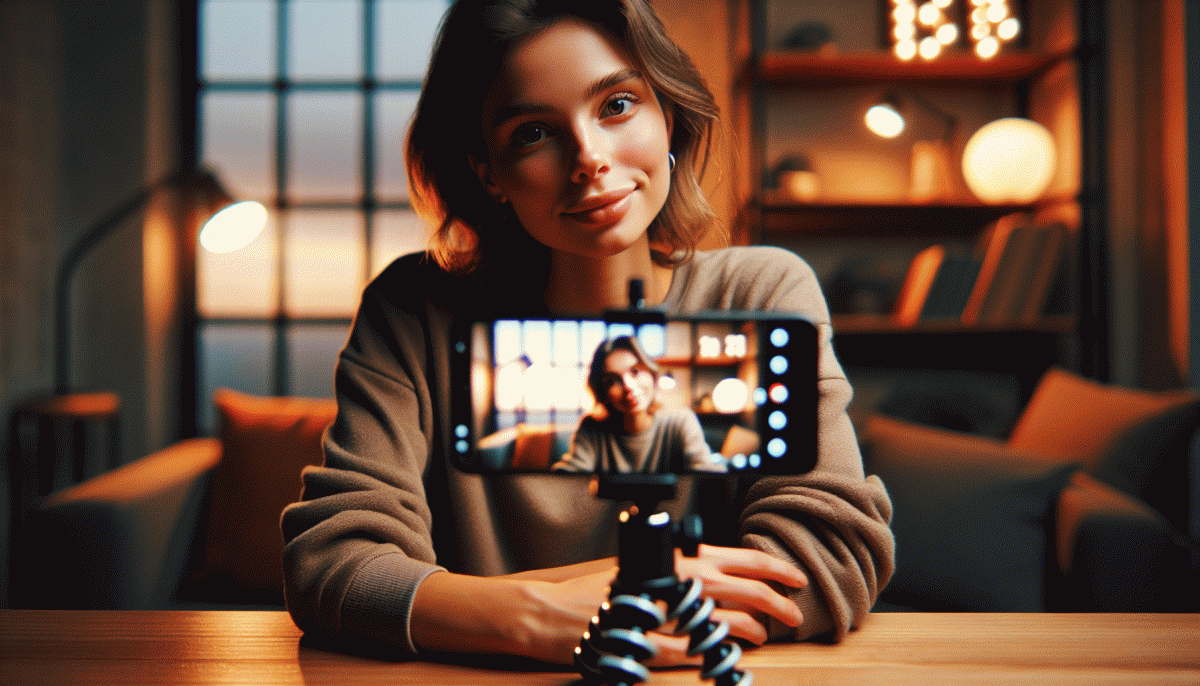
Start by treating the frame like a stage: clear clutter, pull the camera to eye level, and tilt the lens slightly down for the most flattering view—never from below. Position yourself so a window or soft lamp is in front of you; harsh overheads add dark circles and a stage of regret. Small tweaks—raise your device on a stack of books, angle it so your chin is just visible, and keep your shoulders relaxed—make you look confident before you even say a word.
Lighting wins more hearts than fancy filters. Aim for soft, diffuse light; bounce sunlight with a white sheet or use a ring light with a dimmer. If you must stream at night, place the light behind the camera and off to one side to create depth without dramatic shadows. Lock exposure on your phone so it stops hunting for brightness, and set a neutral white balance or your skin will look orange or zombie-pale.
- Light: Face the softest light available—avoid backlit windows unless you add fill light.
- Audio: Clip a tiny lav to your collar or use a headset mic—mouth-to-mic distance is everything.
- Angle: Camera at eye level or slightly above; a tiny tilt toward your dominant side flatters.
Audio is as visible as your smile. Close windows, turn off noisy fans, and put your phone on Do Not Disturb. Test levels before you go live: speak like you mean it, then listen back. If room echo is an issue, drape a blanket or add rugs to absorb reflections.
Before you hit Go, run a 30‑second rehearsal: check background, lighting, and mic, then save that setup as your default. Practice a quick opening line and a friendly smile so you never waste the low-attention first seconds. Small, repeatable rituals remove the embarrassment margin and let your personality take center stage—because great tech should make you look and sound like the pro you are.
Your 10-Minute Run of Show: Open Strong, Deliver Value, Land the CTA
Treat your 10 minutes like a stage set. First 30–60 seconds: hook with a bold promise and a tiny proof point — a statistic, a quick result, or a one‑sentence story. Tell viewers what they will walk away with: clarity, one actionable tactic, or a free checklist. Energy beats perfection; smile, look at camera, and lead with a clear headline.
Minutes 1–6 are where you deliver the meat. Break the core into three micro‑segments: the problem, a quick demonstration, and the concrete outcome. Keep each section under 90 seconds so attention does not wander. Swap jargon for plain language and show one clear visual or screen share per point. Aim for at least one tiny win the audience can replicate on their own.
Minutes 6–9 are for engagement and social proof. Scan live comments, call out names, and read a representative question aloud before answering it briefly. Use an on‑screen poll or ask viewers to post a specific emoji to signal interest. That interaction boosts watch time and signals relevance to the algorithm, so keep it brisk and authentic.
Minute 9–10: land the CTA like a pro. Recap the fastest path to results, tell viewers exactly what action to take, and remove friction — one link, one button, one sentence. Offer a quick incentive (a free tip, a PDF, a limited slot) and remind them how fast the benefit is. For reliable reach and a tidy finish consider services to boost visibility; check options to buy Instagram boosting if you need a lift before your next live.
Quick rehearsal checklist: open with a one‑line promise, demonstrate two small wins, engage for two minutes, and spend the final 60 seconds on the CTA. Run the script aloud twice with camera and mic checks, rehearse transitions, and time each segment. With a tight plan the nerves fade and the performance becomes confident and memorable.
Hook Them Fast: Irresistible Openers and Teasers That Spike Retention
Your viewers decide in the first 7 seconds whether they'll stick around; treat that like prime real estate. Open with a tiny, irresistible promise—one line that tells them what they'll get and why it's worth staying. Try: “A quick trick to fix your lighting in 60 seconds,” “How to land one DM that leads to a sale,” or “Top 3 mistakes you're making on Stories.” Say it with energy, a smile, and a prop.
Curiosity is a retention engine. Use a split-second cliffhanger that forces the brain to close the gap: tease a surprising result, then pause. Example: “I almost quit Instagram last month—but then this happened…” or “If you're doing X, stop—I'll show you what to try instead.” Back the tease with a visual cue or a quick demo promise: “Stay 3 minutes and I'll share the exact swipe-up prompt I use.”
Social proof + urgency converts attention into time. Drop a tiny stat or name-drop a recognizable outcome: “We scaled from 0 to 1K followers with this 2-step tweak.” Add a live micro-challenge: “Comment ‘yes’ and I'll pick one reply to troubleshoot live.” Use countdown language—“In 60 seconds I'll show…”—and repeat the main hook at natural breaks so late arrivals catch up and stay.
Small production moves boost perceived value: enable captions, pop a bold on-screen headline for your first three words, and pin a clarifying comment with the promise and CTA. Script a 10-second opener you can nail cold and practice it until it's effortless. Final cheat-sheet: lead with a promise, spark curiosity, prove credibility, then give one neat deliverable. Nail that flow and embarrassment won't be part of the replay.
Chat Like a Host: Comment Triage, Troll Tactics, and Seamless Shoutouts
You do not have to be effortlessly charming to run chat like a pro — you can build habits that make you look calm and in control. Start the stream with a one-sentence roadmap for comments: how shoutouts work, when Q&A happens, and a pinned line about respect. That small ritual clears the air and gives you permission to shape the conversation.
Triage like an ER nurse: hunt for urgent questions, repeat them aloud to buy thinking time, and use a tiny bank of go-to replies you can paste in seconds. Assign one or two moderators and teach them a single hierarchy of actions: highlight, hide, ban. Consistency keeps the vibe smooth.
Trolls feed on reactions. Starve them: ignore low-effort bait, respond calmly to honest confusion, and remove repeat offenders fast. Use light humor to deflate attention-seekers, but do not let jokes become excuses for chaos — have the ban button memorized.
Make shoutouts seamless by following a mini-template: name ➜ paraphrase ➜ tie to the stream. Say the person’s name, restate their point in one line, then link it back to what you are doing. Keep each shoutout to 7–10 seconds so the flow never stalls.
- Freebie: Offer a short value nugget when you thank a commenter to reward thoughtful input.
- Slowmode: Use slow mode or comment filters during spikes to restore order without muting energy.
- Rocket: Pin one great comment per segment to guide discussion and give fans a moment in the spotlight.
Rehearse with a friend, create canned answers for common questions, and build a one-page mod script so helpers act fast. Embrace brief pauses, make decisive moves, and the chat will mirror your confidence — which is the whole secret to going live without embarrassment.
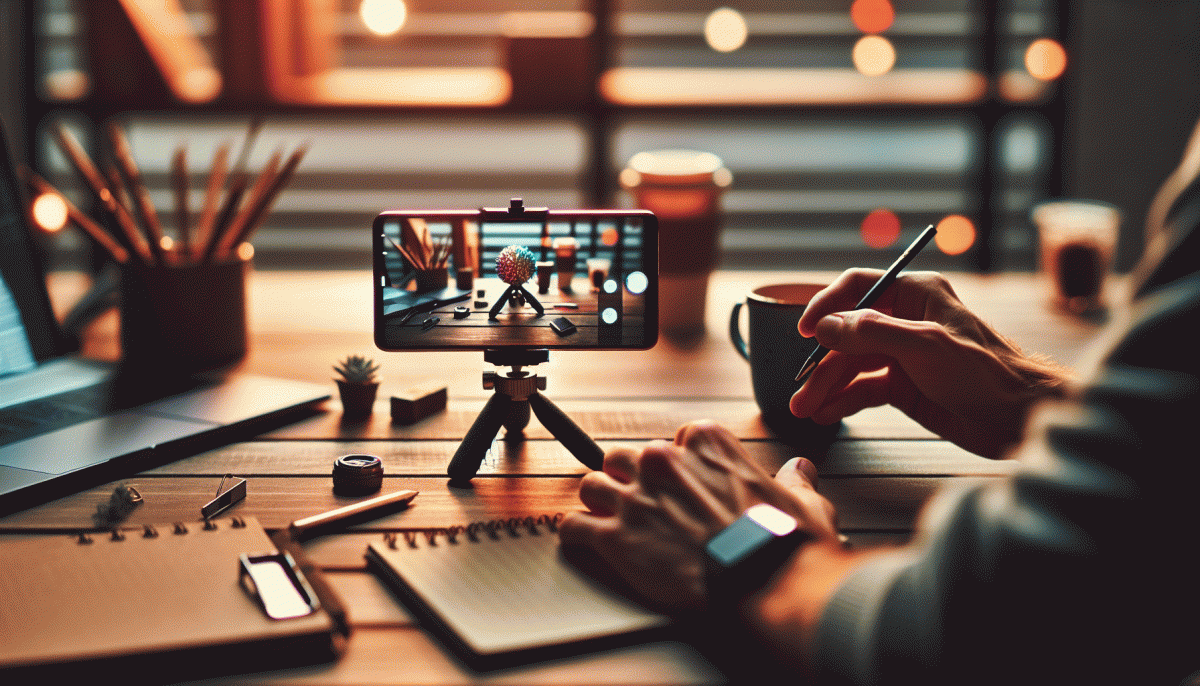
Replay Gold: Save, Snip, and Repurpose Your Live into Evergreen Wins
Save your stream before you breathe easy. Hitting the archive button turns an ephemeral moment into reusable content gold: a full recording that you can chop, repackage, and hand back to followers who missed the live. Treat the raw file like mineable ore, not a one time performance, and back it up in two places.
Snip out the parts that actually matter: the aha moments, the funniest slip ups, and the clear how to steps. Use a simple editor on your phone or desktop—trim the start and end, add quick jump cuts, color correct lightly, and keep clips between 15 and 90 seconds for maximum shareability. Label clips by topic to save time when you are batching edits.
Then repurpose with purpose. Here are three fast redeploys that make your livestream pay off again and again:
- Clip: Export a 30 to 60 second highlight with a punchy hook for short form feeds and stories.
- Tease: Create a 10 second trailer that previews a bigger tutorial and links to the full replay in your bio.
- Lesson: Break the stream into numbered micro lessons, then post as a carousel or threaded posts for repeat value.
Make each republish feel fresh: write a searchable title, punchy caption, and add timestamps or chapter cards so viewers can jump straight to the good part. Swap the cover frame for a bold thumbnail, add subtitles for silent autoplay, and pin the replay so new visitors find it first. Little edits create big discoverability gains.
Finally, set a promotion plan: schedule a few reposts over the next month, test different clip sizes and days, and watch retention metrics to see what sticks. Cross post to stories, community groups, and your newsletter. Keep a simple spreadsheet of top performing clips and iterate weekly. Do this and every future live will compound your reach instead of vanishing into the void.
Read also
Go Live on Instagram Without the Cringe: Steal These Pro Tricks to Wow Viewers
Still Crushing Instagram Without Ads? Steal These Organic Tactics
Live on Instagram Without Embarrassment: Pro Secrets That Actually Work

Campaign Burnout? Steal These No Rebuild Moves to Wake Your Metrics Up

Instagram Live Without the Cringe: The Unfair Playbook They Don't Want You to Use