Go Live on Instagram Without Cringe: The No-Fail Playbook
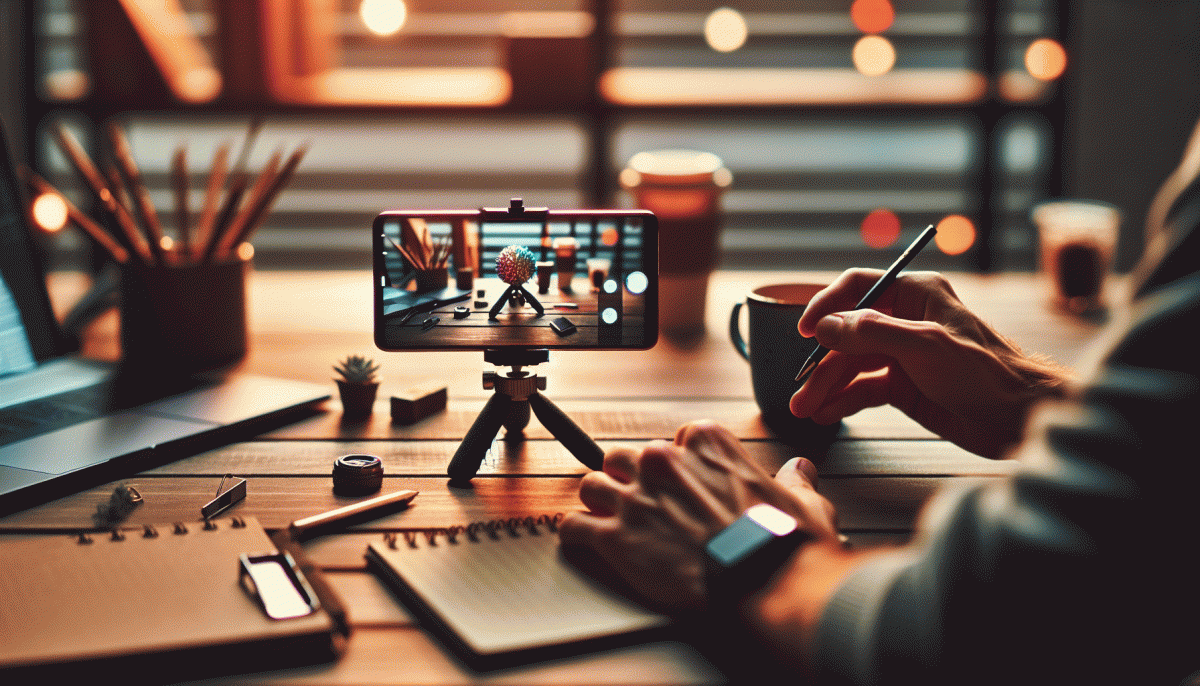
Prep Like a Pro: lighting, audio, and a script that sounds human
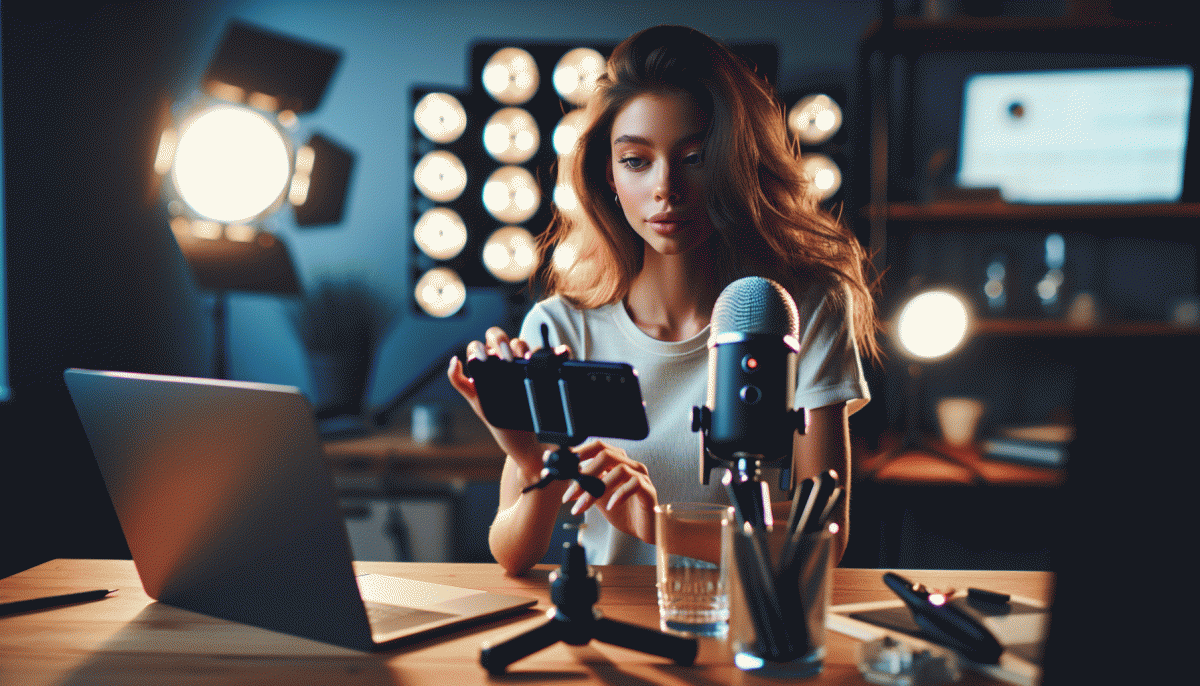
Think of your Instagram Live as a tiny talk show: you control the stage. Start with simple lighting—a soft front light at face level plus a subtle fill from the side; avoid strong backlight that turns you into a silhouette. For sound, choose a basic lav or USB mic and mute background devices. And script like a human: outline your points, write short sentences, and plan conversational hooks instead of reading paragraphs.
- Lighting: Use a ring or window light, diffuse harsh bulbs with a white cloth, and keep the main light at eye level for flattering, consistent color.
- Audio: Close windows, turn off fans, use a dedicated mic if possible, and run a quick test recording to check levels and plosives.
- Script: Bullet your beats — opener, demo/story, CTA — and script only the first 10–20 seconds so you sound natural when you dive in.
When writing lines, read them out loud. If a sentence trips your tongue, rewrite it. Openers should be one clear sentence that promises value; follow with 2–3 bite-sized points and a question to invite comments. Keep energy shifts intentional: smile to sound warmer, pause to let viewers react, and let small improvisations feel earned.
Before you go live, do a 3‑minute rehearsal and one private test stream. Check camera framing, clip a few practice lines, and adjust lighting or EQ. Treat these steps as confidence hacks—nail them and the rest becomes fun, not fear.
Win the first 30 seconds: hooks that stop the scroll
First impressions on live are literal power moves: the first 30 seconds set the thermostat for the whole stream. Open with something that makes people pause, not scroll — a quick promise they care about, a visual surprise, or a tiny contradiction that makes them curious. Keep sound and motion tight, text minimal, and energy intentional: think of those seconds as a headline plus a trailer for the next hour.
Use compact, repeatable hook formulas so you never waste time reinventing the wheel. Try one of these three starter types to stop thumbs in their tracks:
- Promise: Reveal a clear benefit in one line, for example "Learn this trick to double views in a week."
- Shock: Share a quick, surprising stat or counterintuitive line like "Most creators get this wrong — here is why."
- Benefit: Lead with a human payoff: "Watch me fix this live and use it tonight."
Pair any hook with a tiny blueprint: 2 seconds visual, 5 seconds voice promise, 10 seconds proof or demo, then a direct simple invite to stick around. Sample micro script: show an unexpected before frame, say "I will show you how to..." then show a one-line proof or result. Deliver with confident pacing, smile, and one anchor action the audience can do right away, like typing yes or dropping an emoji. Final quick checklist before you go live: camera framed, audio clear, first 10 seconds rehearsed, and one bold promise ready. Execute that and the cringe evaporates; the audience stays, engages, and comes back for more.
Chat like a host: prompts, pinning, and troll control
Think of the chat as your opening act: warm, clear, and impossible to ignore. Start with short, punchy prompts that guide the room instead of leaving it to drift. Examples that work live: "Quick poll: coffee or tea?" or "Drop an emoji if you have ever tried X." These kick conversation into gear and set the vibe.
Pin with purpose. Pin one thing to orient newcomers and one thing to drive action. A pinned line can be the rules, a link to the resource you mention, or a short call to action like "Vote now" or "Ask me anything about Y." Swap pins as the stream progresses so the top comment always supports the moment you are in.
Keep prompts varied and measurable so the chat feels like a game, not background noise. Use short templates: "Type 1 for A, 2 for B," "Share one word that describes your week," or "Drop ? if you want a deep dive on this." These are easy to answer and create a flood of engagement without heavy typing.
Troll control is about speed and tone. Set basic rules up front, enable comment filters, and appoint one moderator to mute or remove repeat offenders. When a hostile comment appears, respond once with a calm boundary line then remove if it persists. A brief, firm line like "That is not welcome here" works better than getting defensive.
Quick live checklist: create three starter prompts; pin a rules card and one CTA; schedule a moderator; prepare two neutral shut down lines; practice a 30 second intro that funnels chat into your first prompt. Do that and the chat will feel hosted, not chaotic.
No dead air: segments that keep viewers watching
Dead air is the silent killer of live streams. Build a simple segment map: 30s warm welcome, 2-minute tutorial, 90-second rapid Q&A, 2-minute demo or story, 60-second wrap with next-stream tease. Those clear micro-commitments keep viewers anchored and reduce bailouts.
Name your beats so viewers know what to expect. Use a recurring opener like Welcome Beat, a midstream Quick Tip, and a Viewer Spotlight that rotates names. Cue transitions with a 5-second countdown, a jingle, or a graphic slide so silence feels intentional not awkward.
When you need assets or a little extra push for reach, consider tools that make scripted segments look organic. For example, instant Instagram growth boost can help fill early minutes with real viewers so your segments get the chance to land.
Micro-interactions win: ask for an emoji response, run a 20-second poll, challenge someone to answer in three words. Keep each interaction short and use a visible timer or overlay. Each tiny win resets attention and gives you a natural beat for the next segment.
Before you go live, plan five go-to segments, rehearse the handoffs, and prepare two backup fillers: a quick tutorial and a story with a lesson. Track retention per segment and iterate. With this playbook, dead air becomes a relic not a risk.
Turn one Live into ten posts: repurpose, clip, convert
Finish a Live and treat it like a miner treats a gold vein: extract as many sellable nuggets as possible. A single 45-minute session contains dozens of usable moments — a 30-second answer, a surprising line, a step-by-step demo — and each nugget can become its own post that builds reach without forcing another live. Think of repurposing as the low-effort amplifier for everything you already did well on camera.
Clip: carve 15–60 second moments for Reels.
Teaser: make a 15s vertical hook and drop it in Stories.
Carousel: turn the live outline into 5 image slides with a key quote per slide.
IGTV / Long Form: upload the trimmed long segment.
Audio: export the clean soundbite for an audiogram or podcast snippet.
Quote Card: design a bold text image of one-liners.
Caption Post: expand a tip into a step-by-step caption with CTA.
Behind-the-Scenes: share bloopers or setup photos.
Newsletter Blurb: paste the best takeaway as a recap.
Pin or Highlight: add the clip to a profile Highlight for evergreen access.
Make this painless: mark timestamps during the live so editing is a copy-paste job, batch process clips with one template for covers and captions, and export vertical assets at 1080x1920. Use the same hook line across platforms to keep recognition high. Commit to one CTA variant so followers know what to do after every repurposed post.
Publish these pieces across 7–10 days to stretch the momentum: a Reel on day one, carousel on day two, story teasers in between, and a long-form post later. Track which format wins and double down next time. Repurposing turns one confident live into consistent feed activity, and that is how good stage energy becomes real growth.
Read also

Instagram Live Without the Cringe: The Unfair Playbook They Don't Want You to Use
Go Live on Instagram Without Cringe: The Shockingly Simple Playbook
Go Live on Instagram Without the Cringe: Steal These Pro Tricks to Wow Viewers
Live on Instagram Without Embarrassment: Pro Secrets That Actually Work
You’ve Been Doing Instagram Live Wrong—Do This Before You Hit ‘Start’