Go Live on Instagram Without Cringe: The Foolproof Playbook You'll Wish You Had Sooner
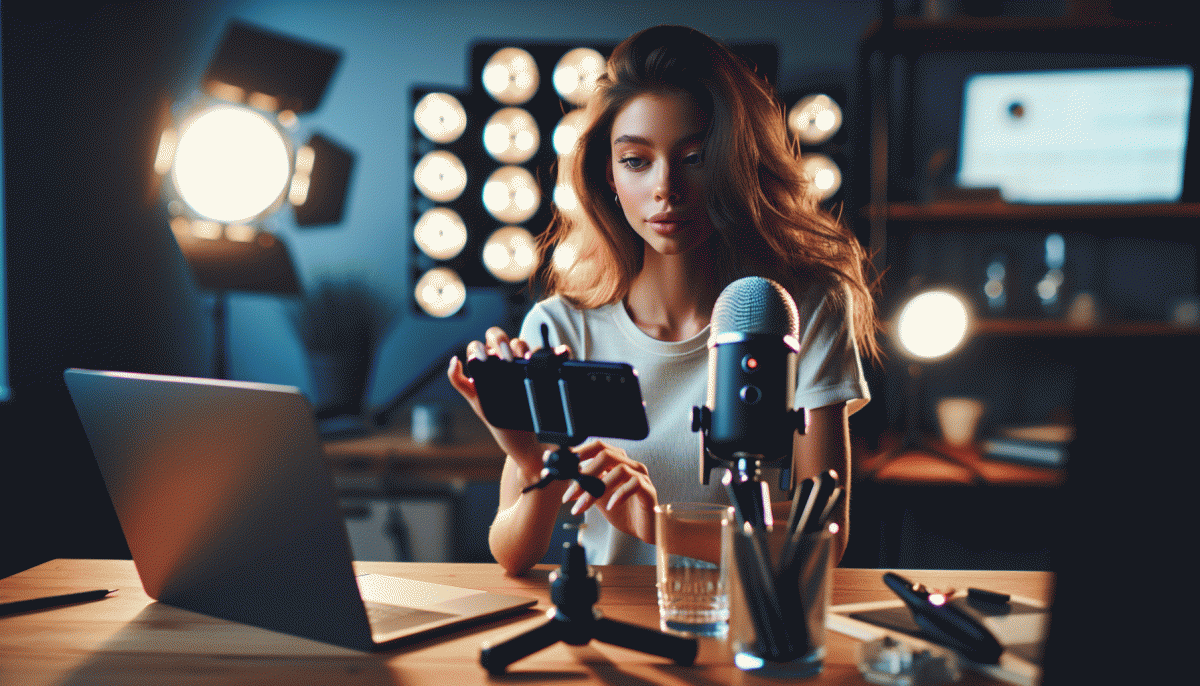
Pre-Game Like a Pro: Scripts, Setups, and a 10-Minute Rehearsal That Saves Your Bacon
Treat the pregame like a tiny one act play: tight, rehearsed, and full of energy. Start with a three part script skeleton: Hook (a curious question or bold promise), Value (three clear takeaways), and Close (one simple call to action). Keep each sentence short so you can say it naturally under pressure.
Check the kit like a pilot.
Camera: eye level and steady.
Light: soft key light in front, no bright window behind.
Sound: plug in a mic or use earbuds.
Background: tidy, on brand, not distracting. Turn off notifications, plug in your phone, and prop a small notecard with three prompts.
Write the tiny script to match moments: a 6 to 12 word hook, three 30 to 60 second value bites labeled A B C, and a 20 second closing that names the next step for viewers. Add one transition phrase you can reuse, like "Quick example" or "Here is what worked". Time stamp your lines so the rehearsal has a rhythm.
The 10 minute rehearsal is a sprint. Minutes 0-2: gear and audio check. Minutes 3-6: run the script out loud at normal speed. Minutes 7-8: improv a question or two to simulate audience interaction. Minutes 9-10: final run with energy and the closing CTA.
Leave rehearsal with three failsafes: one short open line, one recovery line for tech hiccups, and one strong CTA. Keep a tiny index card, smile into the lens, breathe, and go in knowing you practiced like a pro.
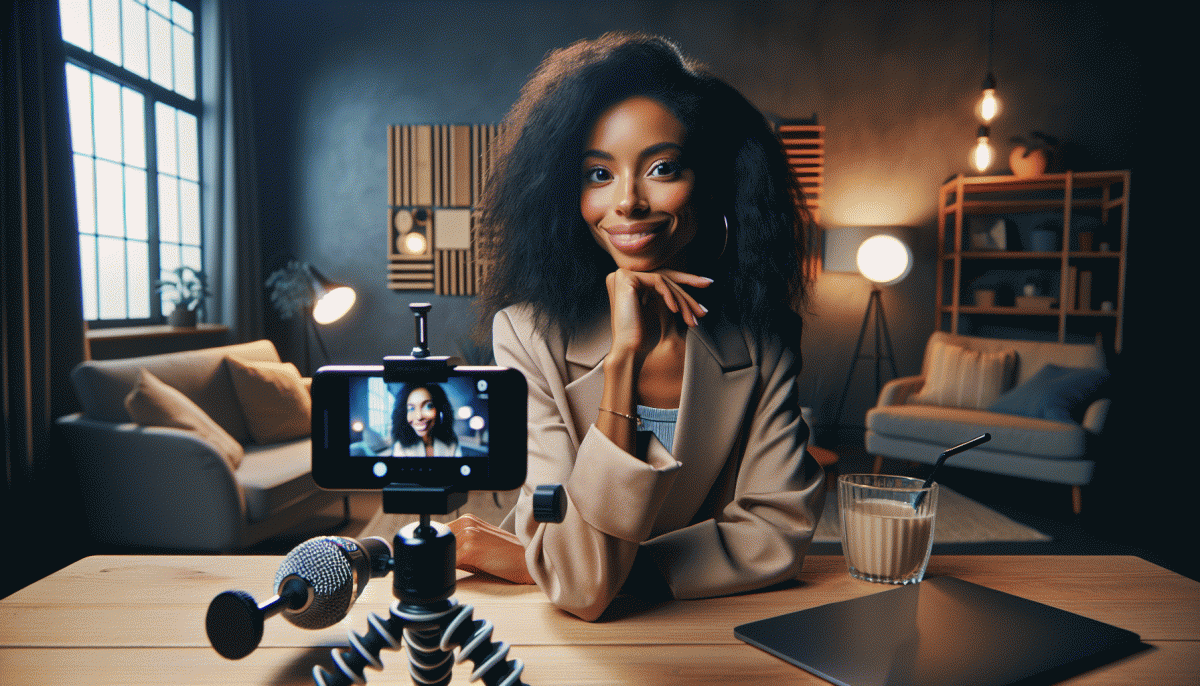
The First 30 Seconds: Openers That Hook Viewers and Kill Awkward Silence
That first pause when you hit Live is a tiny black hole where viewers decide to stay or scroll. Flip the script by opening with a tiny promise, a quick surprise, or a bold question — one line that tells people why the next minute will be worth their time. Keep energy up, enunciate, and drop any vague phrases. Clarity plus curiosity beats hustle for showmanship any day.
Micro scripts you can borrow and stash on a sticky note: "Three things everyone on Instagram gets wrong about X — I will fix the first one in 30 seconds"; "You are seeing this before anyone else"; "Quick demo: watch me solve this in sixty seconds"; "Tell me in chat: does this idea sound ridiculous or brilliant?" Start with one, then pivot to value fast. Swap X for your niche.
Camera and sound set the stage. Start close, then pull back to reveal context. Use a branded sound or a light clap to reset viewer attention, and add a visual prop that signals what matters. If you want examples of quick promotion setups, check LinkedIn promotion website online for inspiration. A clear three word tagline right after the opener helps memory.
Practice the opening until it lands without thinking — run it three times and pick the best take. Record the first 30 seconds separately and trim dead air. If nerves creep in, start with a technical line like sound check and then hit the real opener on take two. End that thirty second block with a tiny cliffhanger so staying feels like the smart move.
Chat Chaos, Tamed: Easy Ways to Engage Without Losing the Plot
When comments start pouring in like confetti, it's easy to feel flustered. Do a five-minute tidy before you hit "Go": appoint one moderator, pin a concise comment with the agenda and chat rules, and switch on Instagram's comment filters to block junk. Brief your moderator on quick actions (pin/unpin, highlight top replies, remove spam) so you can focus on the camera instead of triaging chaos. Also set a soft start time and tell people you'll begin in two minutes so early arrivals don't overwhelm the opening.
Make engagement predictable by teaching the chat how to play. Use a single-emoji vote to steer the convo, ask viewers to start questions with Q: so you can scan faster, and run short timed segments (three minutes talking, two minutes Q&A). Announce the rhythm early — people follow structure happily, and your flow becomes a performance, not a rescue mission. Label important comments with emoji reactions so your mod can flag them instantly.
Bring backup tech and a teammate. Monitor chat from a second device or a co-host, use canned replies for FAQs, and consider a comment-overlay if you stream via RTMP tools. Turn off noisy phone alerts, keep a tiny notebook of unanswered questions to follow up after the stream, and screenshot gems to repurpose as social proof. If you're solo, ask viewers to repeat their name before a question to make it easier to shout people out; these small habits save face and energy.
End with tidy rituals: thank people by name, pin a clear call-to-action (follow, save, link in bio), and close with one takeaway so viewers leave knowing what to do. Rehearse the opening, the rules, and one joke — familiarity kills cringe. After the stream, save the Live and post short clips of the best answers to keep the momentum. With structure you keep the spontaneity, but lose the panic; that combo is what makes Lives feel authentic and actually fun.
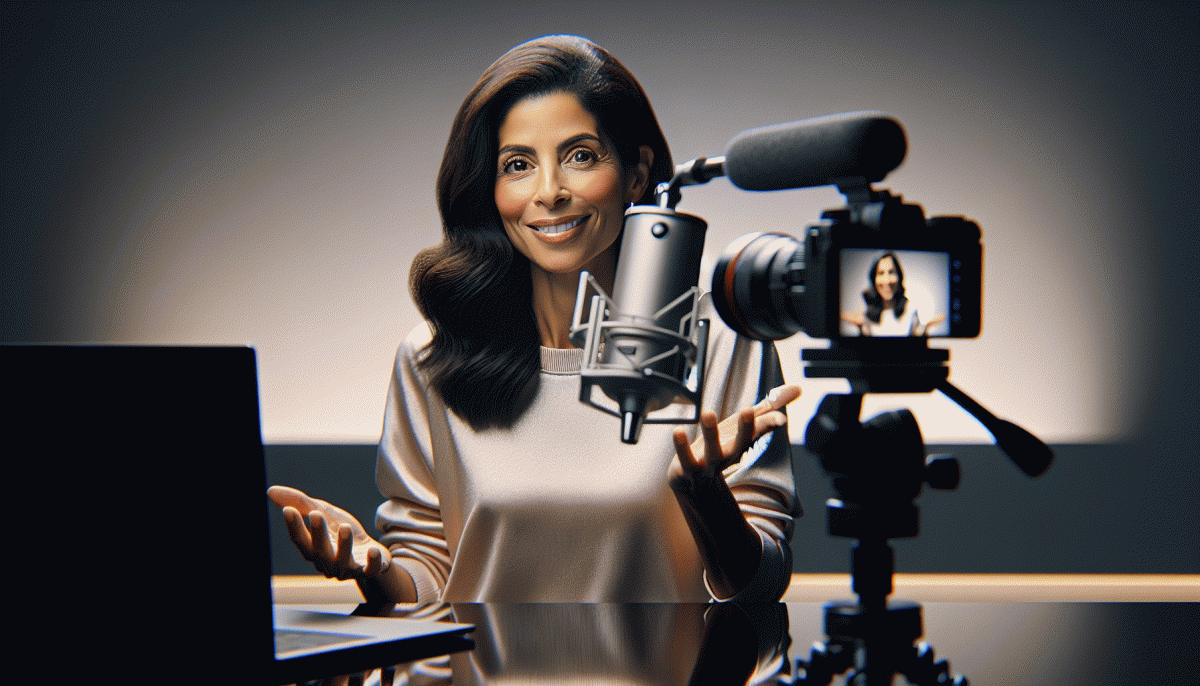
Lighting, Angles, and Audio: Tiny Tweaks That Make You Look Expensive
You can look expensive on camera without renting a studio. Small, deliberate changes to light, angle, and sound are the shortcuts pros use — they make content feel polished while you stay authentic. Start with three priorities: soften the light, lift the lens to a flattering plane, and get the mic close enough that your voice owns the room. Those tiny tweaks remove most of the awkwardness live audiences detect instantly.
Lighting is the fastest upgrade. Use a soft front source: a ring light, a softbox, or daylight diffused through a white curtain. Avoid harsh overheads that carve shadows under the eyes. Pick a color temperature and stick with it (roughly 3200–5600K) so skin tones stay consistent. If you can, add a subtle back or rim light to separate you from the background — that little halo equals perceived production value.
Angles and framing matter more than megapixels. Keep the camera at eye level or just above, step back slightly to avoid wide‑angle distortion, and use the grid for the rule of thirds. Stabilize with a tripod or stack of books and declutter the frame so the viewer focuses on you. Quick cheat sheet:
- Lighting: Soft front light + subtle backlight = cinematic skin.
- Angle: Eye level or slightly higher; back up to avoid distortion.
- Audio: Mic close and direct; reduce room echo with soft furnishings.
Sound glues the whole thing together. A lavalier or small shotgun mic placed 6–12 inches from your mouth beats onboard mics every time. Silence noisy appliances, add rugs or blankets for quick acoustic damping, and always do a two‑minute test recording to check levels and proximity. Once lighting, angle, and audio are dialed, you will feel calmer and your audience will perceive you as confident — which is the real expensive look.
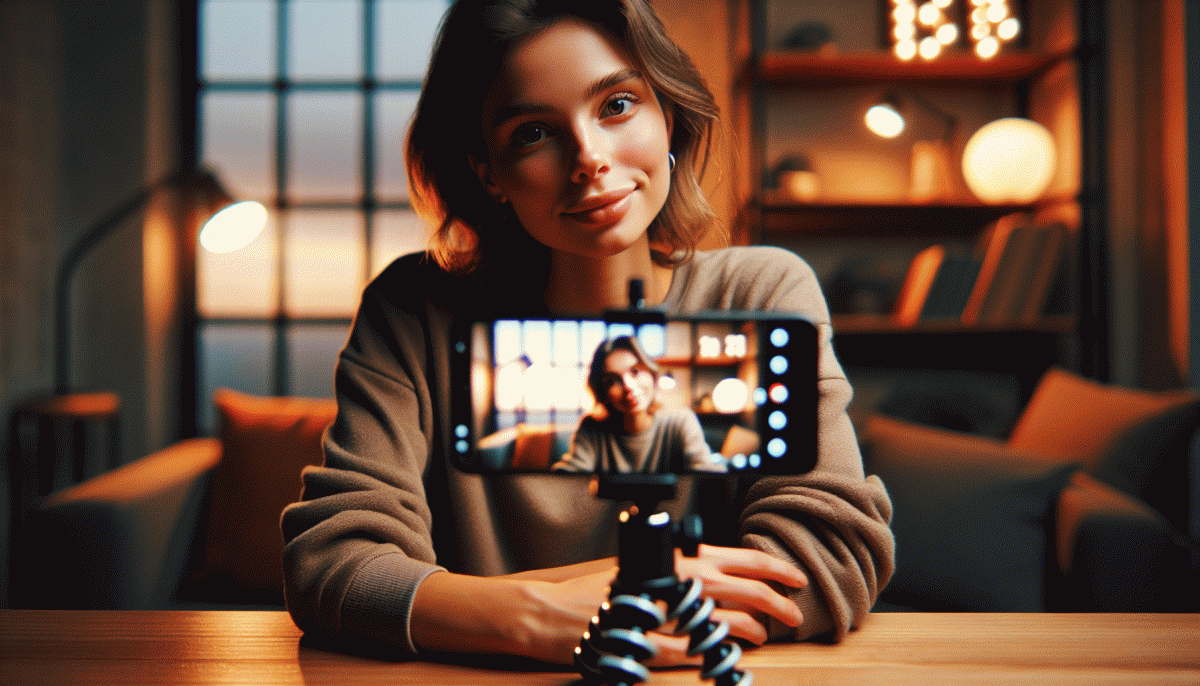
Recover From a Flub: Fail-Safe Pivots, Save Lines, and Graceful Wrap-Ups
Mistakes will happen on live; that is the only guarantee. The trick is to make a flub feel like part of the show rather than the end of the world. Take a breath, smile, and name the glitch with a tiny joke or a short apology. That small reset lowers tension, keeps eyes on you, and buys mental space for a pivot.
Have three fail safe pivots in your pocket. One: audience rescue — invite quick questions and toss the mic to someone in chat. Two: fail friendly content — switch to a behind the scenes story that fills time but gives value. Three: deliberate micro demo — show one tool, one trick, one tip. Keep each pivot under 90 seconds so pace stays lively and attention does not wander.
When you need a line to save a moment, keep simple scripts ready: "Great question, give me two seconds," "Love that — story time," or "Quick tech pause, be right back." Close with a graceful wrap up: recap the highlight, thank people by name, and end on a clear next step. If you want to amplify audience growth after a smooth ending, check boost Instagram services.
Prep is the unsung hero. Build a one page emergency script, flag three camera angles to switch to, and rehearse two different endings. Smile when you sign off so your final frame feels confident and human. Stumbles can become moments that make you memorable if you treat them like planned improvisation instead of silent panic.
Read also

Instagram Live Without the Cringe: The Unfair Playbook They Don't Want You to Use
Go Live on Instagram Without Cringe: The Shockingly Simple Playbook
Go Live on Instagram Without the Cringe: Steal These Pro Tricks to Wow Viewers
Live on Instagram Without Embarrassment: Pro Secrets That Actually Work

Automate This, Write That: The Marketing Playbook You Will Wish You Had Sooner