
Nail LinkedIn Live Without the Cringe: Steal These Pro Moves
The 10 Minute Prep That Saves You From Awkward Silences
Ten minutes of focused prep is the difference between a memorable LinkedIn Live and one full of crickets. Start by picking a single objective: what do you want viewers to think, feel, or do after the stream ends? Jot a one sentence headline for the session and decide your two main points. That simple framing keeps you moving and makes silence feel strategic rather than awkward.
Run a compact 10 minute routine: minutes 1-2 test audio and camera, minutes 3-4 choose an opening line that hooks plus a friendly icebreaker, minutes 5-7 sketch a 60 second story for each main point, minutes 8-9 write two audience prompts to invite comments, minute 10 breathe, smile, and set a visual cue to return to if you lose the thread. Repeat the routine three times before going live so it becomes muscle memory.
When you need tiny memory aids, use this mini checklist:
- Hook: A 10 second opener that promises a clear benefit to viewers.
- Prompts: Two specific questions designed to spark comments and chat.
- ⚙️ Tech: Quick toggles checklist: mic on, frame centered, backup hotspot ready.
After the stream, repurpose: turn one story and the two prompts into short posts and a clip for replay. That multiplies reach and makes the prep investment pay off. Keep this routine on a sticky note by your camera and silence will read as a dramatic pause, not a panic moment.
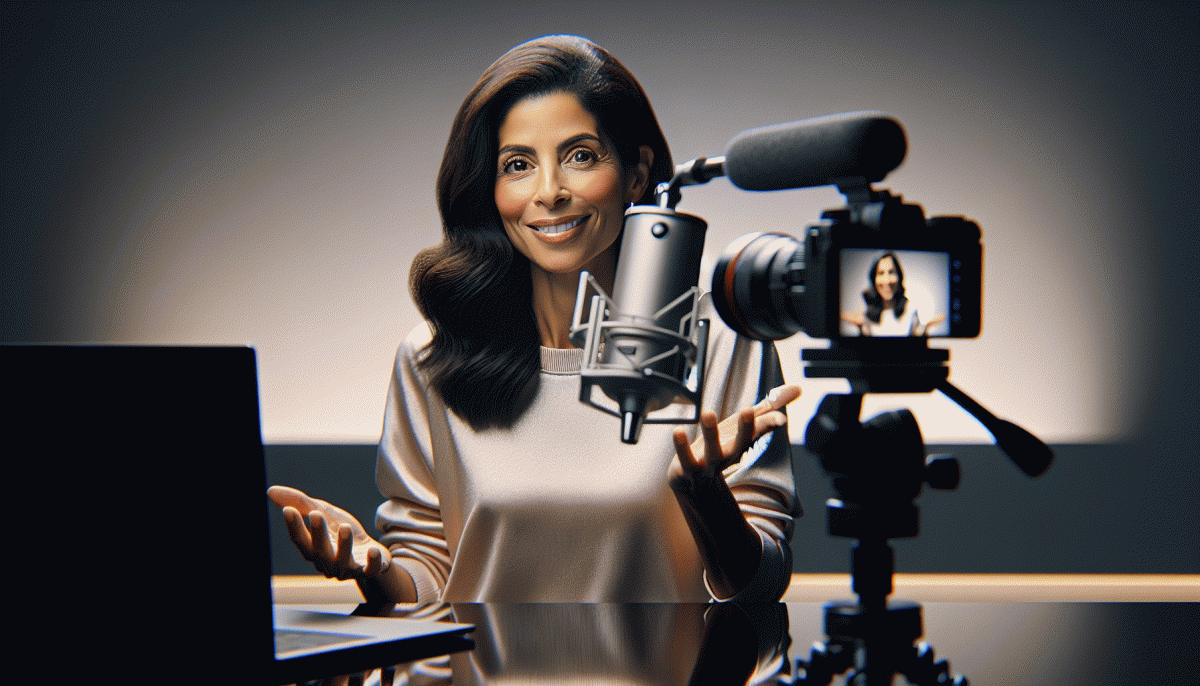
Lighting Audio and Framing: Look Like a Pro With Gear You Already Own
You do not need a ring light or a podcast studio to look crisp on a LinkedIn Live. Face a window for soft, even illumination and shoot during the brightest hour near that window. Diffuse harsh sunlight with a white sheet or a piece of baking paper taped to a frame. Use the phone back camera for better quality, lock exposure and white balance, and angle a desk lamp with a sheet of paper as a bounce card for natural fill.
Great audio is cheaper than you think. Clip your earbuds near the collar or place your phone on a stable surface close to you and record a backup track with a voice memo app. Create a quick vocal booth by moving into a closet or surrounding yourself with jackets and pillows to tame reverb. Turn off noisy appliances, mute notifications, and use headphones to monitor levels during a rehearsal.
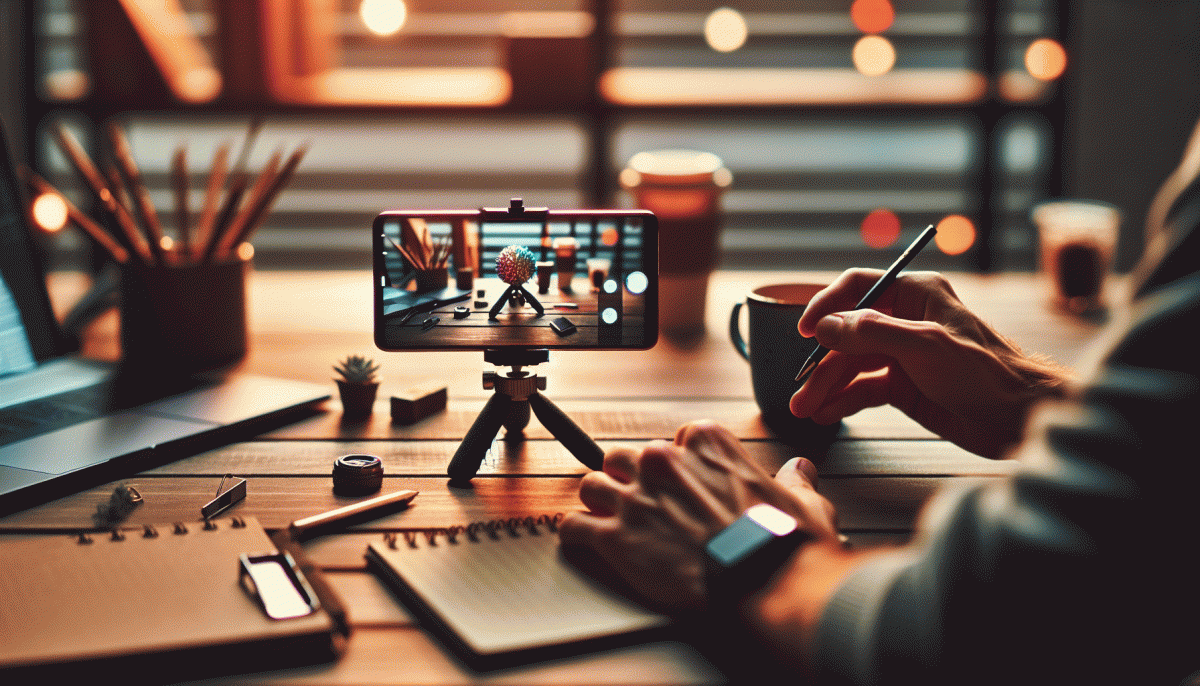
Framing is more about intention than gear. Put the camera at eye level, follow the rule of thirds so your eyes sit in the top third of the frame, and leave a little headroom. Keep shoulders visible and avoid too much empty space above your head. Use stacked books, a mug, or a binder clip on a stick as a makeshift tripod and mark your spot on the floor so you stay consistent.
Quick pre live checklist: charge devices, enable airplane mode, test audio and video, confirm internet stability, tweak lighting, and do a 30 second test recording. With ten minutes and household items you will look and sound like a pro without spending a dime.
Openers That Hook Fast Before Viewers Scroll Away
The first three seconds decide if a viewer stays or immediately bails. Open with motion, mystery, or a tiny promise that sounds too good to ignore. Treat the opener like a headline with a pulse: short, loud, useful, and visually active. Avoid generic intros that sound like scripted ads.
Use a tight formula: Hook + Value + Proof + Mini CTA. Hook with a bold claim, an oddball question, or a visual surprise. Follow with one clear benefit in a single sentence so there is instant clarity. Back it with a micro proof line or tiny demo. End with a soft prompt like Watch for 60 seconds or comment below.
- Teaser: Promise a specific result in one short line, for example I doubled interview invites in a week with one message tweak.
- Shock: Use a startling stat or counterintuitive statement to break autopilot and force a pause.
- Mini-Demo: Quickly show one action or transform a screen element so viewers see the payoff in under 10 seconds.
Delivery is the secret sauce. Look directly at the camera, breathe deliberately, then start with a slight forward lean to signal urgency. Use a small prop, a headline card, or a screen pop to anchor the promise. Speak clearly, pause before the payoff, and let the silence sell the line.
Test multiple openers and check retention for the first minute to see what truly hooks. Trim weak words, swap vague promises for numbers, and repeat the highest performing opener until engagement dips. Small edits will convert awkward starts into magnetic launches that keep people watching the whole stream.
Chat Chaos Controlled: Engage Your Audience Without Losing the Plot
Live chat can feel like herding caffeinated ferrets, but that wild energy is pure gold if you channel it. Treat the chat like a co-host: set a mild structure, assign a human moderator or two, and give them clear signals for when to escalate questions or drop into the broadcast. That way you keep the vibe spontaneous while keeping control of the storyline.
Build a lightweight chat protocol that everyone on the team understands and can follow under pressure. Use short, visible rules at the start of the stream and a three-step flow for incoming comments: capture, classify, and surface. Then automate the boring bits so humans focus on value.
- Timers: Use 30 to 90 second buckets for scanning new messages and for promoted Q&A; this prevents obsession with a single comment.
- Signals: Create two quick signals: one for "answer live" and one for "note for later"; keep the triggers simple like STOP and NOTE.
- Tools: Employ pinned posts, canned replies, and a basic moderation bot to filter noise so the team sees what matters.
Script a few canned transitions that sound human and can be adapted on the fly. Examples include an opener like Thanks, Maya — great point, we will expand on that at minute 12 and a handoff line like Moderator Sam has flagged a top question — bringing it to the mic. Practice these until they feel natural. Small rehearsals and a one page cheat sheet will keep the stream sharp, playful, and on message without killing the momentum.
Replay Gold: Turn One Live Into a Week of Content
Stop treating your live as a single, one-night-only performance — the raw recording is a gold mine. First step: grab the highest-quality file, scrub out long pauses, and create a simple timestamp map of the best moments. Mark 3–5 micro-segments that work as standalone clips, note the timestamp of any quotable line, and flag any unanswered audience questions to turn into follow-ups.
Turn each micro-segment into content formats that actually get attention. Make one 30–60 second clip for feeds, a short captioned audiogram for scrolling, and a bold quote card for someone to reshared. Write three caption variations: quick tip, curiosity hook, and ego-boost CTA — rotate them over the week so your audience sees the same insight from different angles.
Don’t forget the long-form angles: expand a 2–3 minute exchange into a 300–500 word LinkedIn article or a newsletter blurb, and repurpose the Q&A into an FAQ post or a comments thread starter. Use a carousel to present a "week of lessons" — one slide per day — so your single session feels like a content series. Keep headlines platform-tailored: punchier on feeds, more explanatory in articles.
Finally, measure and double down. Pin the top-performing clip, reshare it with a fresh hook, and convert strong interest into leads with a clear next step (resource, signup, or a follow-up mini-session). A little editing, some smart slicing, and you’ve just turned one live into a week of useful, non-cringey touchpoints.
Read also
Go Live on Instagram Without the Cringe: Steal These Pro Tricks to Wow Viewers

Campaign Burnout? Steal These No Rebuild Moves to Wake Your Metrics Up
Still Crushing Instagram Without Ads? Steal These Organic Tactics

Instagram Live Without the Cringe: The Unfair Playbook They Don't Want You to Use

Steal Back Your Day: Automate These Marketing Moves—But Don't Outsource Your Voice