
Live on Instagram Without Embarrassment: 7 Secrets Brands Wish You Never Knew
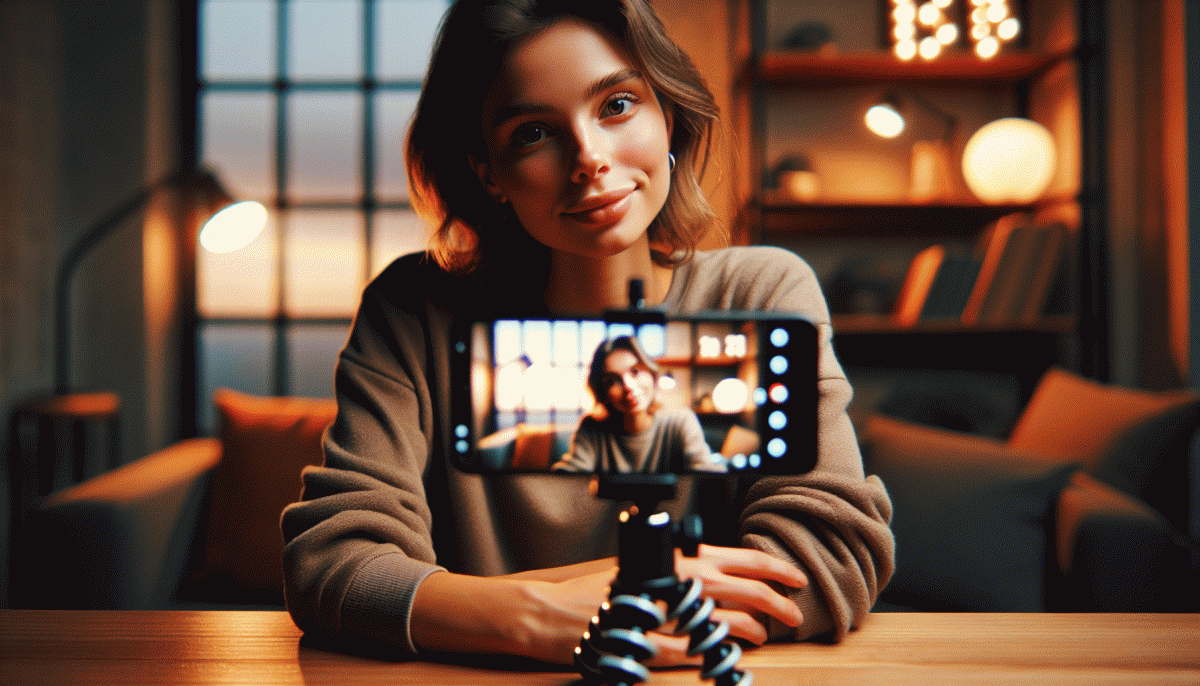
The Pre Live Glow Up: Camera, audio, and a 10 minute checklist
Treat the ten minutes before you go live like a stage call. Check camera, audio, light, and room noise. A quick warmup of breath and smile shifts nerves into energy. Keep a simple checklist on screen or phone so nothing slips when the red light goes on.
Camera basics first: position lens at eye level, frame with a little headroom, and lock exposure so the image does not jump. Prefer a clean, non distracting background and move distracting patterns out of frame. Test resolution and disable wide angle if it warps your face.
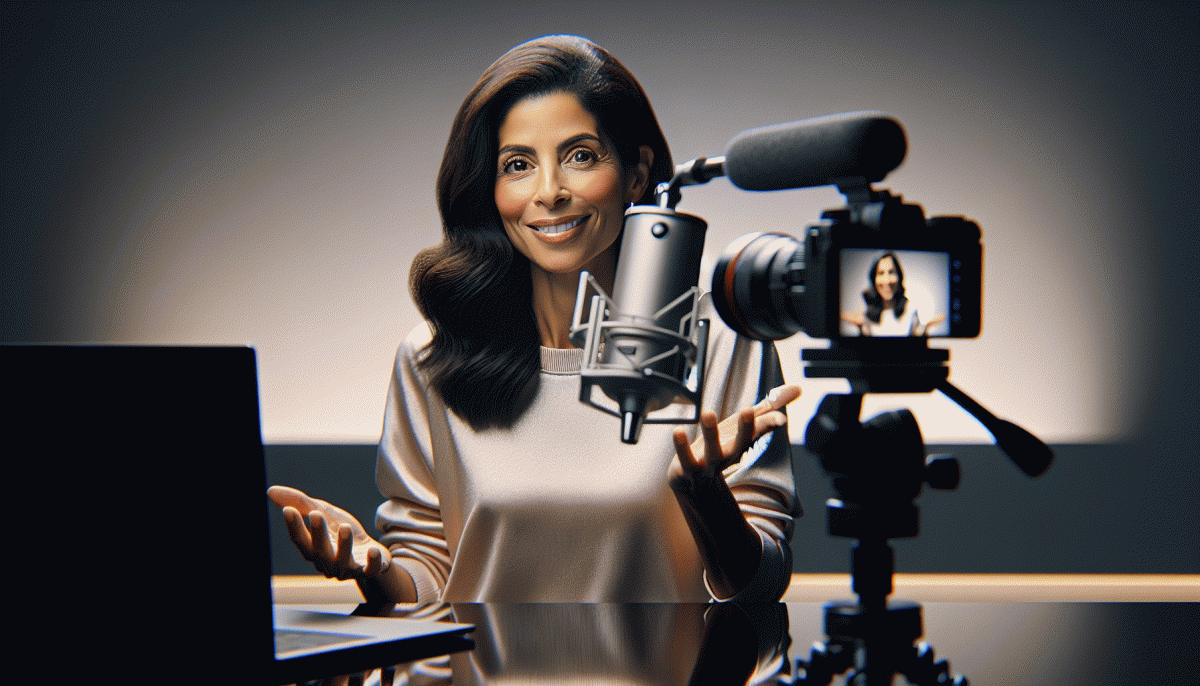
Audio is the quick win. Use a dedicated mic if possible, test levels until peaks sit comfortably below clipping, and monitor with headphones. Close windows, pause background apps, and ask teammates to mute devices. A short recording and playback reveals hiss, echo, or latency fast.
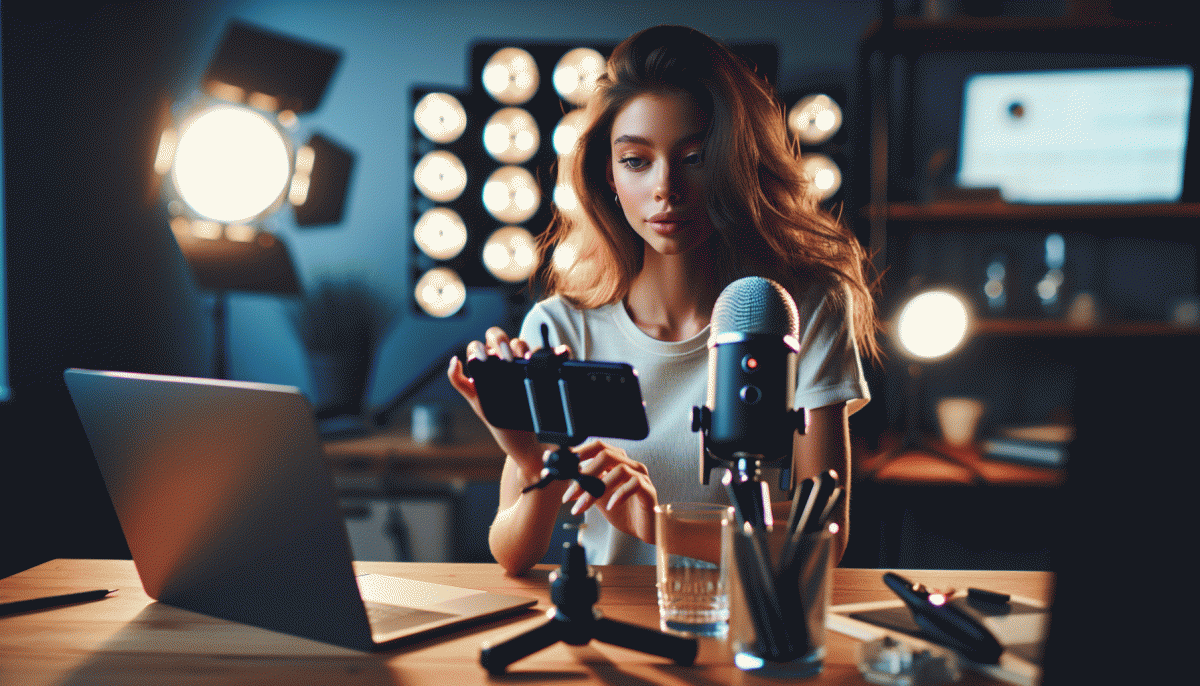
Ten minute tech checklist: restart your device if time allows, plug in power, connect to a reliable network, close heavy apps, and open only streaming tools. Confirm stream key, check recording settings, enable do not disturb, and do one final test capture.
Finish with a human polish: wardrobe that reads well on camera, a one page prompt for flow, and two practice lines to gain momentum. Smile, breathe, hit record, and launch. When you treat these ten minutes like a ritual the rest of the show runs way smoother.
Open Strong: First 30 seconds that hook viewers and crush nerves
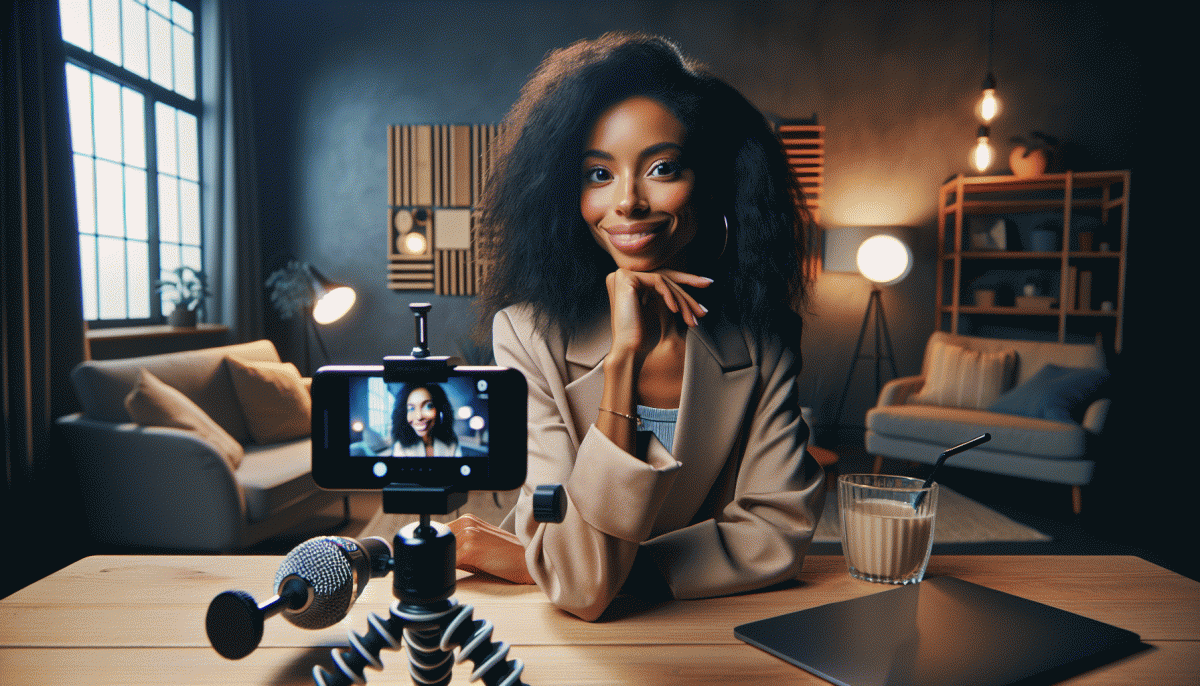
First impressions on live video happen in the blink of an eye, so treat the opening like a stage entrance. Begin with a short, unexpected line that promises immediate value and makes viewers feel smart for sticking around. Try a one sentence hook that answers Why they should watch now and What they will gain, then follow with a bold visual or prop to give the eye something to latch onto while your voice builds confidence.
Do a quick tech and energy check in the ten seconds before you go live. Bright but soft lighting, a tidy background, and a charged phone are basic hygiene. Use a physical anchor like a small card with your first line and a breathing cue to calm the body. Ask a friend to type a warming comment in the first 30 seconds so the chat looks alive and you feel less alone.
Structure the first 30 seconds into three tidy beats: Opener: 0–10 seconds, lead with a surprising fact, question, or bold promise.
Value: 10–20 seconds, give one fast win or demo to prove the promise.
Tease/CTA: 20–30 seconds, hint at the main payoff and invite one simple action like comment A, bookmark, or stay for a quick reveal. Script these beats and memorize the rhythm rather than every word to sound natural.
Rehearse with a timer until the rhythm feels comfortable and record the first 30 seconds repeatedly until you can deliver it without watching a script. That repetition will crush nerves faster than confidence affirmations alone. If you want ready-to-use openers and a 30 second script template to plug into your next stream, consider grabbing a rehearsal pack or a short coaching session to accelerate that polish.
Keep Chat Buzzing: Prompts, polls, and safe ways to handle trolls
Think of chat as stage crew: when it hums, the whole show feels pro. Kick off with low friction prompts that invite one word answers and quick reactions. Try lines like "This or That: Coffee or Tea?", "Caption Battle: Finish this sentence...", and "Hot take: Which trend is dead?" Give a short timer and promise to react to the top replies within five minutes to keep momentum high.
Polls are the fastest way to turn lurkers into participants. Use the poll sticker for binary decisions, the quiz for playful tests, and the slider when you want emotion checks. Poll ideas: pick the next product color, vote on the next feature, rate the live value. Announce results aloud, tag winners, and follow up with a mini recap post so voters feel rewarded.
Trolls will appear; plan for them so they do not derail energy. Use three soft scripts for moderators: calm response, deflect and move on, or remove and block. Examples: Calm: "Thanks for sharing, we will consider that."; Deflect: "Interesting view, now back to our Q and A."; Remove: "Comment removed for violating rules." Pin two great comments at all times to set the tone and encourage positive replies.
Operationalize this with a simple workflow: assign a moderator, prepare saved replies, and enable keyword filters before going live. Run one mock live each week to practice. Small rituals like a custom welcome message and a closing shout out turn passive watchers into repeat participants. Keep it human, keep it playful, and the chat will carry you.
Sell Without the Ick: CTAs and offers that convert on camera
Selling during a live broadcast is not a hard close, it is a smooth invitation. Lead with value, then invite a tiny action: a reaction, a one-word reply, or a tap on a sticker. Those micro-commitments build momentum without making viewers feel hunted. Keep your tone conversational and the ask so small it feels natural.
Make CTAs concise, benefit-led, and multi-placed. Use on-camera lines like "Drop a heart for the 10 percent code", "Comment YES to get a DM link", or "Tap the sticker to reserve yours". Say it, show it on an overlay, and pin the same instruction in chat. Consistency across visual, verbal, and text cues removes confusion and raises conversion.
Design offers to shave off friction: instant digital delivery, free shipping, a trial price, or a tiny exclusive bundle. Add urgency with a visible countdown and show stock levels on screen. Bring social proof into the frame — unbox a recent order, read a short customer note, or flash screenshots of happy buyers. Make the deal feel like backstage access, not a hard sell.
Quick on-camera templates to test: "Available now for viewers only" and "Type YES and I will DM the checkout link". Track sticker taps, pinned comment replies, and DMs to see what works. Iterate fast, keep language friendly, and remember: helpful first, ask second. Small CTAs win big on camera.
Turn One Live Into Ten Posts: Repurpose like a pro across Stories and Reels
Think of one live as a raw video mine. Start by downloading the full file and making a very short editorial plan: one hero clip for Reels, three micro moments for Stories, a quote graphic, and a caption-ready transcript. This upfront map saves time and makes each slice feel intentional instead of slapped together. Keep file names like 01_Hook, 02_QA, 03_Tip so repurposing is surgical.
For Reels, aim for 15 to 45 seconds of high energy. Pick the juiciest moment, crop to vertical, add captions and a 1 to 3 second visual hook at the start. Use simple motion graphics to highlight the key takeaway and close with a bold text CTA. Export two aspect variants if you plan to post across platforms.
Stories are best for serialized storytelling. Break the live into 10 to 15 second segments with clear micro hooks and interactive stickers such as polls, questions, or countdowns to drive follow up. Save a Story highlight titled with that live topic so new visitors can binge the best bits. While at it, pull 3 to 5 transcribed quotes and turn them into static carousels for your grid.
Schedule releases over 7 to 14 days instead of dumping everything at once. Reuse top performing audio clips in later Reels to build familiarity and post trimmed versions to other short form channels to extend reach. Simple editing plus a tiny distribution plan turns one live into a content machine and avoids awkward scramble moments.
Read also
Live on Instagram Without Embarrassment: Pro Secrets That Actually Work
Go Live on Instagram Without the Cringe: Steal These Pro Tricks to Wow Viewers

Instagram Live Without the Cringe: The Unfair Playbook They Don't Want You to Use
Go Live on Instagram Without Cringe: The Shockingly Simple Playbook
You’ve Been Doing Instagram Live Wrong—Do This Before You Hit ‘Start’