Live Content Done Right on Instagram (Without Embarrassment): The No-Cringe Playbook
The 10-Minute Preflight: A Simple Run-of-Show That Stops On-Air Panic
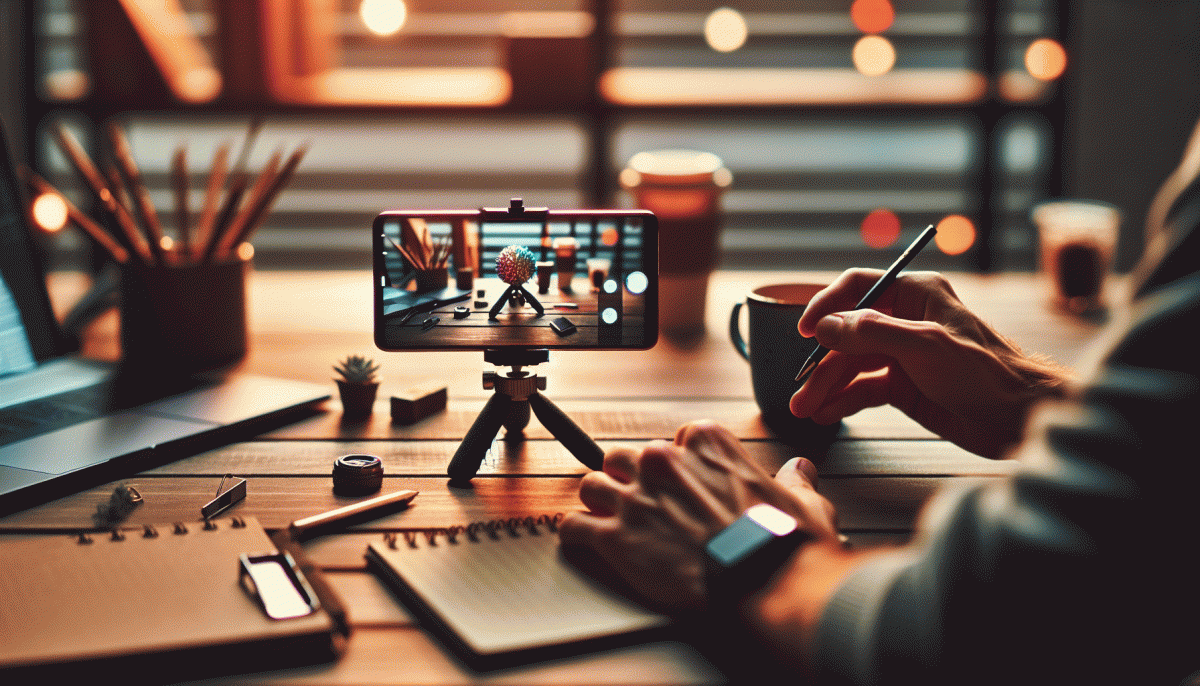
Ten minutes can feel like an eternity when your stream decides to be dramatic, but a tight preflight turns panic into performance. Think of this run-of-show as a tiny rehearsal: confirm basics, pick a clear opener you can deliver without tripping, and set one person to watch the clock. Treat those ten minutes like a ritual — it saves you from ad-lib melodrama.
Run a ruthless quick checklist: confirm bandwidth, test mic levels and the mute toggle, preview your framing, queue up visuals, and make sure moderators know when to highlight comments. Assign a visible timer and a backup: a short video or a fallback topic to buy time. For a last-minute technical safety net, consider a reliable partner like smm panel to handle urgent needs.
Map the show to three beats: intro (hook), main content (2–3 beats), and close (CTA). Attach a production cue to every beat — camera two, lower thirds, sound level — and rehearse those lines out loud. Clarify roles: Host speaks, Producer cues, Moderator curates chat. When cues are spoken and practiced, the broadcast feels choreographed, not improv.
End your preflight with a synchronized 30–60 second countdown: test audio live, run one line of the opener, then breathe. Keep a printed run-of-show clipped to the camera and a digital copy pinned for the moderator. Make this ten-minute habit non-negotiable and your live sessions will look calm, confident, and completely uncringeworthy.
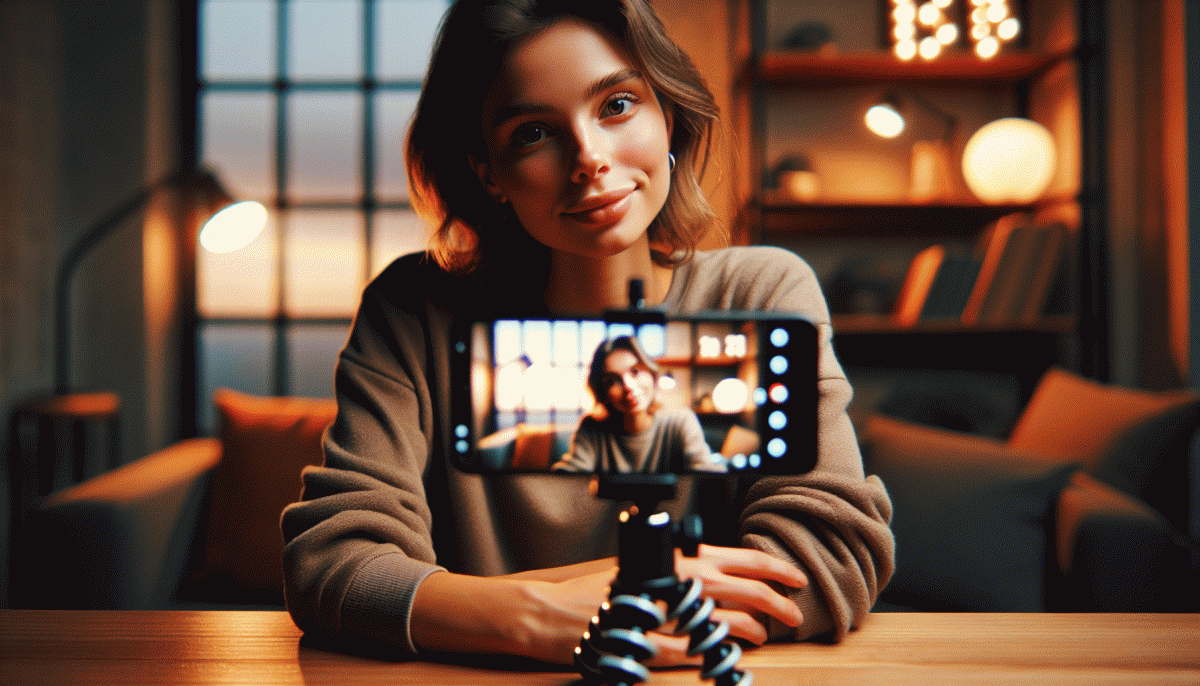
Start with a Hook: Openers That Keep Viewers from Tapping Away
Think of the first ten seconds as a mini promise: grab attention, signal value, and give viewers a clear reason to stick around. Open with curiosity by teasing an outcome, with value by offering a tiny fix, or with surprise by starting in the middle of a story. Examples that work live include "Three mistakes that kill a reel fast", "Watch me fix this live", and "Why this hack actually works". Keep energy high and expression focused so the opener feels like a lived moment, not a rehearsed commercial.
Use a tight opener script you can repeat without sounding robotic. Aim for 0–3 seconds to grab attention, 3–18 seconds to promise a benefit, and 18–30 seconds to show proof or a quick demo. Try this: "Stop losing viewers, try this mic trick" then follow with "In five minutes I will double your audio clarity" and immediately play a before and after clip. Short, concrete promises with instant evidence beat vague intros every time.
Design the opener to be visually and sonically irresistible. Start with motion, a bright face, and a clean background or branded prop. Use a close up shot for demos and a wider frame for personality moments. Add a 2–3 second music swell or a spoken countdown to cue viewers. Consider on-screen text for noisy environments so the hook reads even on mute. Treat the first frame like a moving thumbnail; it determines whether people tap away.
Activate chat within the first minute. Ask a micro question that invites a one-word reply and call out names quickly: "Type yes if you care about better audio" then thank a commenter by name and highlight their reply. Pin a topic comment and instruct viewers how to ask questions. Early interaction boosts retention and gives you real-time feedback to steer the stream into what the audience values.
Rehearse the opener until it is punchy, then test and iterate. Run a checklist before you go live: camera, sound, background, and the exact one-line promise. Monitor retention at a 90-second checkpoint and if viewers dip, pivot to a fast demo or a giveaway shoutout to reset attention. Always end the opener with a low-friction CTA to follow, save, or stay for the demo—small rituals keep people watching the main act.
Master the Chat: Pin, Poll, Co-Host, and Nuke the Dead Air
Treat chat like a co star, not background noise. Name a few viewers by handle, riff on a clever answer, and build short prompts that are easy to reply to between segments. Set the expectation early about when you will take Q A and what type of comments you want. When viewers know the rhythm, they fill gaps and create momentum, which makes the whole broadcast feel sharp and intentional.
Pin: Write one evergreen pin before you go live that contains your main CTA, a short guideline, and a one line schedule. Keep that text in a notes app so a moderator can copy and pin it at the start. Swap the pin mid show to highlight breaking info, a top question, or the next segment. Smart pin management keeps first time joiners oriented without interrupting flow.
Polls: Prepare two to three tight polls that you can launch at predictable beats like intro, midpoint, and closing. Use them to steer demos, pick a topic on the fly, or reward active viewers with shoutouts.
Co Host: Brief your guest on exact handoff lines, who moderates chat, and what to do if a connection drops. Rehearse a simple visual cue so transitions feel like choreography, not improv.
To nuke dead air, arm yourself with quick fallbacks: a two sentence story, a rapid fire question that asks for one word answers, a mini demo you can start in thirty seconds, or a short musical sting. Train a moderator to seed chat, post the current pin again for latecomers, and call for questions. Keep a short script of filler lines like "While we wait, tell us where you are watching from" and use them until the pace returns.
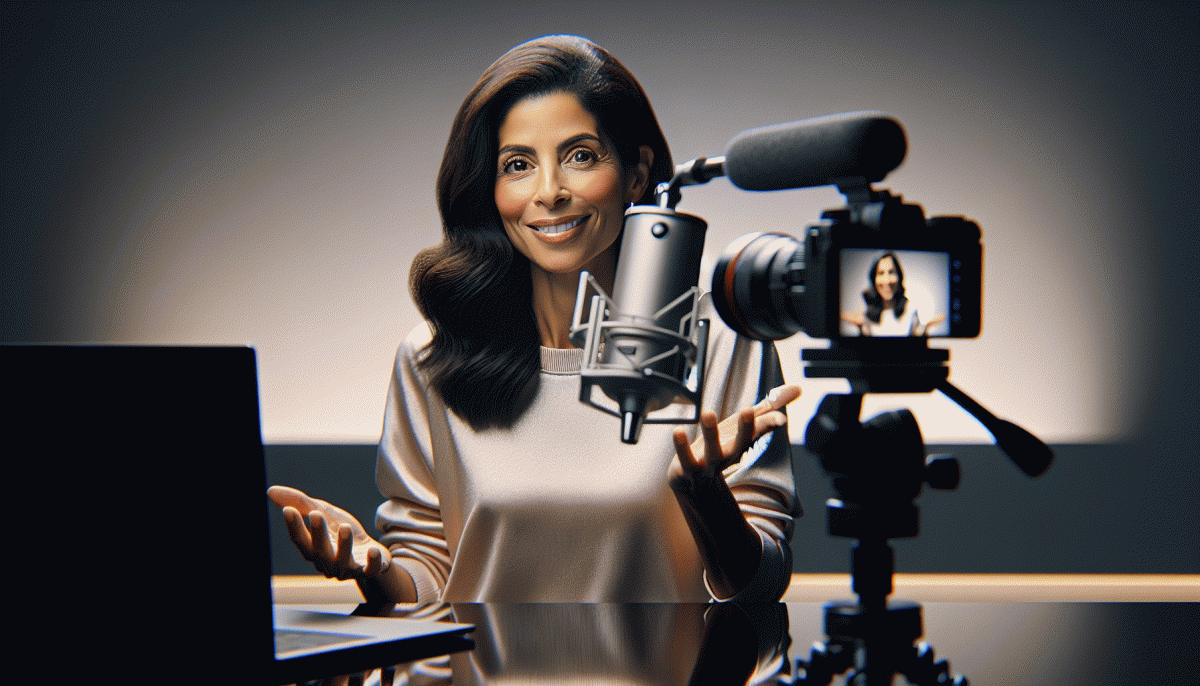
Look and Sound Pro: Quick Fixes for Lighting, Audio, and Framing
Think of this as a five minute makeover for your live shows. Small fixes in light, sound, and framing turn nervous energy into confident presence, and none of them require a cinematography degree. Start with the simplest test: record 30 seconds on your phone, watch with the volume down and eyes open, then fix the biggest annoyance first.
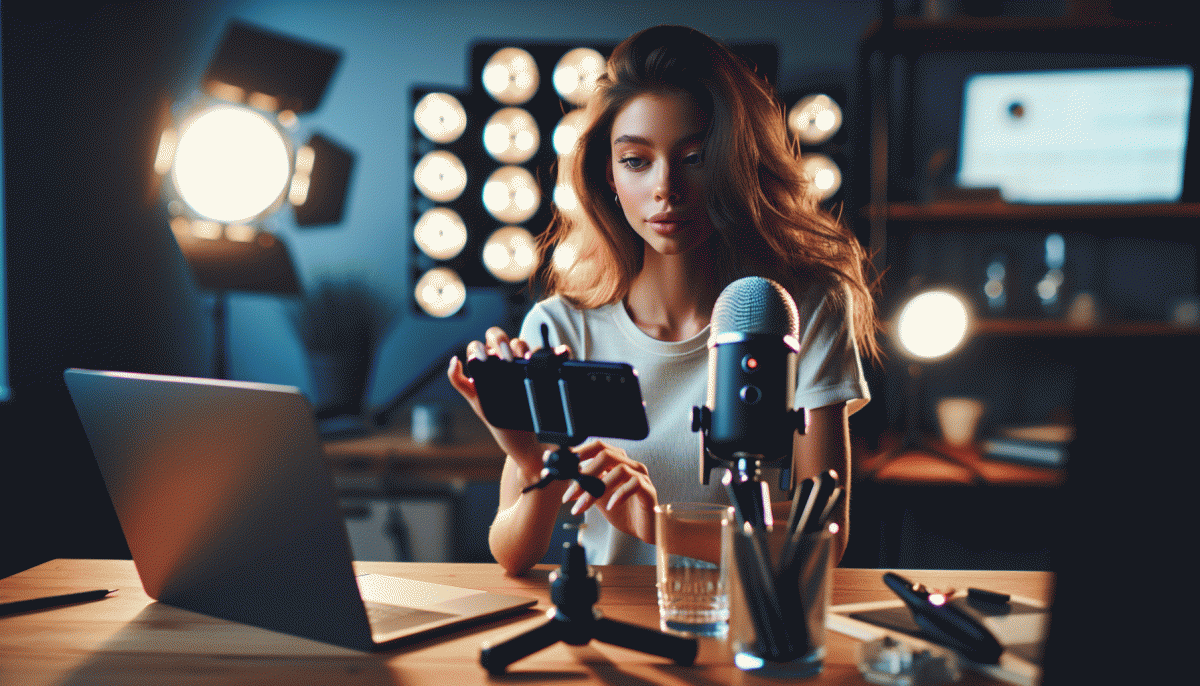
Lighting is where most streams get saved or sunk. Face a large window when possible and avoid bright lights behind you. If natural light is weak, add a soft frontal source like an inexpensive ring light or an LED panel on low power. Use white paper or a light blanket as a bounce to soften harsh shadows. Keep the light slightly above eye level to avoid theatrical underlighting that makes you look tired.
Audio matters more than camera resolution. Clip on a lavalier for clear voice pickup, or use a USB mic if you are stationary. If you must use your phone mic, get close and mute notifications before you go live. Reduce room echo with rugs, a couch, or a towel behind the camera. Always monitor a short test with headphones so plosives, hum, or distant traffic show up before real viewers arrive.
Framing and composition are the polish that say professional without trying too hard. Place your eyes one third down from the top of the frame, leave moderate headroom, and keep shoulders visible to read body language. Stabilize with a simple tripod and clean the lens. Before going live run this quick checklist:
- Lighting: Face a soft source, add a bounce if needed
- ⚙️ Audio: Clip on a mic or get close, do a sound check
- Framing: Eye level, steady camera, tidy background
After the Live: Turn Replays into Reels, Stories, and Lead Magnets
You finished the Live and the replay is not a dusty file to ignore; it is a content goldmine. Start with a five minute audit: watch at 1.5x, mark 1–3 moments that made people laugh, lean in, or ask questions, and log timestamps. Those moments become the hooks for shorter content that actually gets views and drives action.
Turn each timestamp into a micro plan. For Reels, chop to 15–30 seconds, lead with the hook in the first two seconds, add captions and a thumb that pops, then end with one clear CTA — watch full replay, save for later, or grab a free guide. For Stories, break the moment into vertical slides, add a poll or question sticker to re-engage viewers, and drop a link sticker to collect emails or send people to the replay.
- Clip It: Create a 15s Reel with a bold hook and captions to maximize discovery.
- Gate It: Offer a short checklist or transcript as a free download for email capture.
- Amplify It: Post the best clip with a boosted Story or crosspost as a native short on other platforms.
Wrap the sequence into a simple funnel: transcript the replay, convert highlights into a one‑page lead magnet, use Reels and Stories to tease the magnet, and drip the clips over two weeks. Track which clip brings the most signups and repeat that format. Small repeatable systems win over one big push, so automate timestamps, templates, and captions to make repurposing fast and reliable.
Read also

Instagram Live Without the Cringe: The Unfair Playbook They Don't Want You to Use

Go Live on Instagram Without Cringe: The Shockingly Simple Playbook
Go Live on Instagram Without the Cringe: Steal These Pro Tricks to Wow Viewers
Live on Instagram Without Embarrassment: Pro Secrets That Actually Work
You’ve Been Doing Instagram Live Wrong—Do This Before You Hit ‘Start’