Go Live Without Cringe: The Instagram Live Playbook That Actually Works
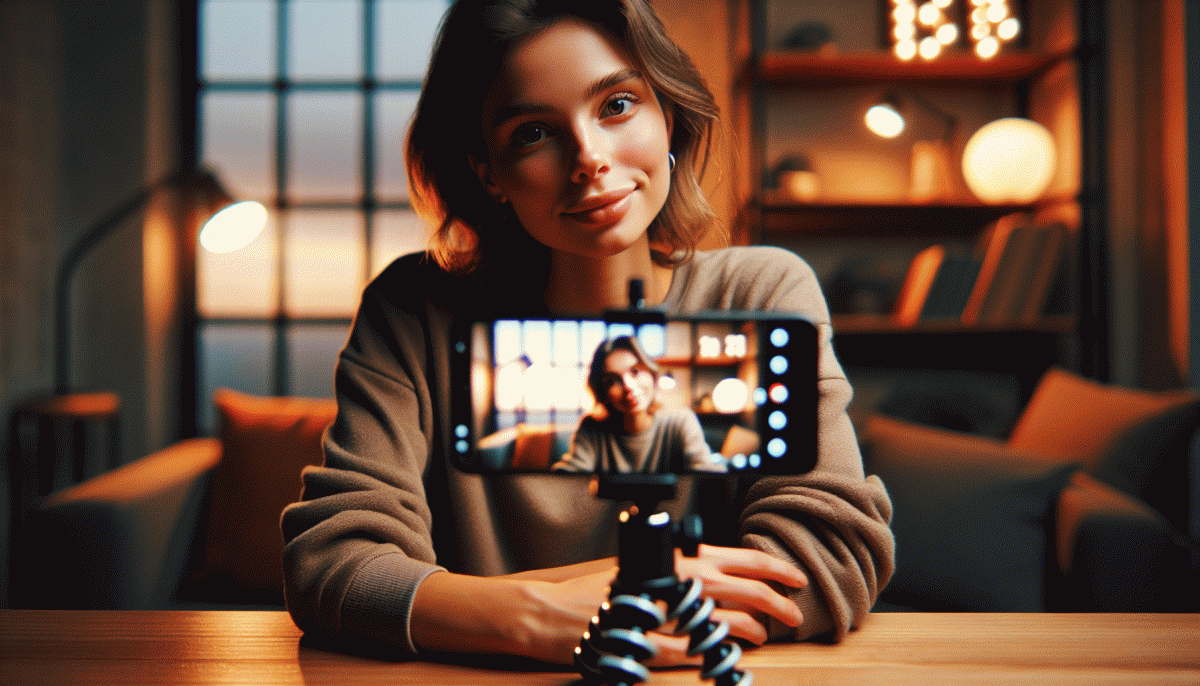
A 10 Minute Prep Ritual to Calm Nerves and Nail Your First Minute
Ten minutes of focused prep beats an hour of anxious scrolling. Use this tiny ritual to flip the switch from jittery to jaunty: dim bright lights that make you squint, check sound with a quick record, place your phone at eye level, and set a visible timer for ten minutes. Treat the timer like a countdown to confidence, not pressure; you're warming up, not auditioning for perfection.
Now sprint through the essentials with a micro-checklist that you can run even with your heart racing:
- Ground: 60 seconds of box breathing (4–4–4) and a power pose to steady your voice.
- Hook: Pick one 10–15 second opener that promises value or teases a surprise.
- Anchor: A single-sentence mission line you can repeat if you stumble.
Finish with a rapid rehearsal: say your hook, your value line, then the call-to-action out loud twice. Keep the first minute in three tidy beats — who you are, why they should care, what they get if they stay — and trim each beat to one crisp sentence. Do a final tech blink: mic on, Do Not Disturb, camera framed, lights flattering. Hit the timer, smile, and go live knowing your first minute is rehearsed, human, and intentionally imperfect — which, spoiler, is way more watchable than robotic perfection.
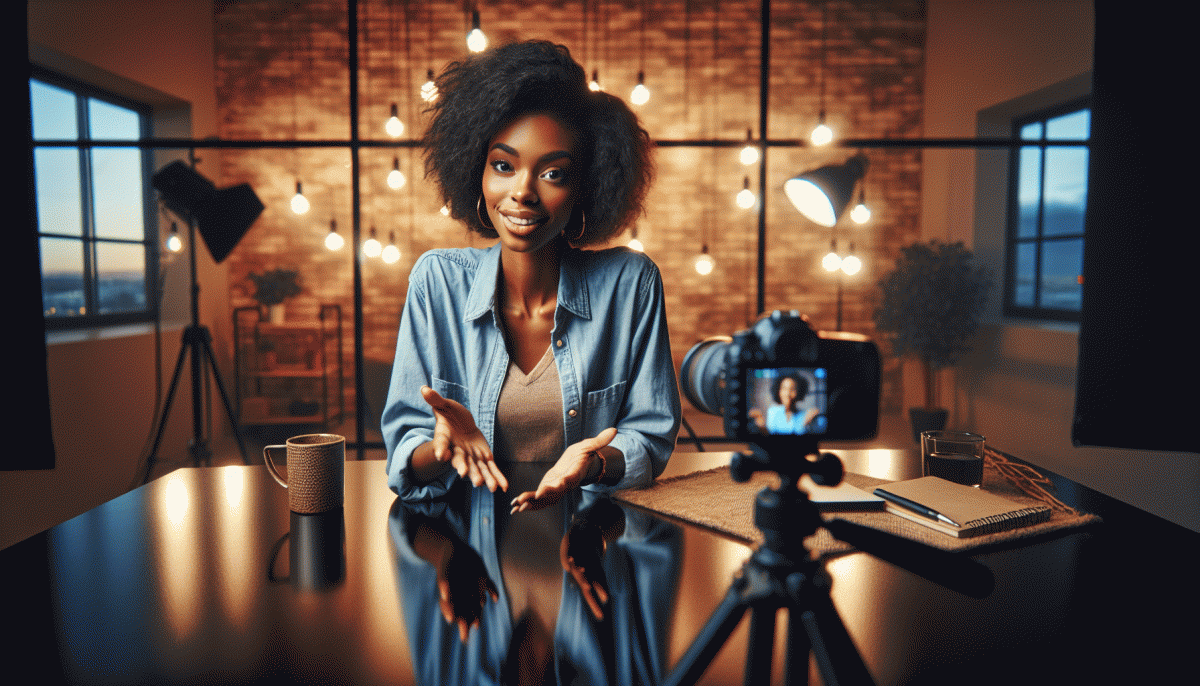
Forget Scripts: Use This Simple 3 Point Flow to Sound Natural
Scripts make streams feel rehearsed. Instead, think in three simple beats that give you direction without a teleprompter voice. The trick is to move from attention to value to participation in a smooth arc that sounds conversational. Treat each beat like a mini scene: open with a soundbite, deliver one clear idea, and end by inviting a tiny response. That keeps momentum and makes you feel human instead of robotic.
Open: Start with something specific and immediate so viewers know why they should stay. Try a quick observation, a playful challenge, or a one line preview of what comes next. Keep the opener under 10 seconds and say it like you would to a friend. Vary your tone, use a smile or a raised eyebrow, and follow the reaction on camera instead of switching back to a prepared paragraph.
Deliver: Give one tangible thing people can take away in the next 60 to 120 seconds. Teach a tiny technique, show a close up, or narrate a live fix. Use numbers, examples, or a before and after to make the point stick. If you can, demonstrate rather than describe: action translates as authenticity and cuts down on filler words.
Invite: Finish with a low friction ask that sparks interaction. Ask for a one word reply, a reaction emoji, or a vote between two options. Mirror responses, call out names, and use a pinned prompt to guide answers. Practice this flow in three minute drills until it feels natural, then go live and let the beats hold the frame while your personality does the rest.
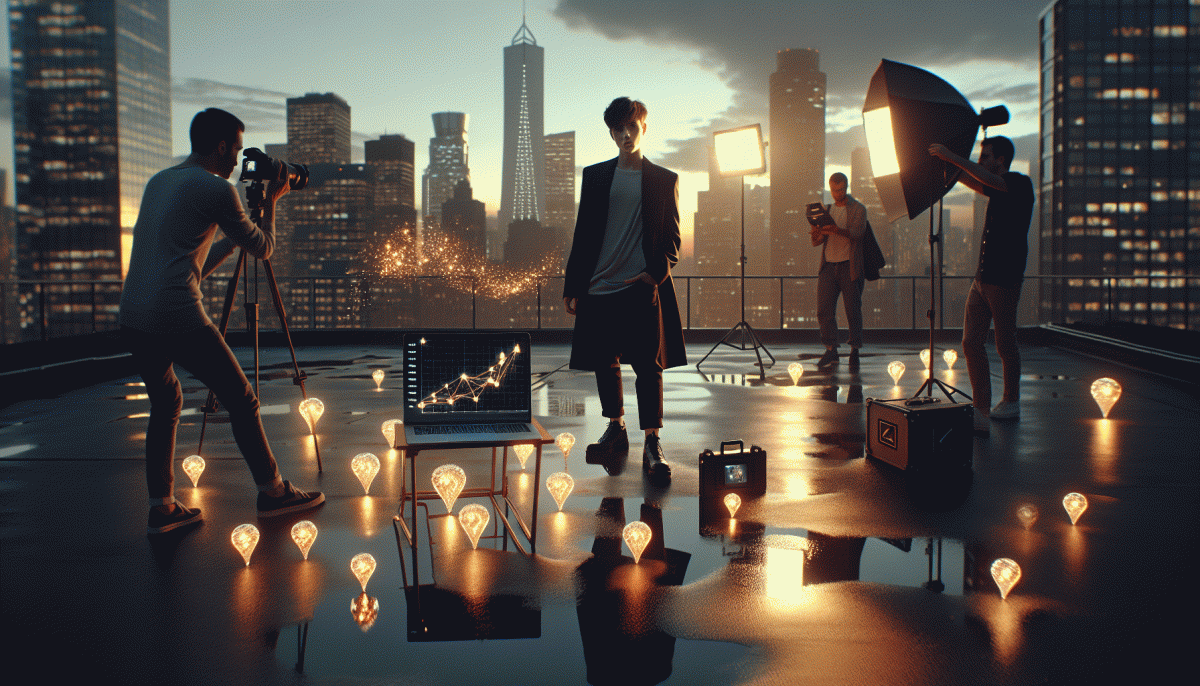
Look and Sound Pro: Budget Lighting, Angles, and Audio That Pop
Want to look like you spent a weekend with a pro cinematographer and sound engineer even when you didn't? Small, smart tweaks to lighting, camera angles, and audio will shave off the cringe and boost viewers' trust instantly. These are budget-friendly tricks you can do with a lamp, a cheap mic, and a tiny dose of intention — no tech degree required.
Start simple: face a window or a soft lamp for flattering, even light, keep the camera at eye level (not peeking up your nostrils), and treat hard surfaces to kill echo. For quick reference, use this mini cheat-sheet:
- Key: Face soft, diffused light — a $20 ring or a lamp behind a white pillowcase works wonders.
- Angles: Camera at eye level and a little distance (arm's length to 3 feet) for natural framing and less distortion.
- Audio: Clip-on lavs or USB mics beat phone speakers; position the mic close and mute notifications.
For soundproofing on a budget, hang a blanket or toss clothes in corners to dampen reverb; test audio with a friend or a quick recording before you go live. If you have an extra $30–60, grab a lav or basic USB condenser — the clarity jump is dramatic. Final ritual: quick lighting check, camera angle glance, 10-second audio test, and you're ready. Tiny upgrades, big confidence — go hit that live button without the cringe.
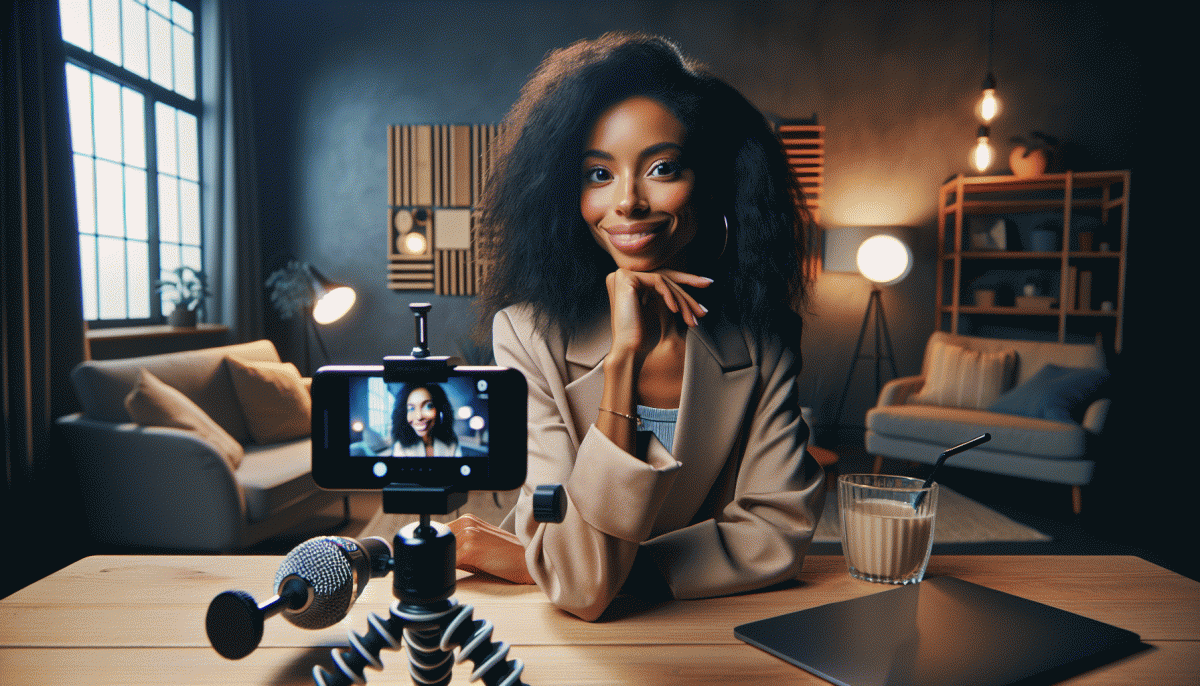
Engagement Boosters: Collab, Q and A, and Badges Without Chaos
Start collab streams by assigning simple roles so two people do not talk over each other. Give your guest a thirty second intro cue, then hand off a clear demonstration or story segment. Run one tech check before going live so mics and connection are stable. Announce the length of the collab up front and promise one specific takeaway for viewers — short expectations reduce awkward pauses and make the energy feel intentional.
Make Q and A feel like a VIP exchange, not a chaotic shoutfest. Use Instagram Stories question stickers before the stream to gather curated prompts, then begin with three preselected questions to set the pace. During the live, name the asker, answer succinctly, and use a rapid‑fire round for quick wins. If real‑time audience calls get noisy, invite one viewer at a time to join as a guest for a focused conversation.
Badges are social currency; present them as simple micro supports rather than hard sells. Create one badge moment midstream and one at the end, each under thirty seconds, where you thank supporters and show a small on screen graphic. Call out badge buyers by name and give a tiny perk, such as a shoutout or a one sentence tip. Keeping badge asks infrequent keeps trust high and reduces viewer fatigue.
Put everything together with a short run sheet: five minute intro, ten minute collab highlight, fifteen minute demo or story, ten minute Q and A, badge moment and quick wrap. Rehearse transitions once and keep a simple visual cue for when segments change. Track three numbers after each stream — peak viewers, comments, and badges — then tweak the order or pacing next time. Small experiments win over dramatic overhauls.
After the Live: Turn One Stream into Reels, Stories, and Sales
Just because the live ended doesn't mean the content's done. Treat a single stream like raw film you can cut, polish, and re-release: pull 20–45 second cliffnotes that start with a hook, export full audio for captioning, and timestamp the Q&A so viewers can skip to the good bits. Label clips as Best question, Hot take, and How-to so editing becomes fast assembly work, not guesswork, and save raw files for batch captioning.
Make Reels that feel native — open with the juiciest quote, add captions that sync with the audio, and end with a micro-CTA. Trim dead air, punch into reaction shots, and match a trending beat while keeping your first two seconds unmistakably you. Test three thumbnail frames, export both a short 20–30s Reel and a longer 60–90s clip for watch-time, and keep a template so each edit only takes minutes.
Stories are your conversion funnel: share bite-sized highlights, use polls and question stickers to recycle viewer comments, and pin a Highlights reel for newcomers. Use link stickers or countdowns to create urgency, reshared DMs as social proof, and check which sticker drove clicks. If you want a fast reach boost to kickstart those Highlights, consider buy Instagram followers safely as a launch tactic — then let organic clips take over.
Finally, turn attention into action: pin a purchase link in bio, paste timestamps and CTAs in captions, and follow up with personalized DMs. Track clip performance with UTM-tagged links and a simple spreadsheet, double down on the formats that convert, and iterate weekly. Small, consistent edits beat one perfect broadcast — and are a lot less cringe.
Read also

Instagram Live Without the Cringe: The Unfair Playbook They Don't Want You to Use
Live on Instagram Without Embarrassment: Pro Secrets That Actually Work
Go Live on Instagram Without Cringe: The Shockingly Simple Playbook
Go Live on Instagram Without the Cringe: Steal These Pro Tricks to Wow Viewers

Buying Attention Exposed: Boosting, Influencers, and Other Paid Leverage That Actually Works