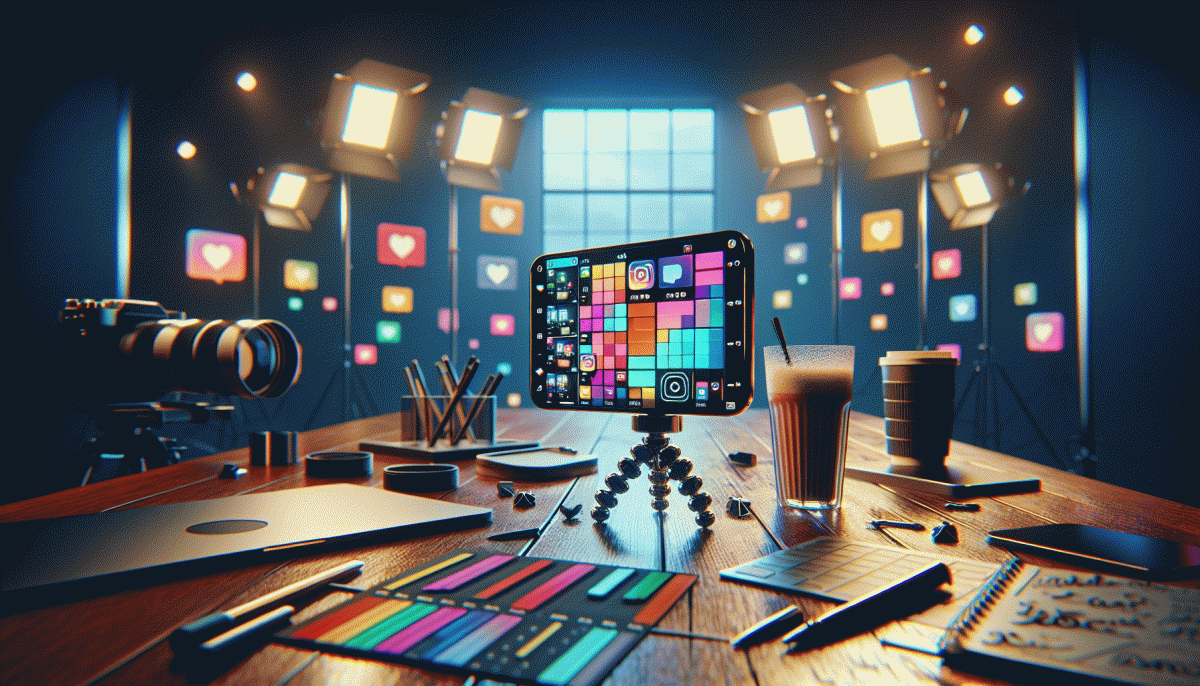
Go Live on Instagram Without the Cringe: Steal These Pro Tricks
The 10-Minute Pre-Live Checklist: Look Polished, Not Panicked
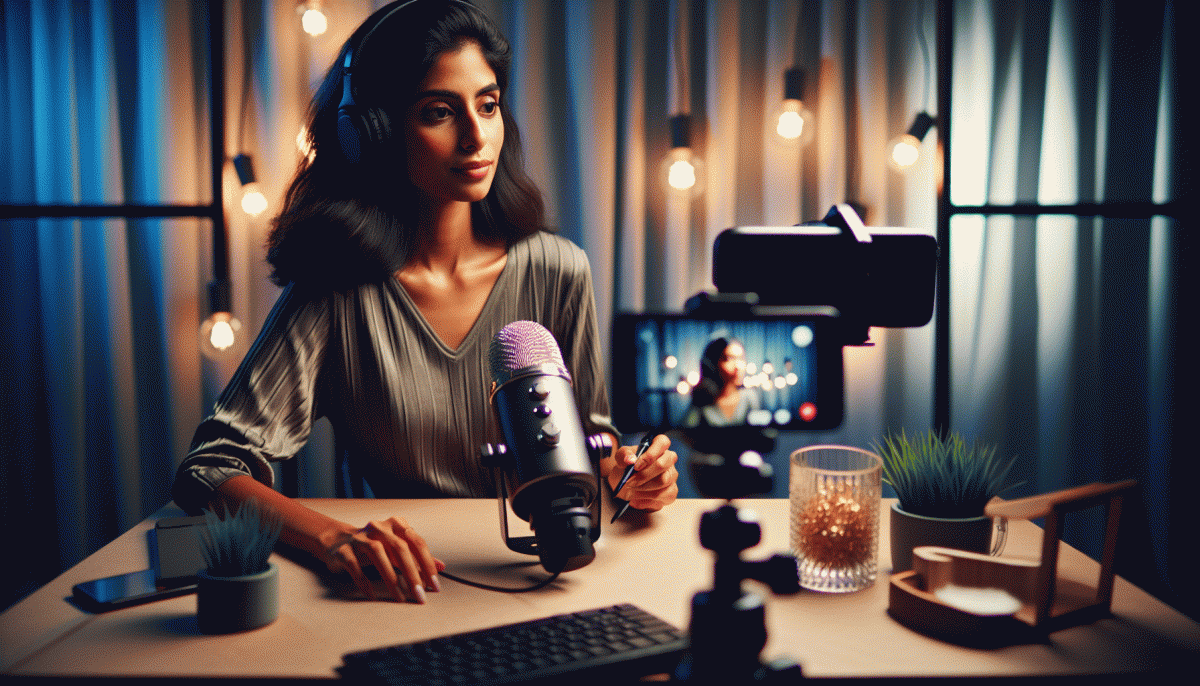
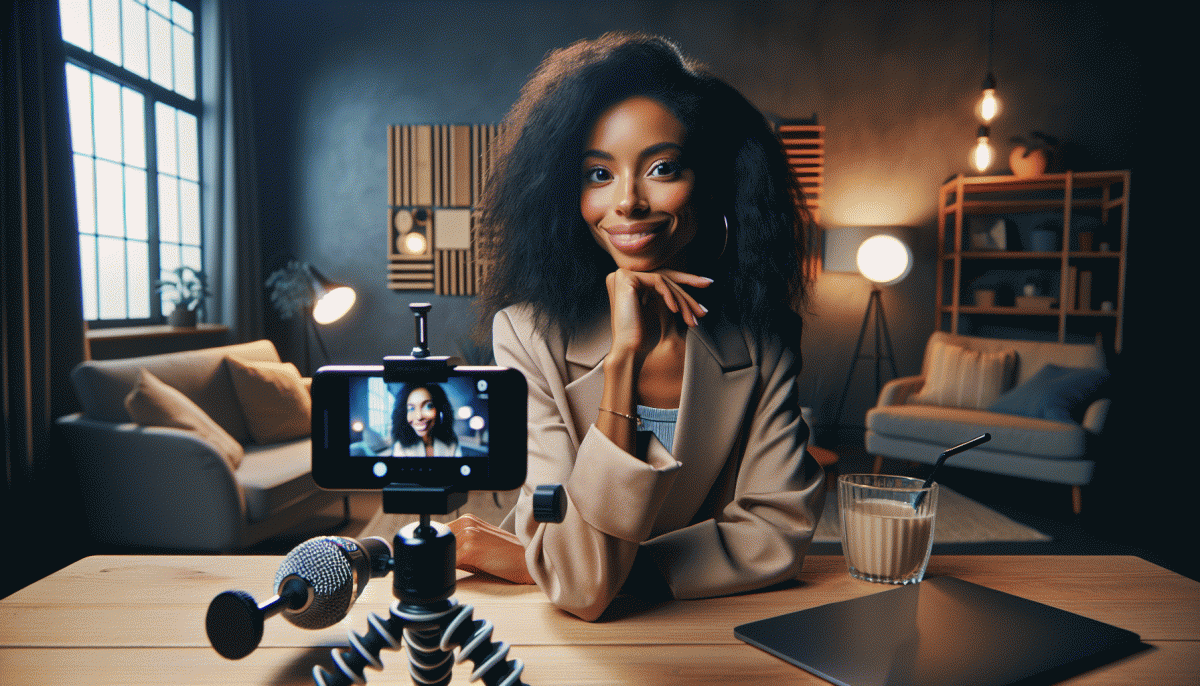
Lights first. Position one soft light at eye level and another behind you for depth. Move the camera to capture from just above eye height; it is more flattering and makes you look confident not awkward. Swap busy backgrounds for a tidy shelf or a simple wall. Choose an outfit that contrasts your background and makes your face pop.
Tech quick wins next. Plug in power and Ethernet if possible. Close background apps and mute desktop notifications. Test audio by recording ten seconds to check levels and remove echo by adjusting mic distance. Start the Instagram app and use the preview mode to confirm framing and portrait orientation before you hit go.
Line up your talking points in three bullets: hook, value, call to action. Keep the hook to 20 seconds so you hook viewers fast. Prepare one physical prop or visual to break monotony. Assign a chat buddy to pin questions and moderate comments so you can focus on flow and not fight trolls.
Finally breathe and smile. Take a minute of steady breathing, do a posture reset, and sip water. Count down 3-2-1 and step into the camera like you mean it. When you feel polished not panicked the audience feels it too and engagement follows.
Open Strong: Hooks That Stop the Scroll in the First 7 Seconds
You have seven seconds to earn the pause. Open with an urgent visual beat — a sudden motion, an extreme close up, or a color that pops — then land a one line promise that answers the viewers main question: what will this give me? Lead with outcome not process and avoid filler. A tight, bold opening frames the rest of the stream.
Sound and timing are your secret weapons. Add a sharp audio cue or a quick count in the first half second to lock attention. Create a curiosity gap that is specific: show a before frame, hint at the result, then cut. Name a number or time to make the payoff tangible. Specificity reduces scroll anxiety and compels watchers to stay for completion.
If you want a fast credibility boost to amplify that first engagement wave, try this route for initial social proof: get Instagram followers fast so your live appears active the moment you go online. After the jump start, pin a one line summary in the top comment so late arrivals instantly get context and the promised outcome.
Practice makes the seven second test passable. Record three versions of your opener and pick the boldest. Try sample lines aloud: "Three tweaks that doubled my views in a week"; "What no one tells you about going live"; "Say this exact sentence when you hit start." Rehearse until the opening feels like play, not performance.
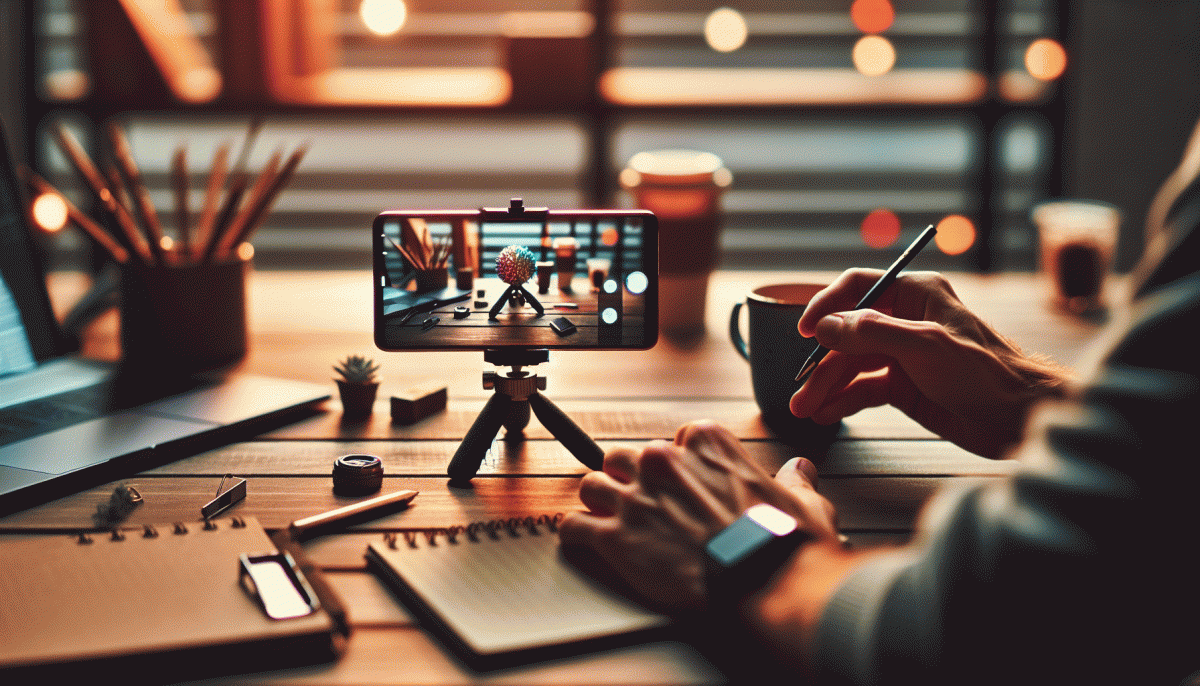
Camera, Mic, Wi-Fi: Fail-Proof Settings You Can Copy
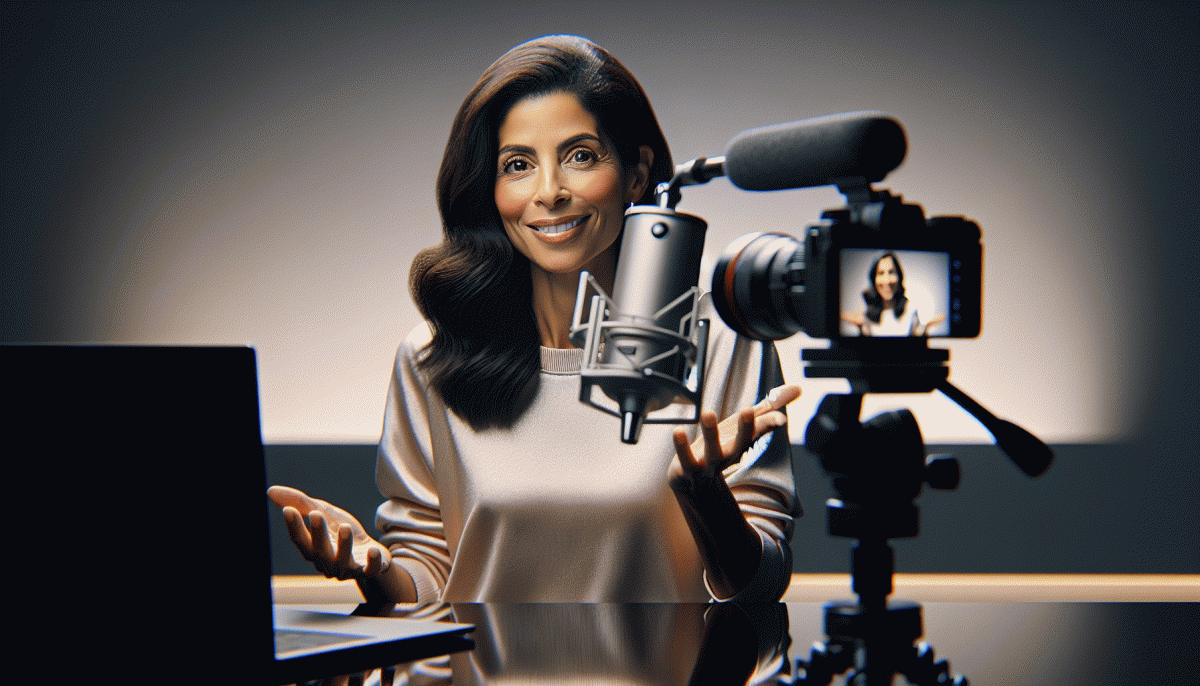
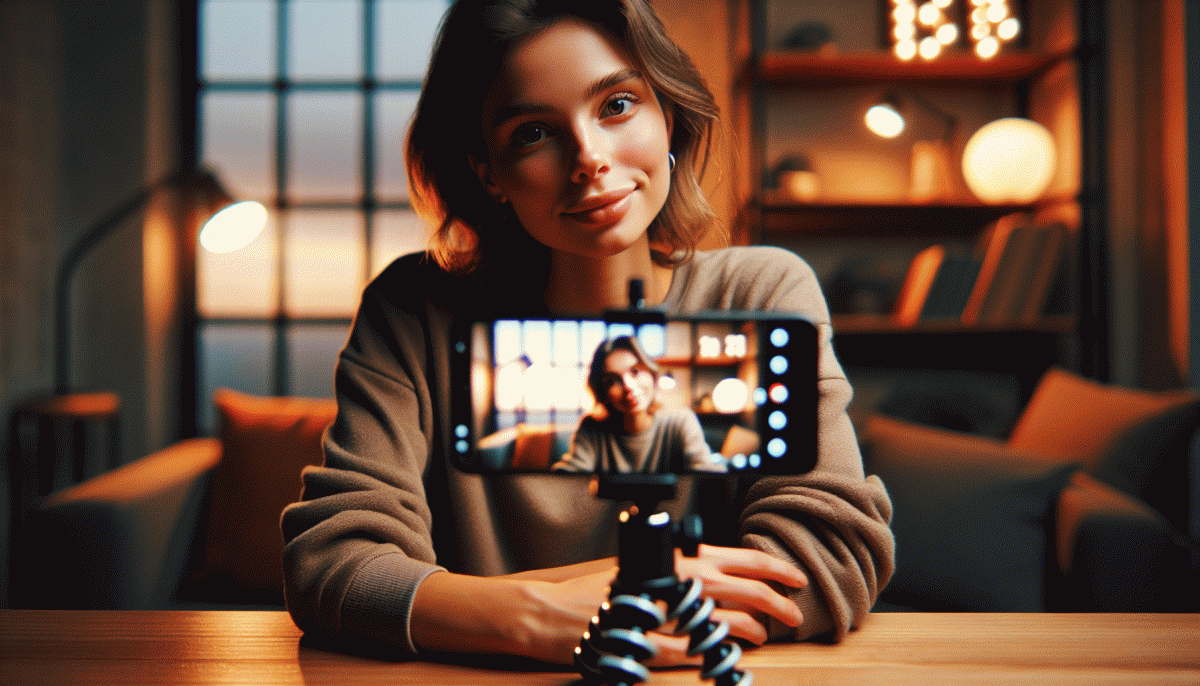
Start with the simplest wins: frame vertically, keep your head in the top two thirds, and use the back camera when possible for a sharper image. Set resolution to 1080p @ 30fps for a crisp stream or 720p @ 30fps if your device struggles. Lock exposure and focus after framing because continuous autofocus often hunts on live. Turn off digital zoom and set white balance to 5000–5600K for natural skin tones.
Lighting makes the difference between charming and cheap. Place a soft key light at a 45° angle, add a low-power fill on the opposite side, and a subtle back or hair light to create separation. Aim for daylight-balanced 5000–5600K and avoid harsh overhead bulbs. If you use a ring light, position it slightly above eye level so catchlights look flattering instead of toy-like.
Audio is the thing viewers notice last but judge hardest, so go external. A lavalier clipped 6–12 inches from your mouth or a small USB shotgun will beat the built-in mic. Record at 48 kHz and 16-bit (24-bit if available). Keep gain so peaks sit around -6 dB; if your app supports it, add a gentle compressor and a soft noise gate to tame background hiss. Always test with headphones to hear room noise and mouth pops before you go live.
Network and workflow are the final safety net. Prefer 5 GHz Wi‑Fi or plug in via Ethernet when possible, and keep the router close. Target upload speeds of 3–5 Mbps for 720p and 5–8 Mbps for 1080p. Disable VPNs, close background apps, and put your phone on airplane mode with Wi‑Fi on to avoid calls. Do a quick 2–3 minute test stream to confirm camera, mic, and latency so the only surprise is how many people show up.
Keep Them Talking: Engagement Prompts, Shoutouts, and Handling Trolls
Start with micro-prompts every 2–3 minutes to keep the chat moving: quick, low-effort asks that anyone can answer. Try: 'Drop one emoji if you agree', 'Where are you watching from? City + emoji', or 'Type 1 if you want a product demo.' These tiny invitations boost comments and give you on-the-fly content you can riff on.
Make shoutouts feel like VIP confetti — personal, fast, and sincere. Before the live, prepare a few shoutout templates (name + quick fact + call-to-action). Example: 'Huge shoutout to @alex — thanks for joining from Austin! What should Alex ask me next?' Rotate shoutouts so frequent viewers feel recognized but the pace doesn't stall your momentum.
Trolls are inevitable, so don't feed them. Pin a short chat code of conduct, enable word filters, mute or block repeat offenders, and appoint a co-host or moderator to handle flare-ups. If one slips through, try a light deflection: 'Let's keep this helpful — cool question, next!' or a playful comeback that redirects the energy.
Turn this into a repeatable ritual: prep 6–8 prompt cards, schedule shoutout windows (opening, mid, finale), and assign moderation duties. Practice reading the room and switching prompts when engagement dips. Small, deliberate moves like these make your live feel natural, not awkward — and they keep people chatting, sharing, and coming back.
Turn One Live into Weeks of Content: Repurpose, Clip, and Convert
You just wrapped a live that didn't suck — now don't bury the good bits. Treat the stream like raw gold: mine timestamps for punchy moments, export a clean recording, and sketch a short content map before you open your editor. One hour of chat can become weeks of bite-sized posts if you stop thinking in episodes and start thinking in assets.
First pass: clip the highest-energy moments into 15–60s vertical videos for Reels and TikTok. Second pass: pull 30–60s guest quotes or solo zingers for Stories and LinkedIn. Third pass: export the audio for short podcasts or audiograms. Use the transcript to craft shareable quote cards and carousel posts — each little piece needs its own headline and a tiny hook so it survives the scroll.
Edit like a machine: batch similar clips, apply the same caption template, and slap on consistent branding so your audience recognizes the format at a glance. Add subtitles (yes, always), trim to the first three seconds of action, and save presets so you can churn faster next time. The less time you spend tinkering, the more you publish.
Platform-proof your content: crop and caption for each network, but keep the message intact. Native posting wins attention, so upload directly where possible and tweak the CTA — an Instagram ask looks different from a LinkedIn prompt. Stagger the releases so a single live seeds posts across three weeks rather than one noisy day.
Make a tiny calendar: aim for 8–12 pieces from every live, schedule them, and track engagement like a scavenger hunt. Repurposing isn't lazy — it's strategic hustle. Turn that one-clean-live into long-term reach without the cringe or the all-nighter.
Read also
Go Live on Instagram Without the Cringe: Steal These Pro Tricks to Wow Viewers
Still Crushing Instagram Without Ads? Steal These Organic Tactics

Instagram Live Without the Cringe: The Unfair Playbook They Don't Want You to Use
Go Live on Instagram Without Cringe: The Shockingly Simple Playbook
Live on Instagram Without Embarrassment: Pro Secrets That Actually Work