Go Live on Instagram Without the Awkward — Steal This No Cringe Game Plan
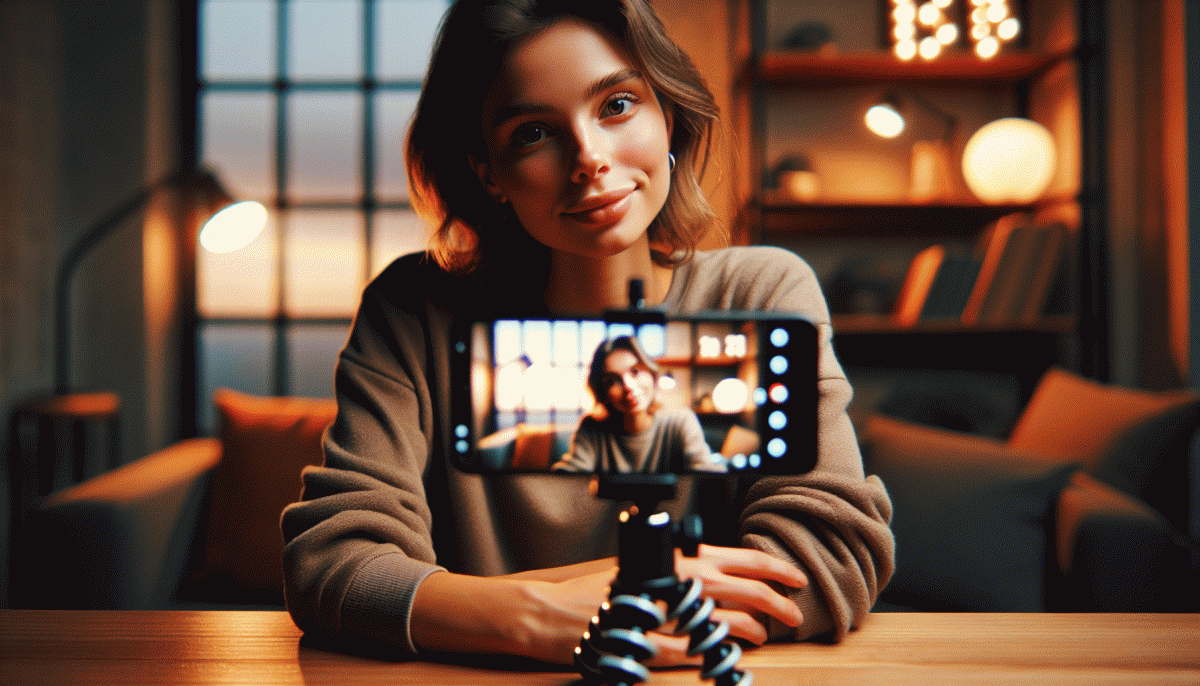
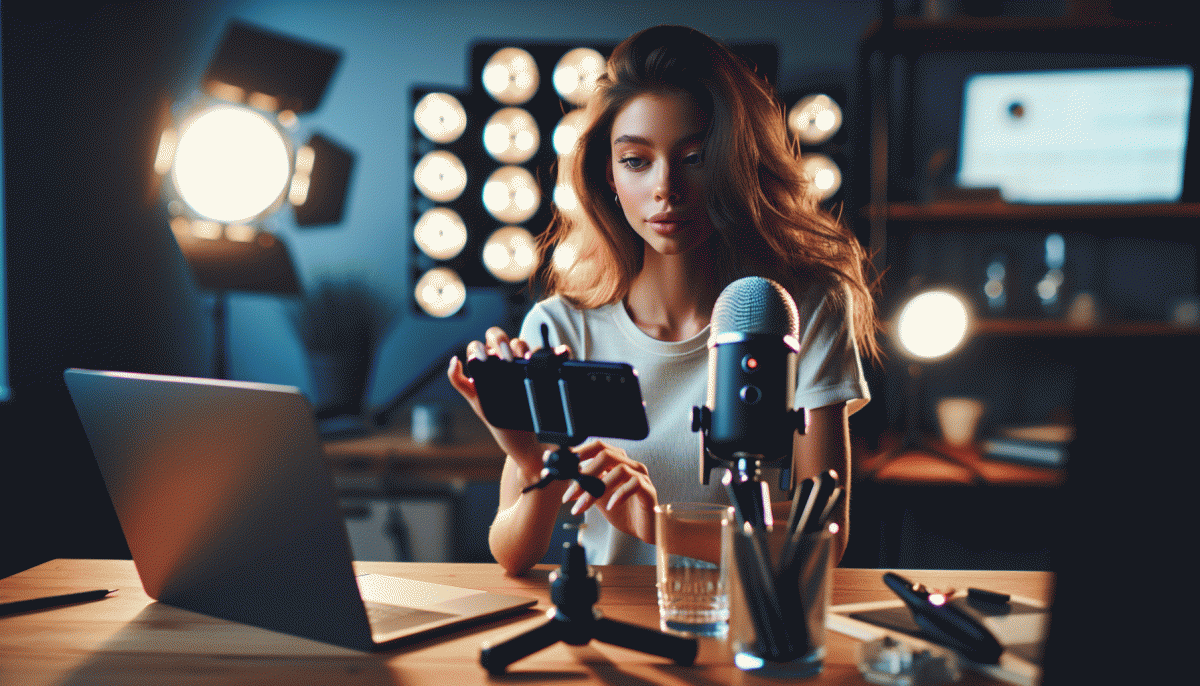
Preflight Checklist: Gear, Lighting, and Settings That Save Your Bacon
Think of this as the preflight for your on camera charm: quick, practiced, and boring enough to save the show. Start at least ten minutes before you intend to go live. Plug everything in, close bandwidth hungry apps, and switch the phone to Do Not Disturb so calls do not interrupt. Wipe the lens with a soft cloth and set the phone to portrait orientation. Run a 60 second sound check to catch hiss or clipping.
Pack the essentials and check them off as you go. Leave nothing to hope.
- Audio: Use an external mic if possible; lavs or a USB-C shotgun cut room echo and make speech crisp.
- Lighting: Face a soft light source and avoid strong backlight; a ring or softbox one step up from your phone makes you pop.
- ⚙️ Settings: Close background apps, lock screen rotation, and disable auto brightness to keep exposure steady.
Framing and backdrop win half the battle. Place the camera at eye level or slightly above, leave headroom, and declutter the background so attention stays on you. If natural light is available, face the window; if not, position a warm fill light at forty five degrees. Keep posture relaxed and move slowly so viewers can follow your expressions without motion blur.
Final preflight: confirm Instagram has camera and mic permissions, type a clear title, and start with a short intro that tells viewers what to expect. Have a second device or friend monitoring comments and a backup recording in case you need an offline copy. If something goes wrong, breathe, smile, and address it—honesty and a quick pivot are better than silence. Now hit go with confidence.
Open Strong: The 10-Second Hook That Stops the Scroll
Ten seconds decide whether your live becomes must-watch or background noise. Launch with a tiny, impossible-to-ignore promise, a vivid visual, and a micro instruction. Think Promise + Image + Micro-Action. Promise a clear benefit in one line, show something the eye can grab (close up prop, text overlay, bright color), then tell viewers one tiny thing to do: stay, react, or comment.
Use a tight script. Open like a headline, not a greeting. Two ready-to-copy 10 second starters: "Stop scrolling — in 60 seconds I will show you how to fix that lighting mistake every creator makes." and "This quick trick added 300 followers to my last live — watch for the reveal at the end." Both create curiosity, state value, and promise a short payoff.
Production tricks that actually work: start on a close frame, then pull back or hold a prop to create motion; speak directly to camera with one short sentence; add a bold on-screen caption for viewers watching on mute. Rehearse the line until it sounds natural, not robotic, and cut everything that slows the beat. No long setup. No apology.
Quick testing loop: try three different hooks over three lives, measure 30 second retention, ask two friends for raw feedback, and keep the winner as a template. Save three opening sentences that fit your voice and rotate them so energy stays fresh. Small edits here stop the awkward.
Keep It Flowing: Scripts, Segues, and Stories That Feel Natural
Think of a live as a relaxed conversation with a few prepared lines in your pocket, not a speech from a podium. Start with a short, repeatable opener that sets mood and expectation, then carry a handful of one‑sentence segues that steer topics without sounding scripted. The trick is to make the lines feel like prompts, not performance cues: use them to invite interaction, not to recite content.
Use micro‑scripts that fit your voice. Try an opener like "Hey friends — quick check, where are you tuning in from?" to spark replies. For midshow bridges, say "Quick detour — someone asked how I do X, here is the shortcut," and then show it. For a closer, keep it simple: "Loved this chat — drop one word if you want part two." Short, direct lines reduce awkward pauses and invite participation.
Segues are your safety net. Namecheck what viewers said, loop back to earlier points, and use intentional pauses to let reactions land. Keep a mental file of three go‑to moves: redirect to a demo, pull a viewer question on screen, or pivot to a mini story that illustrates your point. Small signals like "Remember earlier when..." make transitions feel natural.
Try this tiny toolkit in every live:
- Opener: One sentence that welcomes and asks a question.
- Pause: A deliberate beat to let replies come in, then acknowledge one.
- CTA: A quick clear next step so viewers leave with something to do.
Practicing these moves turns awkwardness into flow — think improv with a map, and the rest becomes easy, fun, and totally uncringey.
Own the Room: Chat Tactics for Questions, Trolls, and Dead Air
Before you go live, create a simple chat cheat sheet and pin it where you can see it on your phone. List three opening questions, one rule for the chat, two micro-scripts to redirect conversations, and a note on who moderates. Keep the sheet on an index card or notes app so you can glance without breaking flow; that small prep makes the stream feel intentional.
For questions, use a three step system: acknowledge, repeat, answer. Start with a quick validation like Great question, repeat the question so newcomers are in the loop, and answer with one concise takeaway. Timebox answers to about 20 to 40 seconds; if a topic needs depth, promise a longer follow up and invite the asker to DM for details after the stream.
Trolls are attention seekers, so do not feed them. Use short, practiced scripts to shut down drama: Redirect: "Thanks, moving on," Mute: hide repeat offenders, Escalate: hand off to a moderator or remove if needed. A calm, consistent response signals to your audience that you control the room and value constructive chat.
When dead air creeps in, rotate three safe bets: showcase a physical item, tell a 60 second behind the scenes story, or ask a rapid yes no poll and read results aloud. Have these fillers rehearsed so they land naturally, not like filler. Reward chat participation often and finish each segment with a tiny CTA that keeps momentum and gives people something to type.
After the Live: Turn Replays into Clips, Captions, and Conversions
Right after you end the live, save the replay and skim it within an hour. Note timestamps for the moments with laughs, aha moments, or product demos. Extract three 15–45 second clips: an opener with a punchy hook, a how-to snippet, and a testimonial or reaction. These are your mini magnets for discovery using a simple phone editor or desktop app.
Add burned-in subtitles and generate a clean transcript. Edit the transcript down to a bold caption formula: one-line hook that stops the scroll, two sentences of value, and a clear next-step. Keep captions scannable with line breaks and a single strong CTA, and include 3–4 relevant hashtags so the clips get found.
Turn clips into a content cascade across formats: Reels, feed carousels with a top-line quote image, Stories with a link sticker, and short TikToks. Pin the best clip as a comment under the replay and drop timestamps in comments so new viewers can jump to highlights. Crosspost with native captions to each platform; do not auto-post without editing.
Measure clip retention, saves, shares, and direct messages to learn which moments convert, then repeat the loop weekly. Test different hooks, trim durations, and rework captions based on performance. Celebrate small wins and double down on what moves the needle so replays stop being shelfware and start earning attention, leads, and sales.
Read also
Go Live on Instagram Without the Cringe: Steal These Pro Tricks to Wow Viewers

Instagram Live Without the Cringe: The Unfair Playbook They Don't Want You to Use

Go Live on Instagram Without Cringe: The Shockingly Simple Playbook
You’ve Been Doing Instagram Live Wrong—Do This Before You Hit ‘Start’

Still Crushing Instagram Without Ads? Steal These Organic Tactics